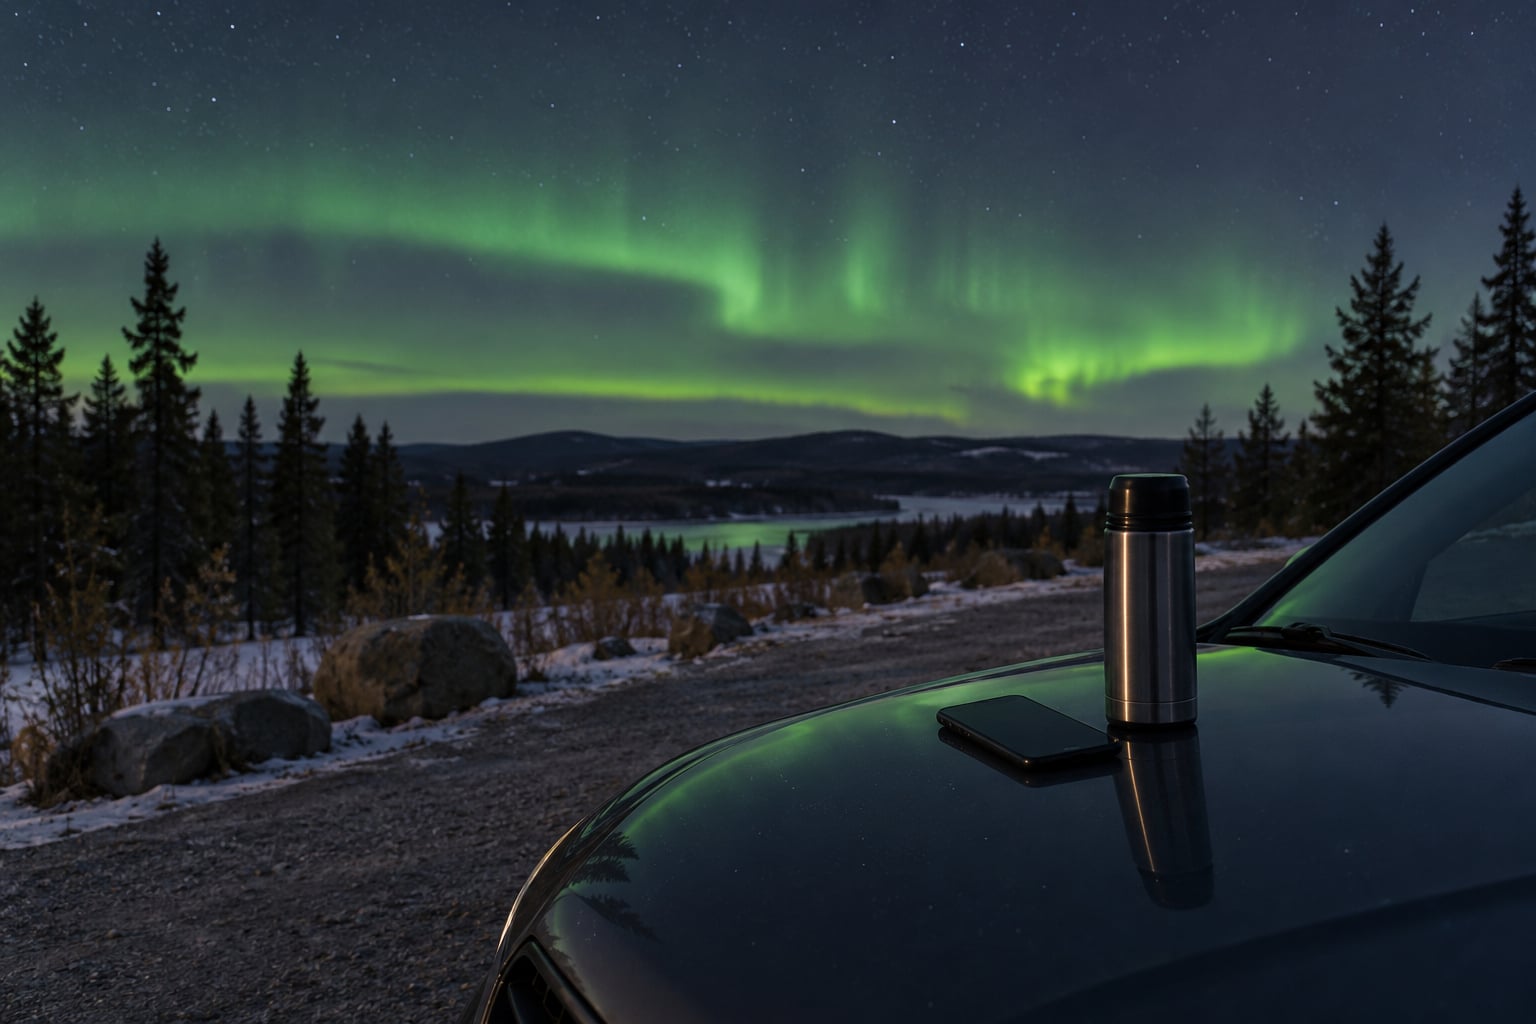
You can see the northern lights close to home on any clear, dark night when geomagnetic activity is high enough to push the auroral oval over your region. Three things have to line up: active solar weather overhead, a sky free of cloud, and a viewpoint dark enough to see a faint glow. A free forecast app plus a short drive to a darker spot is genuinely all it takes.
Most people who assume the aurora is an Arctic-only, trip-only event are wrong. The lights named for the Roman dawn goddess have been photographed from Michigan, Illinois and Oregon during strong geomagnetic storms, usually low on the northern horizon and much dimmer to the eye than the photos suggest.
The disappointing part is that the KP number on your phone tells you how far south the oval can reach, not how bright the display will look. That single misunderstanding sends people out into the dark for nothing. Here is how to read the forecast properly and spend an evening on sky that has a real chance of paying off.
Table of Contents
- What You Need to See the Northern Lights Without Traveling Far
- Step-by-Step: Six Steps to See the Northern Lights Without Traveling Far
- 1. Check Whether the Aurora Is Visible Near You
- 2. Match the Forecast to Clear Local Weather
- 3. Find the Darkest Reasonable Spot Close to Home
- 4. Get Outside and Give Your Eyes Time to Adjust
- 5. Watch for the Right Signs Instead of Expecting Fireworks
- 6. Use Photography as a Backup, Not the Main Plan
- Common Mistakes and What to Do Instead
- Frequently Asked Questions
- Can you see the northern lights from your own backyard?
- How close do you need to be to the aurora?
- Do clear skies mean the northern lights will be visible?
- How long should I wait outside for the northern lights?
- What direction should I look for the northern lights?
- Is it worth buying a camera to see the aurora?
- Conclusion
What You Need to See the Northern Lights Without Traveling Far
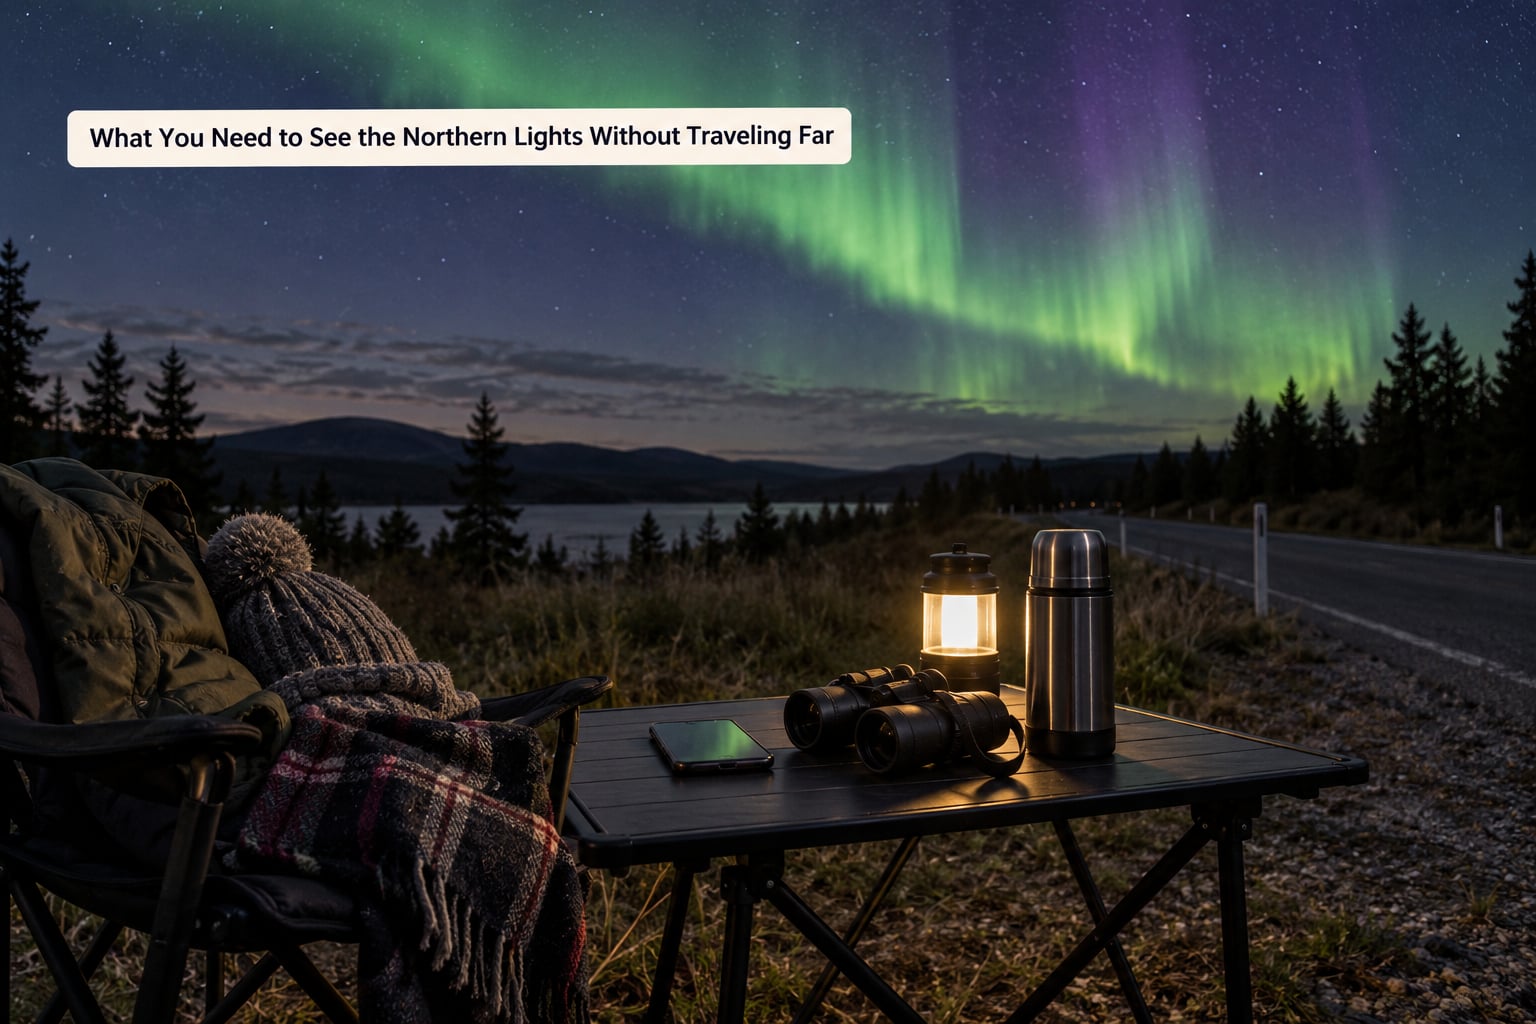
None of this is expensive. That is the whole point: the aurora is the rare free spectacle that does not need a tour, a flight, or a telescope.
- A reachable dark spot. Your own backyard may be too bright, but a park edge, a country crossroads or a reservoir pull-off within about half an hour usually does it. You are looking for a spot where you cannot see any streetlight glow above the horizon.
- An aurora forecast you can read. My Aurora Forecast, Aurora Alerts or SpaceWeatherLive all show the planetary K index and, in some cases, the auroral oval position. The free NOAA Space Weather Prediction Center site gives the same numbers without an app.
- An hourly cloud forecast. This decides your night more often than the aurora does. Any national meteorological service app will do; you want hourly cloud percentage for your exact location, not a daily icon.
- Warm layers. You will be standing still for an hour in the dark. Insulated layers, a hat, gloves and a windproof shell matter more than any viewing aid.
- A charged phone. Mainly for the forecast, a torch, and photos. Keep it warm in a pocket; cold batteries die fast.
- A way home that does not involve improvising. Know the route before you leave, tell one person where you are going, and in winter take the paved road rather than the shortcut.
Binoculars are optional and mostly useless here. The aurora is a curtain kilometres wide, so there is nothing to focus on, and lifting binoculars costs you your dark adaptation. A camera is useful only for documenting, never for seeing better. That is the honest equipment list.
Step-by-Step: Six Steps to See the Northern Lights Without Traveling Far
1. Check Whether the Aurora Is Visible Near You
Open your forecast and look at three numbers or overlays, in this order.
The Kp index runs from 0 to 9 and measures global geomagnetic activity. Most beginners read it as a brightness scale, and that is the trap. It is a latitude scale. Kp 2 means the oval may sit over northern Scandinavia and Canada; Kp 5 means it can stretch toward northern Europe and the northern United States; Kp 7 pushes far enough south that observers report red glows from Florida and Texas. So the question is never “is the KP high enough to look good” but “is the KP high enough to reach my latitude at all”.
The auroral oval overlay, when your app shows one, is more useful still because it draws the actual predicted band on a map. If your town sits outside the oval, go no further; the activity simply is not overhead.
The storm rating, labelled G1 through G5, describes geomagnetic storm severity. Kp 5 corresponds to a G1 storm, Kp 7 to roughly G3, and anything near Kp 8 to 9 to a G4 or G5 event. Those severe events are the ones that make the aurora visible to people who would normally never see it.
Timing matters too, because a forecast covers a three-hour block. Cloud cover is checked next, and only then should you decide.
2. Match the Forecast to Clear Local Weather
An active aurora behind an overcast sky is invisible. This is the single most common reason a promising night produces nothing, and it is the one people forget to check.
Pull up an hourly cloud forecast for your exact coordinates and note the percentage for each hour from roughly 22:00 to 03:00 local time. Anything under about 20 percent gives you a workable window. Between 40 and 60 percent, you may catch a break through a gap. Over 80 percent, stay home.
Two other factors quietly reduce what you can see. A bright moon washes out faint aurora, so a new moon or a crescent is genuinely better. And precipitation matters twice over: clouds block the display, and wet ground or frost reflects your torch straight back at you.
If both forecasts look good, that is your go signal. If the sky is clear but Kp is 2 and you are 1,000 kilometres south of the oval, the aurora is not happening for you tonight.
3. Find the Darkest Reasonable Spot Close to Home
This is the step that answers the “without traveling far” part, and nobody gets it right by instinct.
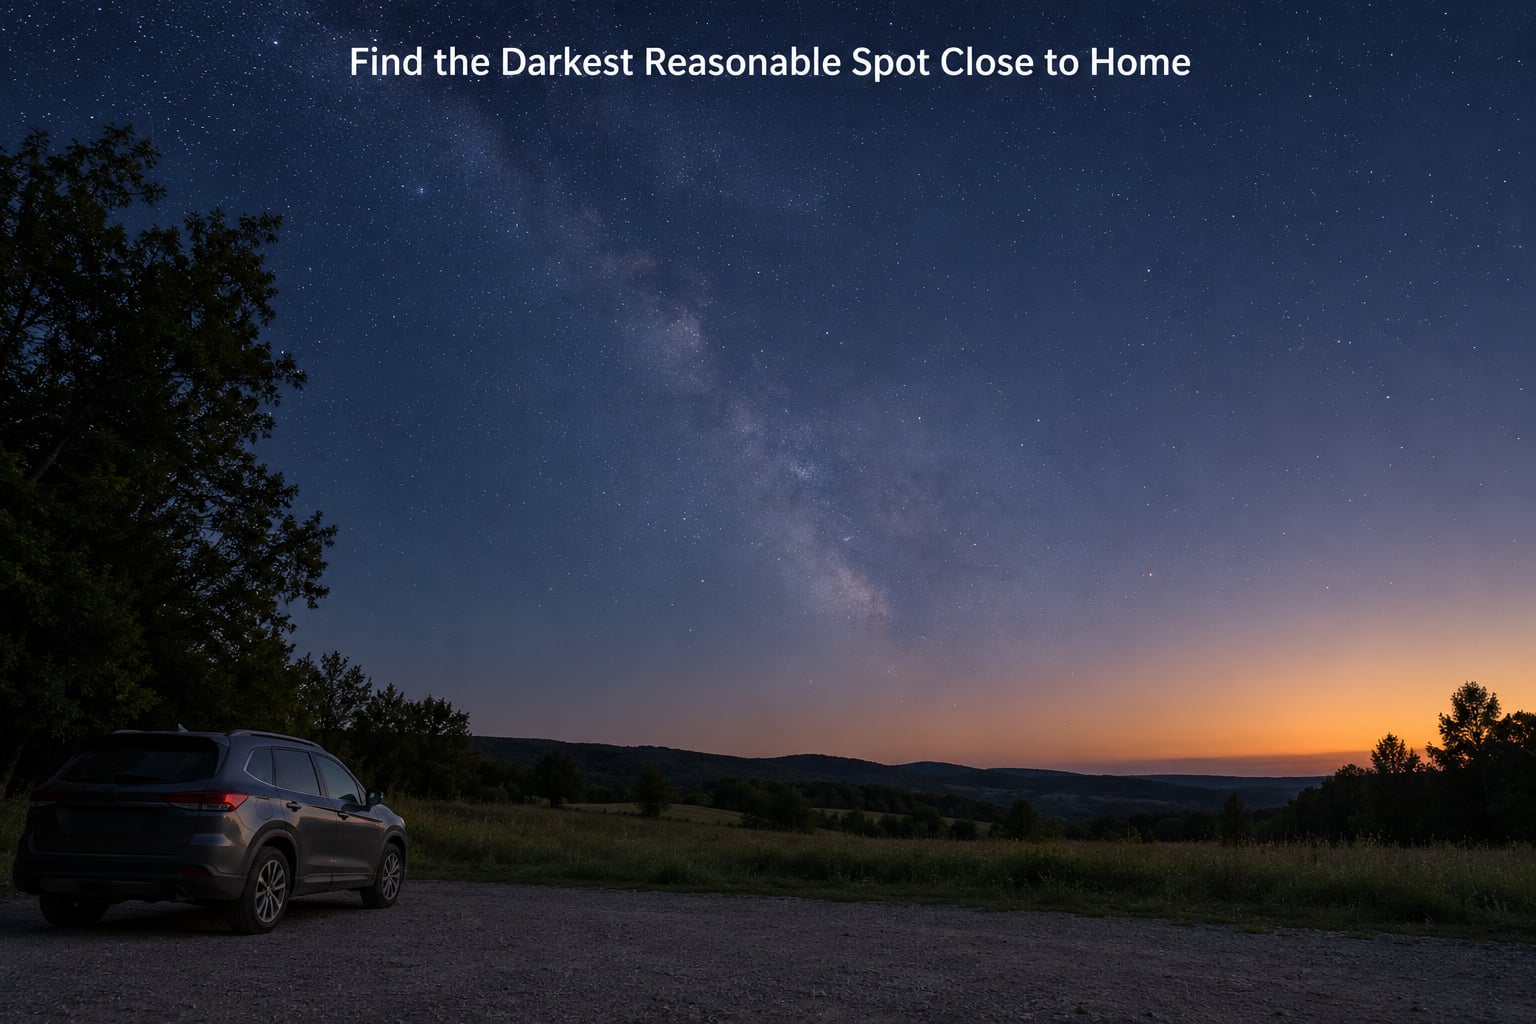
Open a light pollution map such as one published by a dark sky organisation or the Bortle scale overlay in your mapping app. Look at your home, then scan outward in rings of 15, 30 and 45 minutes of driving.
The 15-minute ring usually gets you to the edge of a suburb, where sky glow still rises above the horizon but is faint enough for a moderate display. The 30-minute ring lands on a genuine dark site, often a Bortle 3 or 4 location where the Milky Way is visible in summer and any aurora shows structure. The 45-minute ring buys you Bortle 2, at the cost of an hour of drive time both ways, which is real viewing time lost on a short night.
Before you commit, check three practical things. Can you park legally and safely at that hour? Is it a public place or private land you have no right to be on? Is there any chance of farm machinery, locked gates or a flooded pull-off? Pulling onto a lay-by and freezing for 90 minutes is a worse night out than the one you skipped.
Then decide how far to go. If the activity is marginal, the extra 20 minutes for darker sky is worth it, because a faint glow at Bortle 4 can still be lost to glow. If the activity is strong, stay close and save the driving.
4. Get Outside and Give Your Eyes Time to Adjust
Park, switch off the headlights, and let your eyes adjust for 15 to 30 minutes. Full dark adaptation is gradual, and bright light resets the clock. This is where most people quit too early: they turn the torch on to check the app, look at a phone screen for a minute, glance at headlights, and lose the whole adjustment again.
Put your phone in night mode with the brightness turned all the way down, or better, face down in your pocket until you need it. If you need light, use a red-mode headlamp rather than a white torch.
Then face the darker part of the northern horizon and look up about 30 to 45 degrees, not straight overhead. The lights are usually brightest low in the north, near or just above the horizon, even when the oval is overhead further north. Give the sky time; displays often build over an hour rather than appearing all at once.
5. Watch for the Right Signs Instead of Expecting Fireworks
Set your expectations honestly before you start, because this is where the gap between experience and social media bites hardest.
A real display often begins as something barely there: a pale grey-green smudge above the northern horizon that you might blame on a cloud. Over ten or twenty minutes it may brighten, gain colour, develop a vertical green structure, and start to ripple or fold. That unfolding is the aurora. Strong displays add red and violet at the top edge and rapid, curtain-like motion.
Things that are not the aurora: a flat white patch that never changes is a cloud lit by ground light. A single steady point of light that does not twinkle is a satellite or a plane. A sudden brightening across the whole sky that fades in seconds is usually a reflection off high cloud, not a display. Real aurora movement is slow and continuous, which is exactly why it is easy to talk yourself out of believing it.
If solar activity is simply too weak for your latitude, you will see nothing at all no matter how long you wait. That is not a failure of method; it is the forecast having said the display would not reach you.
6. Use Photography as a Backup, Not the Main Plan
Spend most of your attention with your eyes. Photograph the aurora when you have already seen it, because the camera captures colour and brightness your eye misses, and the resulting photo is the proof that keeps you coming back.
With a camera: manual focus set to infinity or the far distance, manual exposure rather than auto, aperture wide open, shutter around 5 to 10 seconds, and ISO raised until the histogram sits just below clipping. Anything longer than 15 to 20 seconds starts to smear the moving aurora into a flat ribbon. A tripod, or just resting the camera on a bag, prevents shake.
With a phone: use night mode or a pro mode with manual ISO and shutter. Tap the brightest part of the sky to set exposure, then lower the brightness slider slightly so the sky stays black. Brace the phone against something solid instead of holding it. Stand still and shoot several frames, because the brightest one will surprise you.
Do not shoot through a car windscreen; the glass kills contrast and reflects the dashboard. If you want to see the display while photographing, step outside and stay a few steps from the car.
Common Mistakes and What to Do Instead
Almost every disappointing aurora night comes down to one of these.
- Treating a social media photo as evidence. People post only the good nights, shot with good cameras, sometimes hours away from where you are. A photo from Iceland tells you nothing about whether a faint green arc will clear the horizon over your house.
- Skipping the cloud map. Check it every hour on the way out, not once before you leave. Conditions shift, and a clearing line can open up while you sit in a car park.
- Looking straight up. Turn your back to the brightest light pollution and face north. Most of what you will see is low in the sky.
- Checking the phone while driving. Pull over first. Reading an app at 60 km/h on a dark rural road is a genuine risk, and cold, wet, unlit roads make it worse.
- Giving up at fifteen minutes. Many displays need half an hour or more to develop. Stay warm, stay still, stay longer.
- Assuming a high KP guarantees a spectacle. Kp 5 at your latitude might mean a faint grey arc. Kp 5 combined with Bortle 2 skies and a new moon might mean a full display. The same number produces very different nights.
So you drove out and saw nothing. Work through the list in this order: were you inside the oval at all? Was cloud cover low at that hour? Was your spot truly dark, with no glow over the northern horizon? Were you out long enough, and were you looking low and north? If all four were fine and you still saw nothing, the honest answer is that activity weakened before it reached your latitude. Check the next night rather than driving again immediately.
A few safety points worth repeating. In winter, take a charged phone, warm layers, water and something reflective in case you are roadside longer than planned. Tell someone your route and expected return time. Do not enter private land, closed roads or areas with snowmobile and machinery traffic in the dark. And check local guidance before going to remote spots.
Frequently Asked Questions
Can you see the northern lights from your own backyard?
Yes, during strong geomagnetic activity, provided your yard is dark enough. People in towns across the northern United States, the UK, Canada and northern Europe regularly report sightings from home during G3 storms or stronger. A suburban backyard often works for bright displays but washes out faint ones, since any sky glow hides a pale arc. Check a light pollution map first, and if your area is bright, a 15 to 30 minute drive usually changes what you can see.
How close do you need to be to the aurora?
Close enough that the auroral oval reaches your latitude. The aurora is not a spotlight you point at, it is a ring of activity around the geomagnetic pole that expands and contracts. On quiet nights that ring sits near the Arctic Circle. During storms it expands south thousands of kilometres. Your forecast app’s oval overlay shows whether your area is inside it. If it is not, no amount of darkness or clear sky will help.
Do clear skies mean the northern lights will be visible?
No. Clear skies remove one obstacle, not all of them. You also need geomagnetic activity strong enough to reach your latitude, a dark location, and a low moon. On a clear night with Kp 2 in a populated area you will see almost nothing. Check the aurora forecast and the hourly cloud forecast together, and only head out when both look promising for the same window of time.
How long should I wait outside for the northern lights?
Plan for at least an hour, and longer in winter. Give your eyes 15 to 30 minutes to adapt to darkness before judging the sky, and remember that many displays build gradually rather than appearing all at once. If the oval covers your area and the sky is clear, waiting 45 to 90 minutes gives you a far better chance than a quick ten minute look before driving home.
What direction should I look for the northern lights?
Face north and look between about 30 and 45 degrees above the northern horizon, not straight up. During smaller displays the lights appear low, close to the horizon, which is why finding a spot with an open northern view matters. When activity is strong the arcs can climb high and spread across the sky. If you are facing north and seeing a faint glow that slowly brightens and shifts, that is the aurora.
Is it worth buying a camera to see the aurora?
Not for seeing it. The aurora is a wide, diffuse curtain, so magnification adds nothing, and binoculars will cost you your night vision. A camera is worth having only to photograph what you have already seen, because sensors capture faint colour the naked eye misses. If you are deciding between gear and a warmer coat for a short-notice night, spend on layers and a thermos first.
Conclusion
First action: open your aurora forecast and your hourly cloud forecast side by side, and only leave when both look good for the same hours. Then drive out to the darkest spot you can reasonably reach, turn the torch off, and give the sky half an hour before you decide anything.
Activity is at or near its peak in the current solar cycle, so storm nights that once required a flight to Iceland or Alaska are showing up over populated areas. That is your window, and it opens a few times a season rather than every week.
How to see the northern lights without traveling far comes down to patience and a clear decision, not equipment. A free app, a warm coat and half an hour of dark adaptation have been enough for a lot of people standing in a field a few miles from home.