Updated for October 2026
Learning how to cook rice without a rice cooker takes one saucepan and about 25 minutes, and the cooking effort itself is close to zero. For most long-grain white rice the whole method is 1 cup rice to 1.5 cups water: bring it to a boil, cover, drop the heat to its lowest setting, simmer 15 to 18 minutes, then let it sit covered for 5 to 10 minutes before you fluff it.
The reason a rice cooker gets the texture right is not a secret. It heats to a boil, then holds a gentle simmer with the steam trapped under the lid. A tight-lidded pot on the lowest burner does the same thing, and you get to decide when it stops instead of trusting a sensor.
Table of Contents
- What You Need to Cook Rice Without a Rice Cooker
- Step-by-Step
- Step 1: Rinse the Rice
- Step 2: Add the Right Water Ratio
- Step 3: Bring the Rice to a Boil
- Step 4: Simmer and Absorb, and Keep the Lid Down
- Step 5: Check the Texture
- Step 6: Rest, Fluff, and Serve
- Alternative: Cook Rice Like Pasta and Drain It
- Alternative: Cook Rice in the Microwave
- Common Mistakes
- Frequently Asked Questions
- How much water do I need for rice without a rice cooker?
- Do I cover the rice while cooking it on the stovetop?
- How do I know when rice is done without a rice cooker?
- Why is my rice crunchy or hard in the middle?
- How long should cooked rice sit before serving, and how should I store it?
- Conclusion: Start With the Right Ratio
What You Need to Cook Rice Without a Rice Cooker
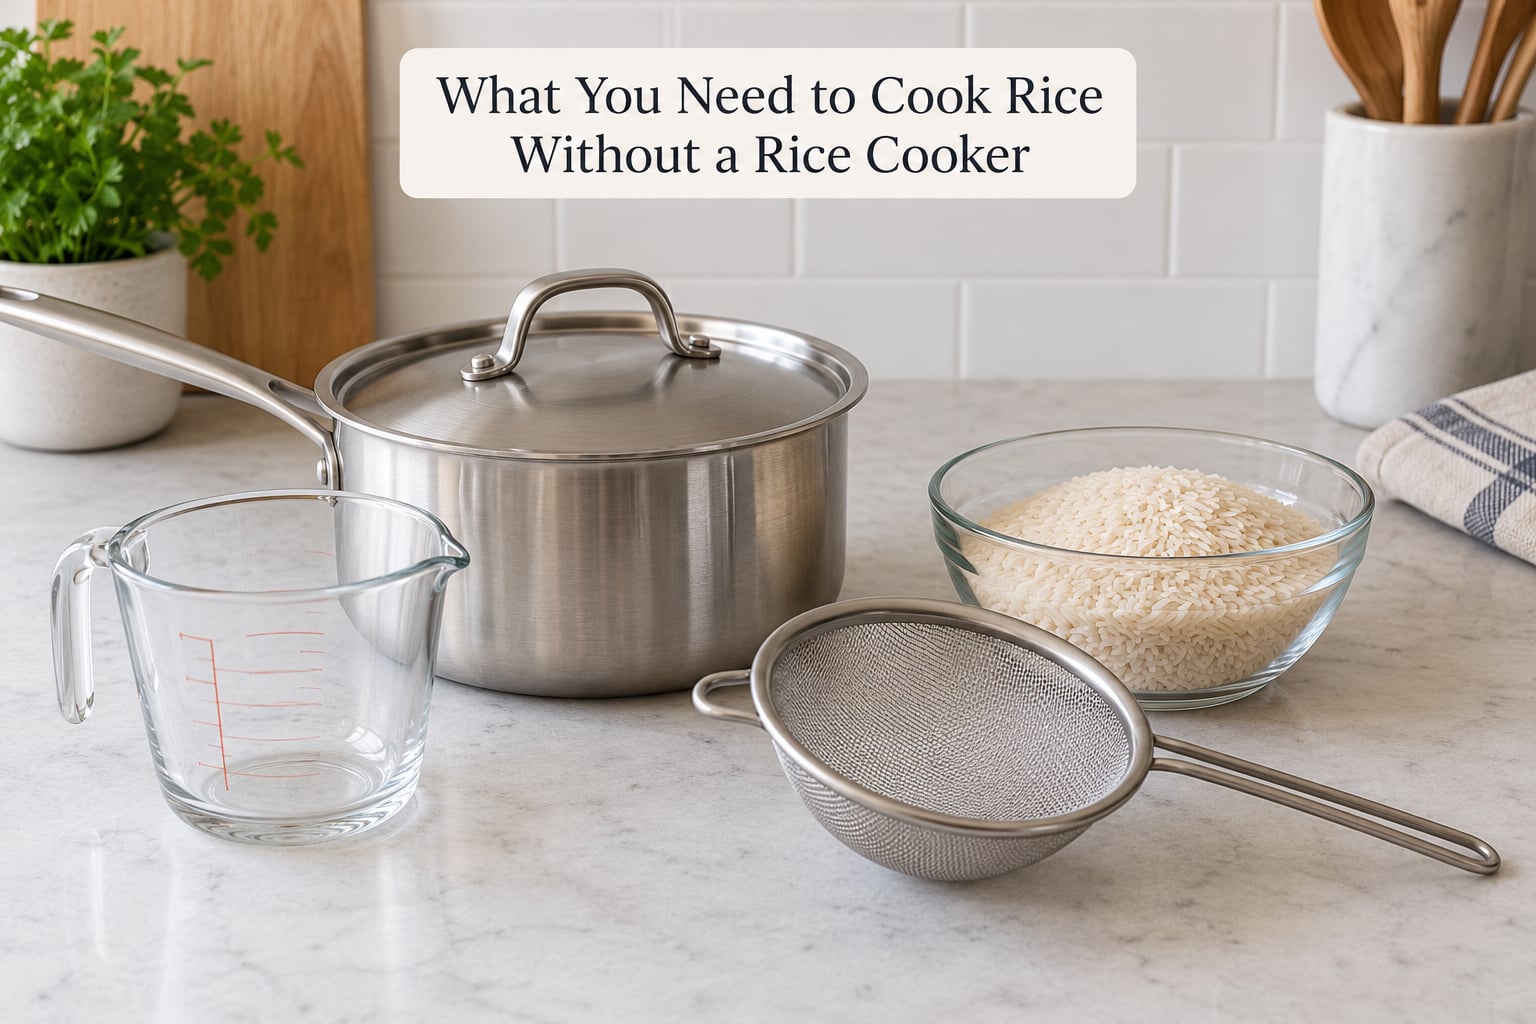
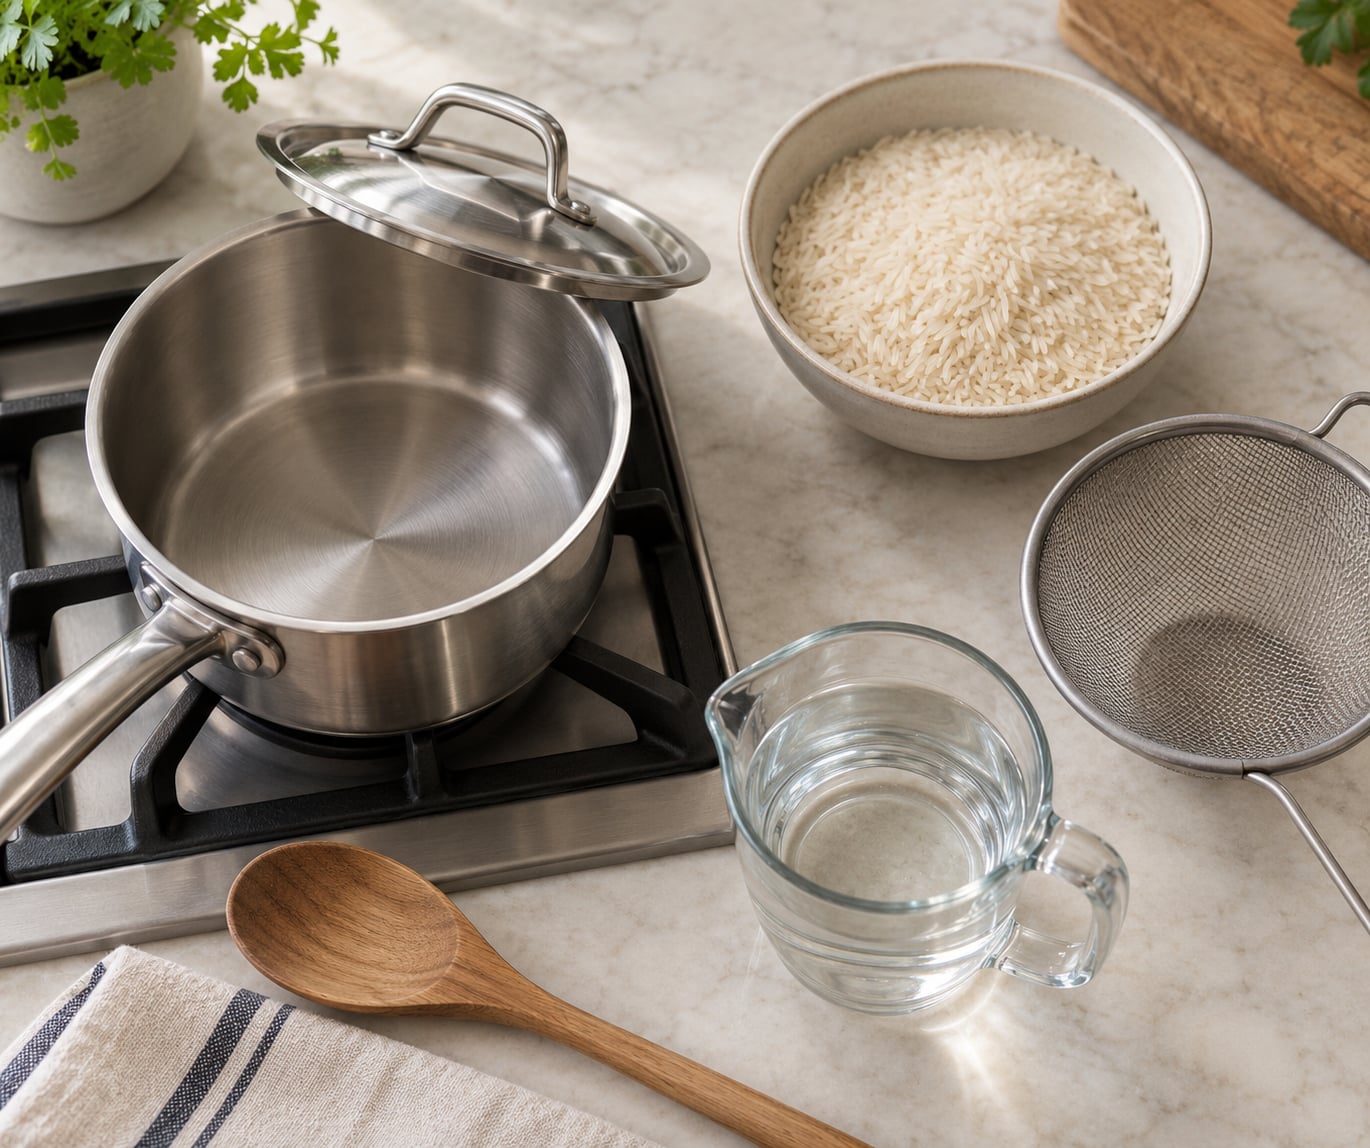
A heavy-bottomed saucepan with a tight-fitting lid is the only real requirement. Thin pots send heat straight to the burner and scorch the bottom before the top cooks. If you have a Dutch oven, it works too, just remember it holds heat longer, so you may drop the heat a notch further.
The rest is cheap and mostly optional:
- Fine-mesh strainer for rinsing. A slotted spoon works, you just lose some grains to the drain.
- Liquid measuring cup so the ratio is repeatable rather than a guess.
- Wooden spoon or fork for stirring and fluffing.
- Small kitchen towel to tuck under the lid as a steam release valve.
- Salt, and a knob of butter or a splash of oil if you like.
On the rice itself, start with plain long-grain white rice while you learn the ratios. Then try jasmine and basmati, which are more forgiving. Brown rice takes longer and needs more water, so save it for once your pot is dialed in.
Step-by-Step
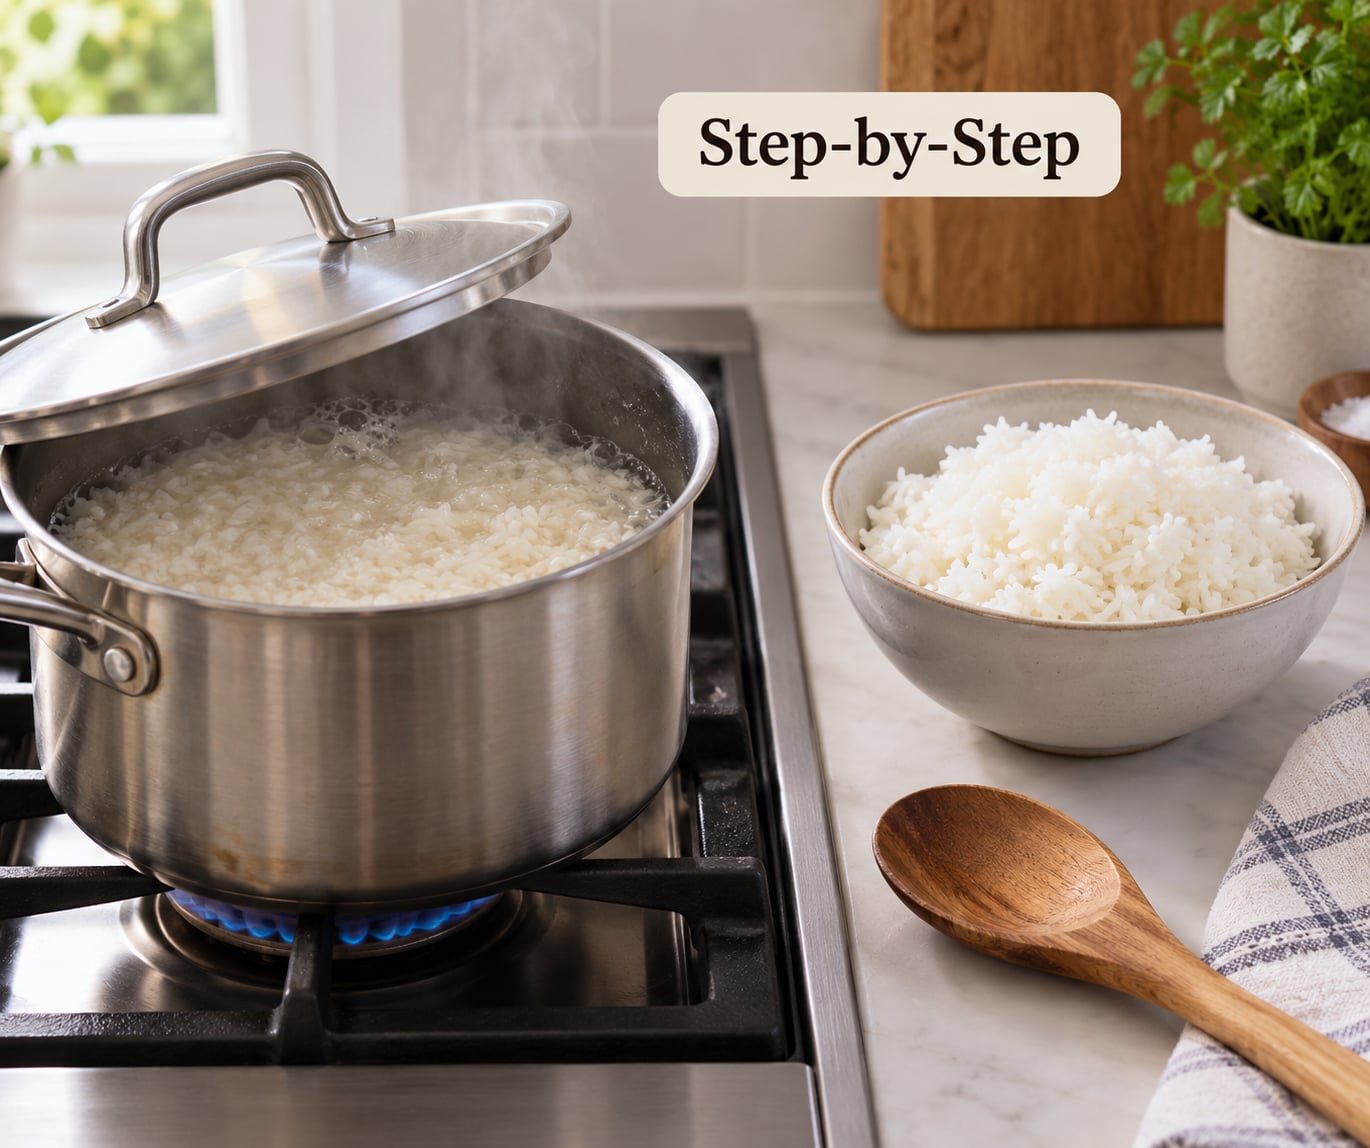
Step 1: Rinse the Rice
Rinsing washes off the loose surface starch that makes rice glue together into a sticky, gummy mass. Put the rice in a fine-mesh strainer under cold running water for 20 to 30 seconds, swish it around, and drain. Repeat once or twice until the water runs nearly clear. Expect to discard a surprising amount of cloudy water.
You can skip this for pre-washed rice and for brown rice, where the bran and germ are the point and rinsing just bleaches out some of the flavor.
Step 2: Add the Right Water Ratio
Measure the rice, then add water by volume. The classic 1:1.5 ratio for long-grain white is a starting point, not a law: rice brands, pot size and altitude all shift the result a little. Once you find the ratio your own pot likes, write it on the side of the range.
| Rice type | Water per 1 cup rice | Simmer time | Expected texture |
|---|---|---|---|
| Long-grain white | 1.5 cups | 15-18 min | Fluffy, separated grains |
| Jasmine | 1.25 cups | 12-15 min | Soft, faintly sticky |
| Basmati | 1.5 cups | 15-18 min | Long, dry, separate grains |
| Short-grain (sushi) | 1.25 cups | 12-15 min | Soft and clingy |
| Brown | 2 cups | 35-45 min | Chewy, nutty |
| Parboiled | 2 cups | 20-25 min | Firm, resists breaking up |
Small batches behave differently because the pan loses more water relative to the rice. Half a cup of rice is the hardest size to nail.
| Batch | Rice | Water | Cooked yield |
|---|---|---|---|
| Single serving | 1/2 cup | 3/4 cup | About 1 cup cooked |
| Two servings | 1 cup | 1.5 cups | About 2 cups cooked |
| Family side | 2 cups | 3 cups | About 4 cups cooked |
| Meal prep | 4 cups | 6 cups | About 8 cups cooked |
You can swap water for chicken broth, or add a teaspoon of salt and a pat of butter. Both are optional, and both change the texture slightly, so treat them as a seasoning step rather than part of the method.
Step 3: Bring the Rice to a Boil
Bring the rice and water to a full rolling boil over high heat, which usually takes 5 to 7 minutes for a small pot and closer to 10 for a large one. Stir once, gently, just to make sure nothing is stuck to the bottom.
There is a second school of thought: boil the water first, then add the rice. Both work. Adding dry rice to already-boiling water reduces sticking, and starting cold means slightly longer total time.
Step 4: Simmer and Absorb, and Keep the Lid Down
Turn the heat to the lowest setting your stove has. Cover and leave it. This is the step where cooks go wrong, because every peek lets steam escape and the water balance shifts.
Do not lift the lid for the next 15 to 18 minutes. If you must check, lift it just enough to see the bottom of the pot, then put it straight back.
The kitchen-towel trick lives here. A rice cooker vents a little steam through a valve; a pot with a flat metal lid traps all of it and the top of the rice can turn gummy. Tuck a folded kitchen towel between the pot and the lid and the trapped steam vents slightly, closer to a cooker’s behavior.
Step 5: Check the Texture
At the end of the simmer, you have three signals: no liquid pooled in the bottom, steam escaping in slow puffs rather than a hiss, and the grains looking cooked through.
To be sure, taste one grain. Press it against the side of a spoon. If it splits into two clean halves with a faint resistance in the middle, it is done. If it is chalky, add a quarter cup of hot water, cover, and give it three more minutes. If it turns to paste on contact, you have too much water, and the fix is in the next section.
Step 6: Rest, Fluff, and Serve
Turn off the heat and leave the pot covered for 5 to 10 minutes. During the rest, residual heat drives off steam and the last of the free moisture, and the grains finish setting rather than cooking. Skipping the rest is the second most common reason rice turns sticky.
Then fluff with a fork, lifting from the bottom and turning outward. A spoon smashes grains and turns them into paste, which is why the fork matters. Taste again and season if needed.
Store leftovers in shallow containers in the fridge within 2 hours and use them within 3 to 4 days, per USDA guidance. Reheat with a damp spoon on top of the rice or a splash of water in the pan, and bring it to 165F (74C) before eating.
Alternative: Cook Rice Like Pasta and Drain It
This is the method that makes measurement irrelevant, and households in India, Korea and Germany have used it for generations. Boil a large pot of well-salted water, add rinsed rice, and cook until a grain tastes tender with a slight bite, about 8 to 12 minutes for white rice. Taste every minute after the 6-minute mark. Drain, rinse briefly under cold water to stop the cooking, and serve.
The tradeoff is texture: draining rinses away more surface starch, so you get separate grains rather than the gentle stickiness jasmine fans enjoy. It also means discarding the cooking water, which does throw away a meaningful share of the inorganic arsenic that brown rice can carry.
Alternative: Cook Rice in the Microwave
Rice is one of the few things a microwave genuinely does well. Combine 1.5 cups rice with 2.25 cups water in a microwave-safe container, cover loosely so steam can escape, and cook 5 minutes at full power. Then cook 15 minutes at half power, rest 5 minutes covered, and fluff. Adjust the ratio down for jasmine, which needs less water than the white-rice setting.
Use a vented lid or a plate set at an angle. A tight-sealed container can build pressure and pop in the microwave.
Common Mistakes
Almost every bad pot of rice traces back to one of four things: the water, the lid, the heat, or impatience.
| What happened | Likely cause | Fix |
|---|---|---|
| Crunchy or hard in the middle | Not enough water, or heat too high so the bottom cooked before the centre | Add 2 tablespoons hot water, cover, simmer 4 more minutes |
| Mushy or soggy | Too much water, or the pot boiled over and you kept stirring | Spread it on a tray to dry, or save it for fried rice |
| Sticky and clumped | Skipped the rinse, lifted the lid repeatedly, or fluffed with a spoon | Rinse next time, leave the lid alone, fluff with a fork |
| Scorched bottom | Lid was off, heat stayed on high, or the pot is thin-bottomed | Lower the heat further and use a heavier pot next time |
Too much water is the most common error, and it is usually caused by trusting a ratio meant for a rice cooker, where the water is measured by weight. Scoop measures by volume, and rice expands differently depending on the brand. When in doubt, use a quarter cup less than the chart says.
Too little water shows up as a crunchy core in a pot that looks otherwise fine. Fix it as soon as you notice with the small splash of hot water and a few extra minutes.
Boil-over happens when the pot is too full. Rice roughly triples in volume, so cook it in a pot at no more than half capacity and use a splatter screen or a partly offset lid for the boiling stage.
Lifting the lid repeatedly is the habit that ruins the most pots. Each peek costs you steam, and steam is part of how the top of the grain cooks. Commit to leaving it alone for the full simmer.
Leaving the pot on high heat after the boil drives off water faster than the grain can absorb it, which is exactly how you get a dry, scorched layer under a soft top. The simmer has to be the lowest setting your stove offers.
Two variables nobody mentions in most guides: burner type and altitude. Gas responds to a knob instantly, while electric and induction elements keep cooking after you turn them down, so start a notch lower there. High altitude lowers the boiling point, and water boils off more slowly, which means brown rice takes longer than the package says.
Frequently Asked Questions
How much water do I need for rice without a rice cooker?
For most long-grain white rice, use 1.5 cups of water per cup of rice. Jasmine and short-grain varieties need less, around 1.25 cups, because they absorb more slowly and hold onto starch. Brown rice and parboiled rice need closer to 2 cups. Treat these as starting points: rice brand, pot size and altitude all nudge the number, so write down whatever ratio works in your own kitchen.
Do I cover the rice while cooking it on the stovetop?
Yes, cover the pot for the entire simmer. The lid traps steam, and steam is what cooks the top of the grain while the water below gets absorbed. A tight-fitting metal lid works best; tuck a folded kitchen towel between the pot and lid so a little steam can escape, which mimics the vent on a rice cooker. Only lift the lid if you need to check the water level, and put it straight back on.
How do I know when rice is done without a rice cooker?
Look for three signals: no free liquid pooled in the bottom of the pot, steam escaping in slow puffs rather than a hiss, and a gentle aroma rather than a scorched smell. Then press a single grain against the side of a spoon. It should split into two clean halves with a slight resistance in the middle. If it is chalky, add a quarter cup of hot water, cover, and give it three more minutes on low.
Why is my rice crunchy or hard in the middle?
Crunchy rice usually means not enough water, or heat that was too high, so the bottom cooked long before the centre softened. Fix the pot you already have by adding two tablespoons of hot water, covering, and simmering gently for four more minutes. For next time, measure carefully, keep the heat at its lowest setting after the boil, and use a heavier pot if you are cooking more than two cups at once.
How long should cooked rice sit before serving, and how should I store it?
Leave it covered, off the heat, for 5 to 10 minutes. During that rest, residual heat drives off leftover steam and the last of the free moisture, which is what keeps grains separate instead of sticky. Fluff with a fork, not a spoon. For storage, cool it quickly and refrigerate in shallow containers within 2 hours, use within 3 to 4 days per USDA guidance, and reheat to 165F (74C).
Conclusion: Start With the Right Ratio
Rice cooks by absorption, and a saucepan does everything a rice cooker does as long as you control the heat: measure 1 cup of rice with 1.5 cups of water, rinse, boil, cover, drop to the lowest setting, and leave the lid alone for 15 to 18 minutes. Rest it covered for 5 to 10 minutes, then fluff with a fork.
First-time cooks should measure carefully and resist the urge to peek. If the first batch is off, change one thing on the next one, and write the winning ratio on the side of the range. After a pot or two, you will not need the chart at all.