How to meal prep for the week comes down to four moves: pick a short menu, shop once, cook in batches, and store everything properly. Most beginners do well with two base meals repeated across five days rather than five different recipes, and a first session takes about two hours once you get the order right.
The part that trips people up isn’t cooking. It’s storage and boredom. Meals rot in the fridge around day four, and eating the identical bowl five days running is how a good habit dies by Wednesday. Solve those two problems and the rest is just following steps.
Below is the system I use: a five-day plan, a shopping list built from your own pantry, a prep order that avoids standing at the counter for hours, and the temperature rules that keep everything safe to eat. Adjust portions to your appetite rather than the numbers below.
Table of Contents
- What You Need
- Step-by-Step: How to Meal Prep for the Week
- 1. Plan Your Five-Day Menu
- 2. Make a Smart Shopping List
- 3. Prep Components Before Assembly
- 4. Assemble and Portion Meals
- 5. Store and Reheat Safely
- Prep Styles: Which One Fits Your Week
- Common Mistakes
- Tips for Making Weekly Meal Prep Easier
- Frequently Asked Questions
- How many days of meals should I prep at once?
- How long does meal prep last in the refrigerator?
- What foods should I avoid meal prepping for the week?
- Can I freeze meals prepared for the week?
- How do I stop weekly meal prep from becoming boring?
- What containers work best for meal prep?
- Conclusion
What You Need
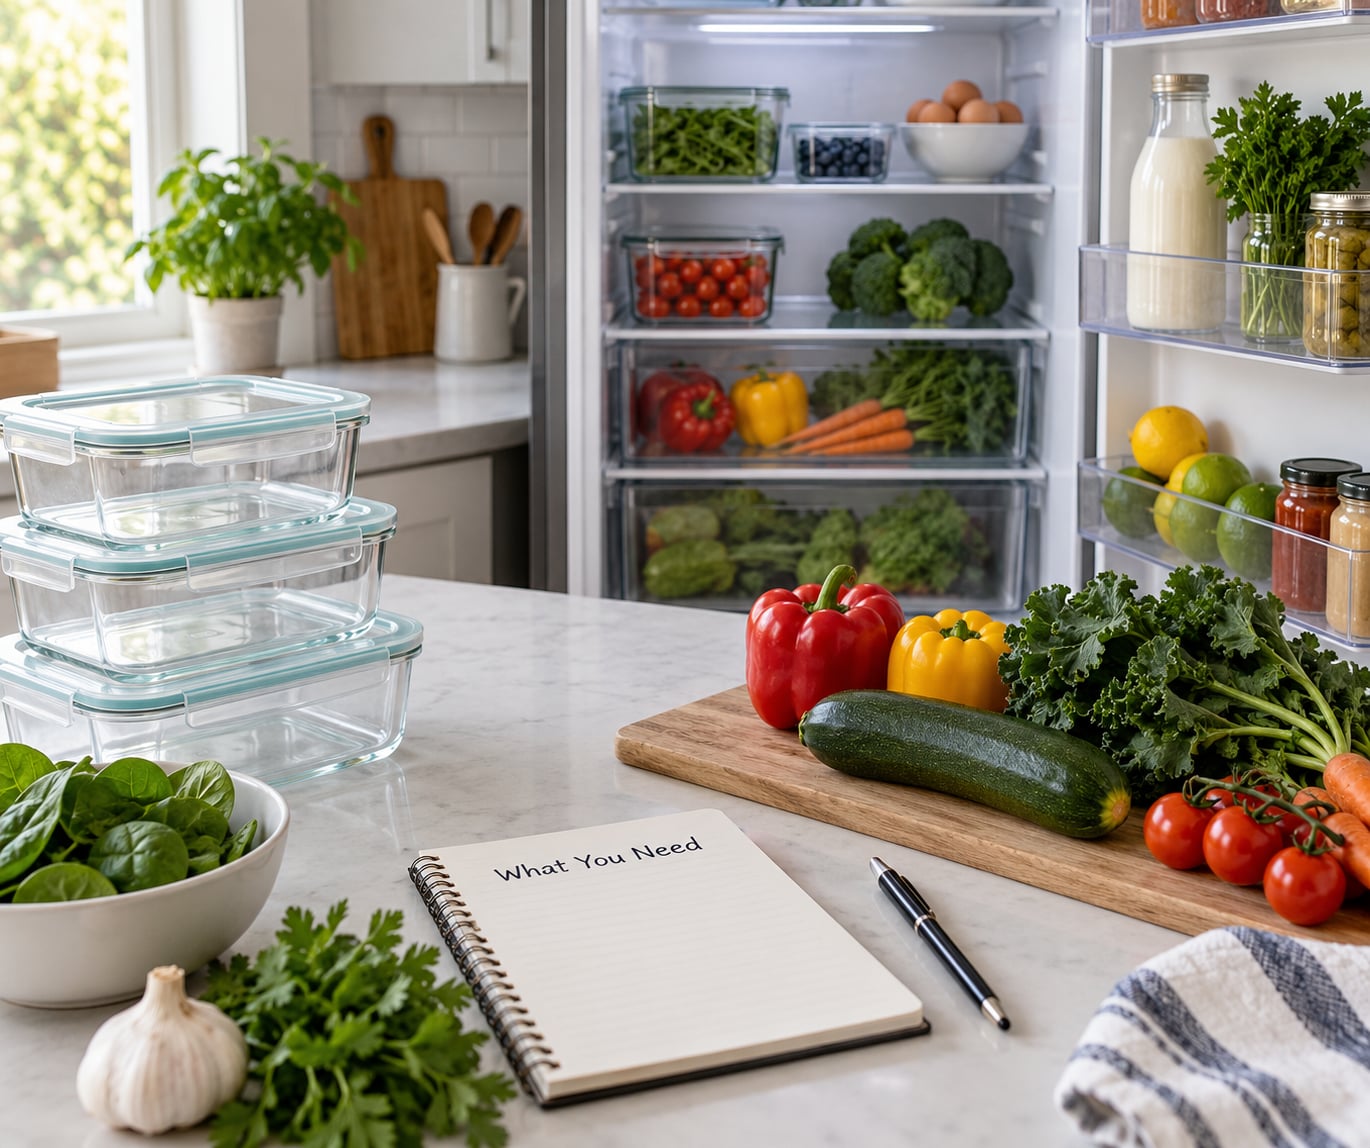
You need less equipment than most guides suggest. Five or six containers, a sheet pan, a couple of pots, and a sharp knife cover the entire week. The one piece of gear that genuinely changes the experience is a stack of divided containers that hold grain, protein, and vegetables.
Container choice matters less than people think. Glass goes in the oven and microwave without worry and resists staining, which makes it the easiest option for reheating. Plastic is lighter and cheaper but takes marks over time. Stainless steel keeps cold food cold on a commute but is useless in a microwave, so treat it as the travel-only option.
Before you plan anything, check the fridge and freezer. Looking at what you already have is the fastest way to cut food waste and grocery spending, and it stops the habit of buying a fifth bag of spinach that wilts in the drawer.
Then write down three things on paper: the five meals, the number of portions each needs, and the raw ingredients. That single page is the whole planning system. Everything after it is execution.
Step-by-Step: How to Meal Prep for the Week
Here is the complete workflow in order: plan a five-day menu, build a shopping list from your pantry, prep the components in a sensible cooking order, assemble and label the meals, then cool, store, and reheat them safely. Budget roughly two hours for a first session, and about an hour and a half once you have done it a few times.
1. Plan Your Five-Day Menu
Start by choosing two or three dishes and repeating them. Repetition is not laziness here, it is what makes the session survivable on a Sunday afternoon.
A workable plan looks like this: a grain bowl on Monday and Tuesday, sheet-pan chicken with roasted vegetables on Wednesday and Thursday, and a flexible meal on Friday that you build from components or eat from leftovers. Two base recipes cover four days and leave one day open for whatever is left in the fridge.
Work out portions per dish before you write the shopping list. Most adults do well with roughly a cup of grain, a palm-sized portion of protein, and two cups of vegetables per meal, adjusted up or down depending on appetite and activity.
Watch the calendar, not just the recipes. If Thursday’s portion will sit five days in the fridge, freeze it on prep day and move it to the fridge the night before. That single habit is what makes a five-day prep safe rather than hopeful.
2. Make a Smart Shopping List
List what you need, not what you want. Group the list by food group so you walk the store once instead of three times: proteins, grains, vegetables, fruit, sauces and fats, plus anything from the pantry that runs out during the week.
Pantry basics do most of the heavy lifting. Rice, quinoa, pasta, canned tomatoes, chickpeas, olive oil, vinegar, soy sauce, and a hot sauce let one set of groceries turn into several different meals across the week.
Buy versatile ingredients and change the flavour later. Chicken breast becomes curry, tacos, or sheet-pan dinner depending on the sauce. Ground turkey becomes meatballs, chili, or sloppy joes. This is how two base recipes avoid tasting like two base recipes.
Buy fewer fresh perishable items than you think. A head of lettuce and a punnet of berries bought on Sunday are usually limp by Wednesday, so buy them for the back half of the week and add them at eating time instead.
3. Prep Components Before Assembly
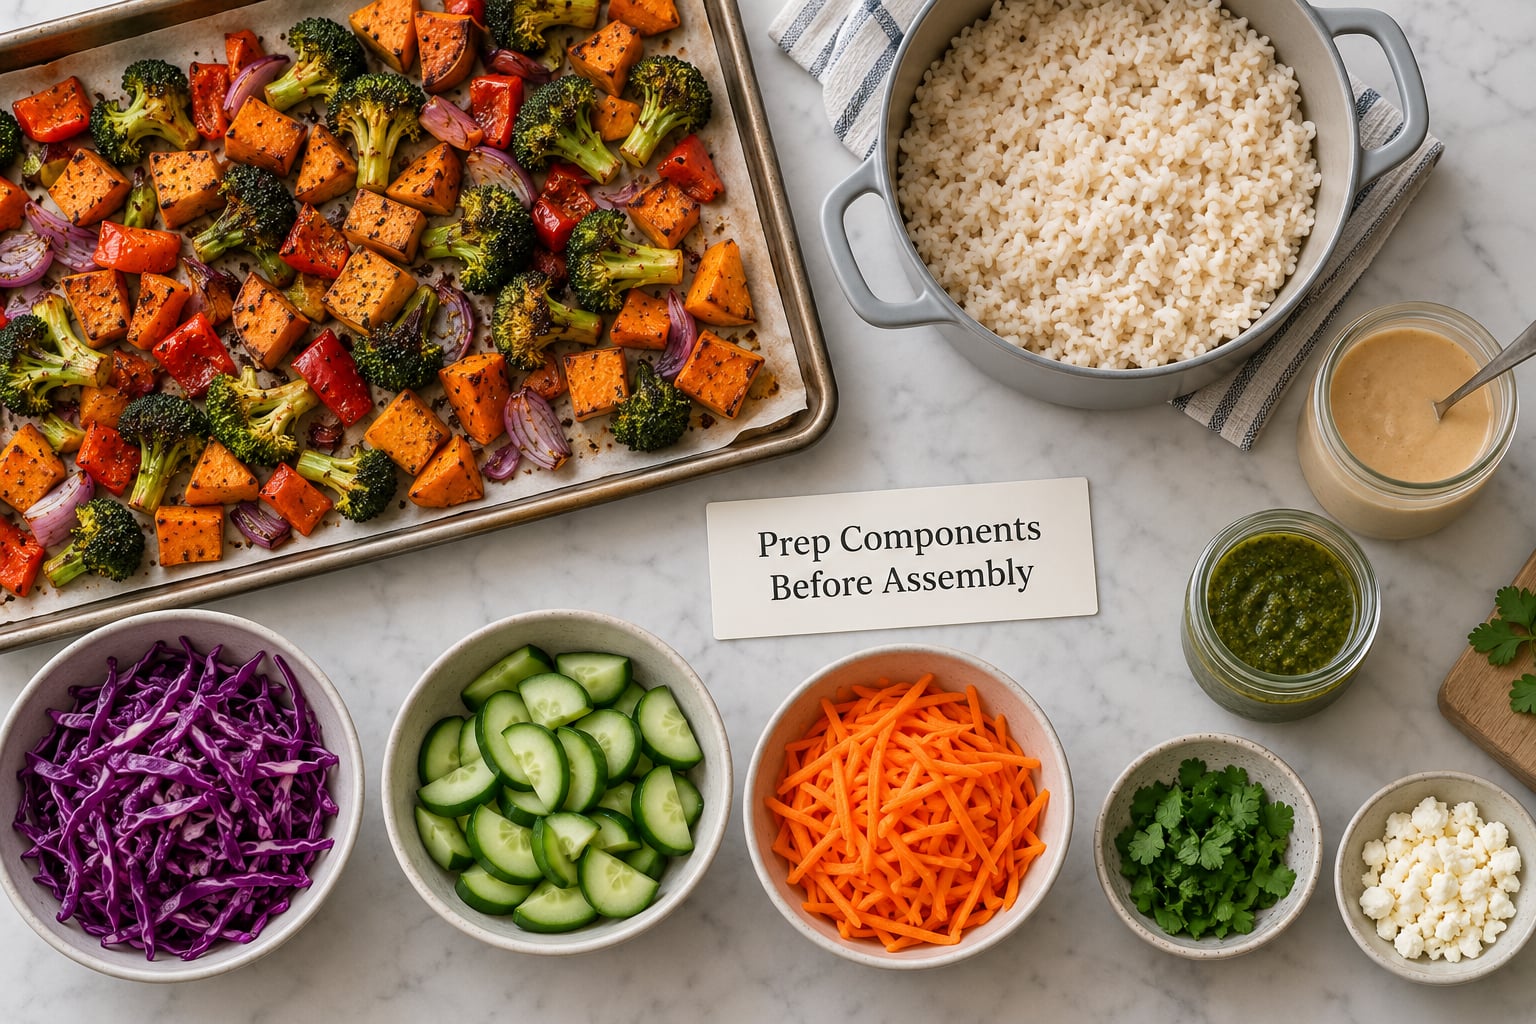
Prep components rather than complete meals. Cook a tray of vegetables, a pot of rice, and one protein, then let yourself combine them in different ways. This is the single biggest time saver and the simplest cure for food fatigue.
Use a two-hour session and run things in parallel instead of in sequence:
- 0-15 minutes: Put the oven on for the sheet pan, rinse and dry everything, and start the rice or grain.
- 15-35 minutes: Chop vegetables while the grain cooks. Dry surfaces matter more than speed here, because wet vegetables never brown.
- 35-60 minutes: Vegetables go in the oven, protein starts on the stove, and a dressing or sauce gets whisked together in a jar.
- 60-110 minutes: Protein finishes, everything cools on a board, and you start portioning.
- 110-120 minutes: Labels, lids, and cleanup while containers are still warm.
Start the oven first and let it heat while you chop. Doing the chopping before turning the oven on is a quiet way to add fifteen minutes to every session.
Cut vegetables thicker than feels right. Pieces shrink in the oven and go limp in a hot container, so a little extra size survives the week better. Save raw crunchy add-ins like lettuce, cabbage, cucumber, and fresh herbs for the end, in their own small container.
4. Assemble and Portion Meals
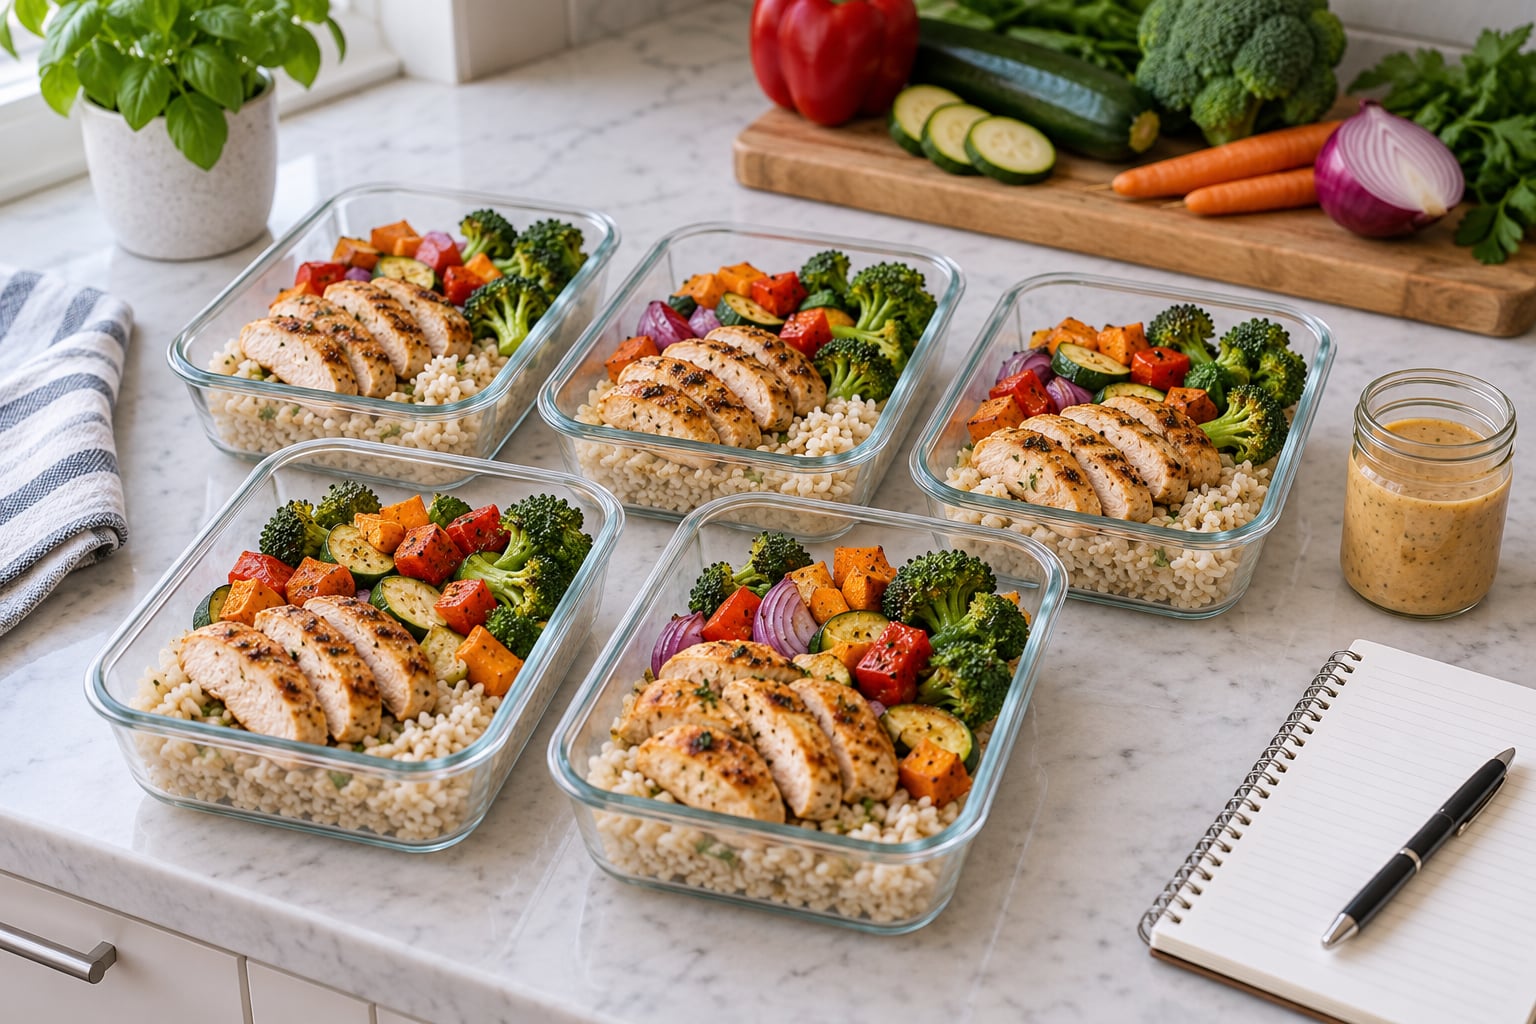
Build meals in the same order every time: grain at the bottom, protein next, vegetables on top. Consistent assembly means you can eyeball portions after the first two containers without weighing anything.
Vary the flavour across the week rather than the food. Same rice, same chicken, three different sauces, three different lunches. Add a fried egg or a handful of nuts to one portion, sprinkle sesame and spring onion to another, and the week stops feeling repetitive.
Keep sauces, dressings, and anything with texture in a separate small pot inside the container. A dressed salad sitting for four days goes soggy, and no amount of planning fixes that.
Label every container with the day and the dish, ideally on a strip of masking tape across the lid. A date matters more than a name, because the day tells you when it stops being good. Without a date, you are guessing at Thursday’s container and tossing food you would have eaten.
5. Store and Reheat Safely
Cool food in shallow containers so heat escapes quickly, and get it into the fridge within two hours of cooking. A big deep tub stays warm in the middle for hours, which is exactly what bacteria want.
Reheat until the centre reaches 165°F (74°C) for poultry and reheated leftovers, 160°F (71°C) for ground meat, and 145°F (63°C) for fish and whole cuts. Microwaves heat unevenly, so stir halfway through and check the thickest part, not the edge.
Follow these refrigerator and freezer windows rather than the smell test, because food can look and smell fine before it goes bad.
| Food type | Refrigerator | Freezer |
|---|---|---|
| Cooked poultry and fish | 3 to 4 days | 3 to 4 months |
| Cooked ground meat | 3 to 4 days | 3 to 4 months |
| Cooked whole cuts and deli meat | 3 to 5 days | 2 to 3 months |
| Soups and stews | 3 to 4 days | 2 to 3 months |
| Cooked rice, pasta, grains | 3 to 4 days | 3 to 4 months |
| Cooked vegetables | 3 to 4 days | 2 to 3 months |
| Salad greens, raw vegetables, cut fruit | 3 to 5 days | Not recommended |
Store containers toward the back of the fridge rather than in the door, where the temperature swings with every opening. If your fridge runs warm, a cheap thermometer on the middle shelf tells you more than any guess about your settings.
Freezing a Thursday and Friday portion on prep day covers the whole week safely. Move the frozen container to the fridge the night before, or put it in cold water for 20 minutes if you forgot.
Prep Styles: Which One Fits Your Week
Most people mix styles without thinking about it, then wonder why Sunday takes three hours. Pick one approach per week.
| Prep style | Best for | Time | Watch out for |
|---|---|---|---|
| Ingredient prep | People who want variety and cook a little at home | 60 to 90 minutes | Requires one decision each evening, so it is less useful on the busiest nights |
| Batch cooking | One-pot meals, soups, curries, stews | 90 to 120 minutes | Recipes can taste same-y by day four without a finishing sauce or fresh add-in |
| Full meal assembly | People eating five identical lunches at a desk | 60 to 90 minutes | Highest chance of boredom, and everything is committed before you know how the week goes |
For a first attempt, ingredient prep is the most forgiving. It gives you five days of food from a single cooking session, and changing what goes on top costs you nothing extra.
Common Mistakes
Vegetables turn to mush. Cut them thicker than looks right, roast them on a hot sheet pan rather than a cold one, and wait for the pan to preheat. Any liquid in the bottom of the container steams the food, so drain it before closing the lid.
Everything gets mixed together on day one. Dressing, sauce, and crunchy toppings belong in separate pots. The meal rebuilds itself in about a minute and the texture survives the whole week.
Containers get labelled with a name but no date. The name is for you, the date is for safety. Without it you will hold a Wednesday container and guess.
Everything is cooked on Sunday. Five days is the practical ceiling for most refrigerated food. Freeze the later portions on prep day, or split the work and do a twenty-minute top-up on Wednesday evening.
Reheating runs hot at the edges and cold in the middle. Stir halfway through, cover loosely, and check the thickest part of the food rather than the container wall.
Too many new recipes at once. Try one new dish per week and keep the rest to meals you already cook well. A failed new recipe on a Sunday night costs you the whole week.
Buying fresh produce for Monday on Sunday. Delicate greens, berries, and cut fruit are the first things to turn. Buy those midweek, or add them fresh at eating time.
Tips for Making Weekly Meal Prep Easier
Cook components, not finished meals, and rotate two base recipes rather than planning seven. That single change is usually the difference between a two-hour session and a four-hour one.
Use leftovers deliberately. If Monday’s sheet-pan makes six portions and you only need two, the extra two are Tuesday’s lunch, already cooked and already portioned.
Start one oven dish on Saturday night. Cooking dinner the evening before shortens Sunday by the length of one tray, and the decision is already made.
Keep one emergency meal that does not require planning, such as pasta with a jar of sauce, so a bad day does not become a takeout day.
Prep snacks in their own small containers. Hunger between meals is the most common reason prepared meals get skipped, and a handful of nuts or cut fruit beside the door fixes it.
If a partner or housemate eats with you, split the session. One person runs the oven and one runs the stove, and the whole thing finishes in about an hour.
Move the oldest containers to the front of the fridge on prep day and the freshest to the back, so you empty the day-one meals first and stop tossing food you never touched.
Frequently Asked Questions
How many days of meals should I prep at once?
Prep three to five days at once. That is the window most refrigerated cooked food safely covers, and it matches the workweek for most people. Prepping seven days usually means the last two are eaten after their best quality has passed. Freeze the Thursday and Friday portions on prep day instead, or add a short midweek top-up session on Wednesday evening.
How long does meal prep last in the refrigerator?
Cooked poultry, fish, ground meat, rice, pasta, and cooked vegetables keep for three to four days in the fridge at or below 40°F (4°C). Cooked whole cuts and deli meat hold three to five days. Use a date on every container and eat the older meals first. When in doubt, discard the food rather than relying on smell alone, since bacteria can grow before food smells off.
What foods should I avoid meal prepping for the week?
Skip salad greens, fresh berries, cut fruit, and crisp raw vegetables that will be eaten after day two, because they wilt long before Friday. Delicate herbs keep a little longer in a damp paper towel inside the container. Deli meat, hot dogs, and seafood salads are the ones worth buying fresh during the week, since they carry a shorter safe window than most home cooking.
Can I freeze meals prepared for the week?
Yes, and it is the standard fix for prepping more than four days. Cool the food fully, portion it, and freeze, then move the container to the fridge the night before you plan to eat it. Soups, stews, curries, rice bowls, and cooked grains freeze well. Salads, pasta with a creamy sauce, and anything with raw vegetables do not freeze well and turn watery or limp once thawed.
How do I stop weekly meal prep from becoming boring?
Keep the components the same and change the finishing. Two base recipes with three different sauces, three toppings, and a fried egg or seeds on some days read as six different meals. Another approach is to eat one meal on Monday and Tuesday, a different one on Wednesday and Thursday, and a flexible leftover meal on Friday. Fresh add-ins at eating time also help, since they keep the plate from tasting like day one.
What containers work best for meal prep?
Glass is the easiest all-round choice because it goes in the oven, microwave, and dishwasher and does not stain. Look for containers with separate compartments or a small pot for sauce. Plastic is lighter and cheaper, and works for dry foods and cold storage. Stainless steel keeps food cold on a commute but is not microwave safe, so it is best kept for cold meals and snacks.
Conclusion
Start with a five-day menu built on two base recipes, write a shopping list that begins with your own pantry, and prep only the components you will realistically eat before Friday. Freeze anything later, label every container with a date, and the habit tends to stick on its own from there.