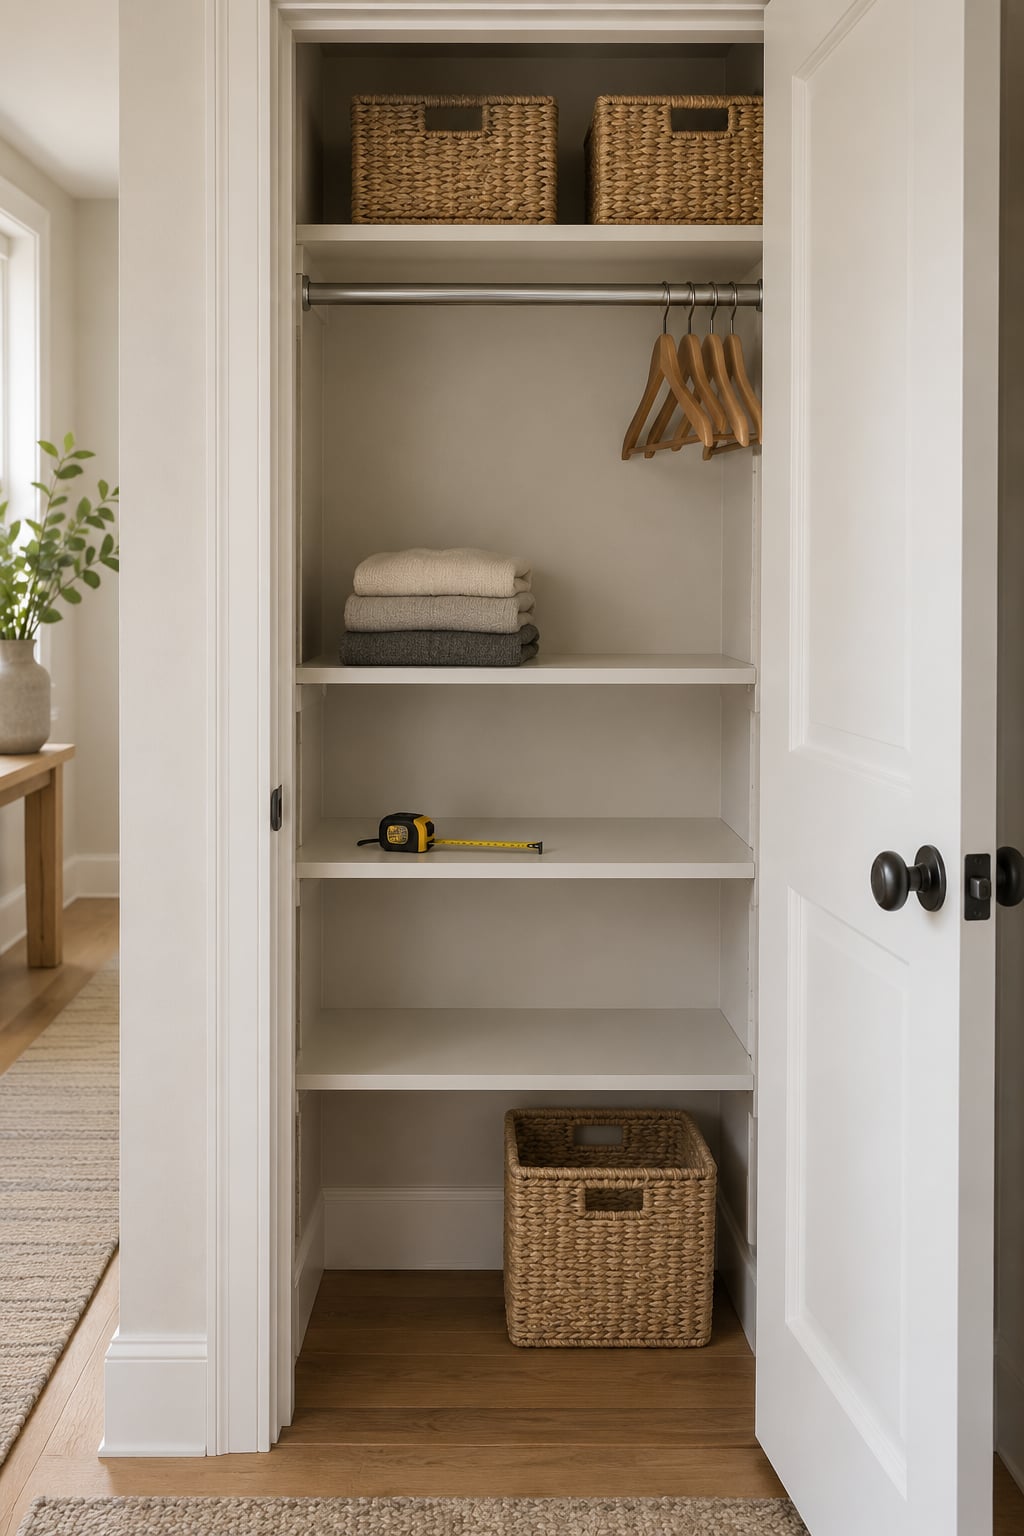
How to organize a small closet comes down to four stages: cut what you do not wear, work out what the space can physically hold, then give every item a home with vertical storage and labeled containers. Most small closets are not badly designed, they are just carrying twice the clothes their rod and shelves were built for. A single weekend of sorting, measuring and filing is usually enough to make a reach-in closet feel twice the size it is.
Here is the short version if you want the answer and nothing else:
- Empty it completely. Everything out, including the top shelf nobody has touched in years.
- Clean the shell. Vacuum the corners, wipe the rod, and let the closet dry fully before anything goes back in.
- Measure before you buy. Note the rod length, shelf depth and the gap between the door and the hanging clothes.
- Apply a hard capacity limit. Know what fits, then donate or sell everything past that number.
- Zone and label. Daily wear at eye level, folded knits on shelves, off-season items above or outside the closet.
The order matters more than the supplies. Organizing before decluttering just builds a prettier version of the same problem, and buying organizers before measuring is the single most common reason a small closet project stalls on day two.
Table of Contents
- What You Need
- Step-by-Step: How to Organize a Small Closet
- How to Organize a Small Closet for Everyday Items
- How to Organize a Small Closet for Seasonal Clothing
- Choose Containers That Fit the Shelves
- Common Mistakes
- Frequently Asked Questions
- What is the best way to organize a small closet?
- Where should everyday clothes go in a small closet?
- How can I organize a closet with no shelves or doors?
- What storage bins are best for a small closet?
- What is the 3-3-3 rule for decluttering?
- How often should I reorganize a small closet?
- Conclusion
What You Need
You need very little, and most people already own most of it. The goal is a closet you can keep tidy, not a matching set of everything at once.
- Measuring tools. A tape measure, and a pencil to note shelf depth and rod length. A rigid ruler or a piece of string is a fine stand-in.
- Bags or a tarp. For the sorting piles. Bed corners and a laundry basket work too.
- Cleaning supplies. A vacuum with a narrow crevice tool, a damp cloth, and a step stool. Replace a smelly carpet or sweep out construction dust before you start stacking.
- Hangers. Slim velvet or felt hangers are the single biggest space win for most people, because they cut the thickness of a garment roughly in half compared with bulky plastic and wire hangers.
- Bins and baskets. Two or three sizes, all the same style, with a simple way to label them. Clear or open-front styles beat opaque ones because you should not have to unpack a bin to know what is inside.
- An adjustable hanging bar or tension rod. Optional, and the answer if your closet has no rod at all or a rod mounted far too high.
- Battery LED pucks or a strip light. Optional but transformative. Dark closets get abandoned because searching them is annoying.
If you rent, skip anything that requires drilling into the closet shell unless your lease allows it. Tension rods, over-the-door racks, hook rails hung on the door, and adhesive or magnetic mounts all work without touching the walls.
Step-by-Step: How to Organize a Small Closet
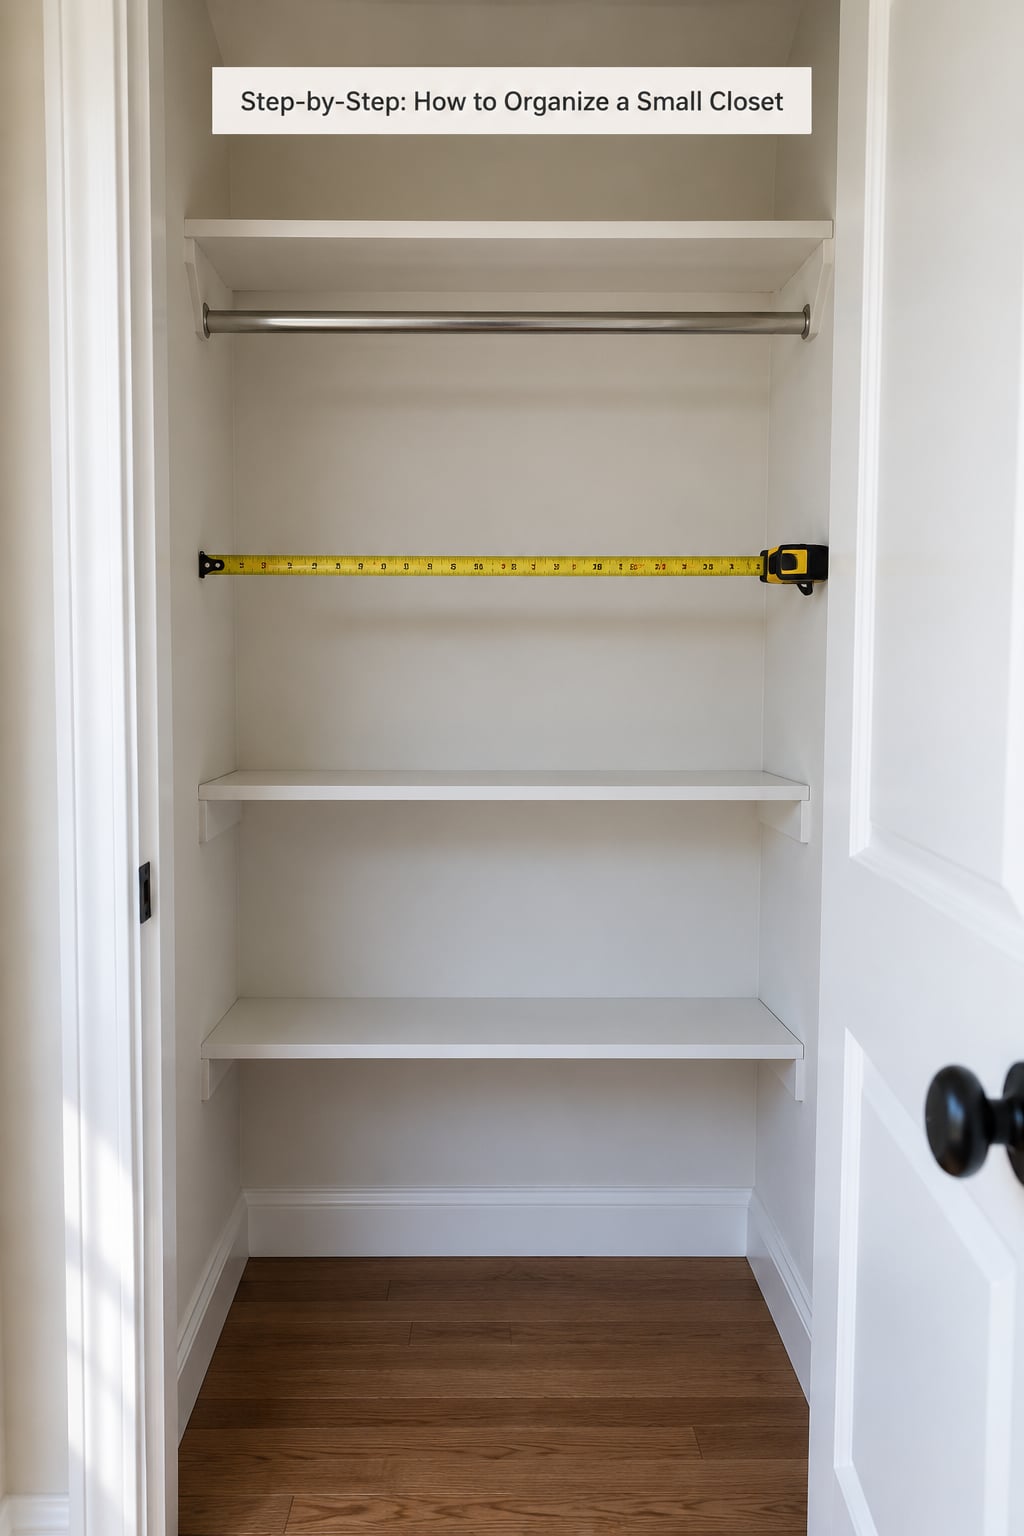
Work through these six stages in order. Each one takes 30 to 45 minutes on a small reach-in closet, and the whole job fits into an afternoon plus one evening for the shelving work.
Step 1: Clear the closet completely. Take out every hanger, every bin, every shoe. Wipe the shelves as you go so grime does not end up sealed inside a bin. Put the closet contents into four temporary piles: keep now, keep but not often worn, repair, and donate. The fourth pile is usually the surprise, because clothes that are worn but unwanted look identical to clothes that are wanted until you hold them one by one.
Step 2: Clean and dry the empty shell. Vacuum the corners and the track, wipe the rod, and check for dampness or a musty smell that a bin will happily preserve. A closet that smells stale will smell worse once it is packed, so address that before anything goes back in.
Step 3: Measure, then write the capacity down. Record the rod length, each shelf’s width and depth, the height between shelves, and the gap between the door and the front of the hanging clothes. On a typical reach-in, that gap is 6 inches, which determines whether you can use deeper bins at all.
Step 4: Edit against that number. This is where knowledge of how to organize a small closet with lots of clothes turns into a closet that stays organized. Ask three things of each item: did I wear it in the last 90 days, can it be replaced easily, and does it fit the zone I have assigned it to. Two out of three is a donate signal. The backwards-hanger trick works well here: hang everything you would wear again facing forward, and turn the rest around for a month. Whatever stays backwards was not worn, whatever moved to the front was.
Step 5: Install the space-maximizing hardware. If you own the closet, the highest-impact changes are a second lower hanging rod for folded and short garments, an over-rod shelf for boxes and bags, and shelf risers to lift the existing shelves and open up the floor. If your closet has no rod at all, a closet rod with two flange brackets and screws is a small afternoon job, and it changes the closet from a shelf-only space into a real hanging space. Renters should use a tension rod instead.
Step 6: Zone, then arrange by frequency. Assign each category a home and give the best real estate to the things you reach for most. Put your everyday wear between roughly 40 and 68 inches off the floor, which is the band you can reach without stretching or squatting. Folded items stack neatly, hanging items get the rod, and anything seasonal moves up or out.
Before you rebuild anything, it helps to know the honest limits of the space. The table below is a realistic guide for a standard reach-in closet with a single rod and two to three shelves, assuming you switch to slim hangers.
| Closet width | Hanging items on one rod | Folded items per shelf | Shoes |
|---|---|---|---|
| 24 inch | About 20 to 25 | About 10 to 12 stacks | About 6 pairs |
| 36 inch | About 30 to 36 | About 15 to 18 stacks | About 10 pairs |
| 48 inch | About 45 to 50 | About 20 to 24 stacks | About 15 pairs |
Add a second rod and the hanging capacity roughly doubles in a closet that can take one. Two rows of pants on a tiered hanger also stretch a single rod by a factor of two or three compared with hanging them full length.
How to Organize a Small Closet for Everyday Items
Everyday items earn the middle band and the front row. If you can only see one thing when the door opens, it should be the outfit you actually wear, not the box of seasonal sweaters.
Group by how you get dressed, not by how it looks on a shelf. Shirts together, bottoms together, outerwear on the rod nearest the door, and the things you grab without thinking at arm’s length from the door. Among each group, order light to dark so an outfit is visible as a set rather than hidden behind a black coat.
Hang versus fold is the next decision, and it is mostly about structure and how often you wear the piece.
| Garment | Hang or fold | Reason |
|---|---|---|
| Blouses, dresses, blazers, structured jackets | Hang | They crease badly and hold their shape on a hanger |
| Sweaters, cardigans, hoodies | Fold on a shelf | Hanging stretches the shoulders and the neck |
| Shirts and trousers | Hang, or fold with file folding | Filing makes them visible inside the drawer or bin |
| Jeans, leggings, workout wear | Fold or roll | Folds flat and stacks without a hanger |
| Linen and lightweight summer pieces | Hang | They wrinkle in a drawer and need air |
| Scarves, belts, ties | Roll or hang on hooks | They tangle and stretch flat in a bin |
For knits, file fold them: stack the garment flat, fold it in thirds, then fold it vertically so the fold edges face up like files in a drawer. Each piece is visible without pulling anything out, which turns a stack of twenty sweaters into something you can actually shop through.
How to Organize a Small Closet for Seasonal Clothing
Seasonal clothing is the category that decides whether a small closet works, because coats and heavy knitwear take up the most room per item. The rule is simple: nothing that belongs to another season lives in the closet during the wrong season.
Clean everything before it goes into storage. A cashmere sweater packed with a spot you never notice can come out with a mark you cannot remove. Then pack in breathable cotton or canvas bags rather than airtight plastic, which traps moisture and yellows wool over time. Vacuum bags suit coats and puffer jackets; they do not suit anything wool or delicate.
Where it goes depends on the closet. The top shelf above the rod is the default for rarely touched items, with the standard advice being to keep that surface clear and clearable, not stacked eight bins deep. A wire shelf near the ceiling is better still, and bins on the top shelf should be labeled on the front edge where they are visible from the doorway, not on the front where nothing can read them.
Plan a two-week swap each season rather than a weekend purge. Anything in storage that you did not reach for last season is a candidate for donation before it comes back out. A lot of people discover their winter storage is really just last winter’s decisions that never got revisited.
Choose Containers That Fit the Shelves
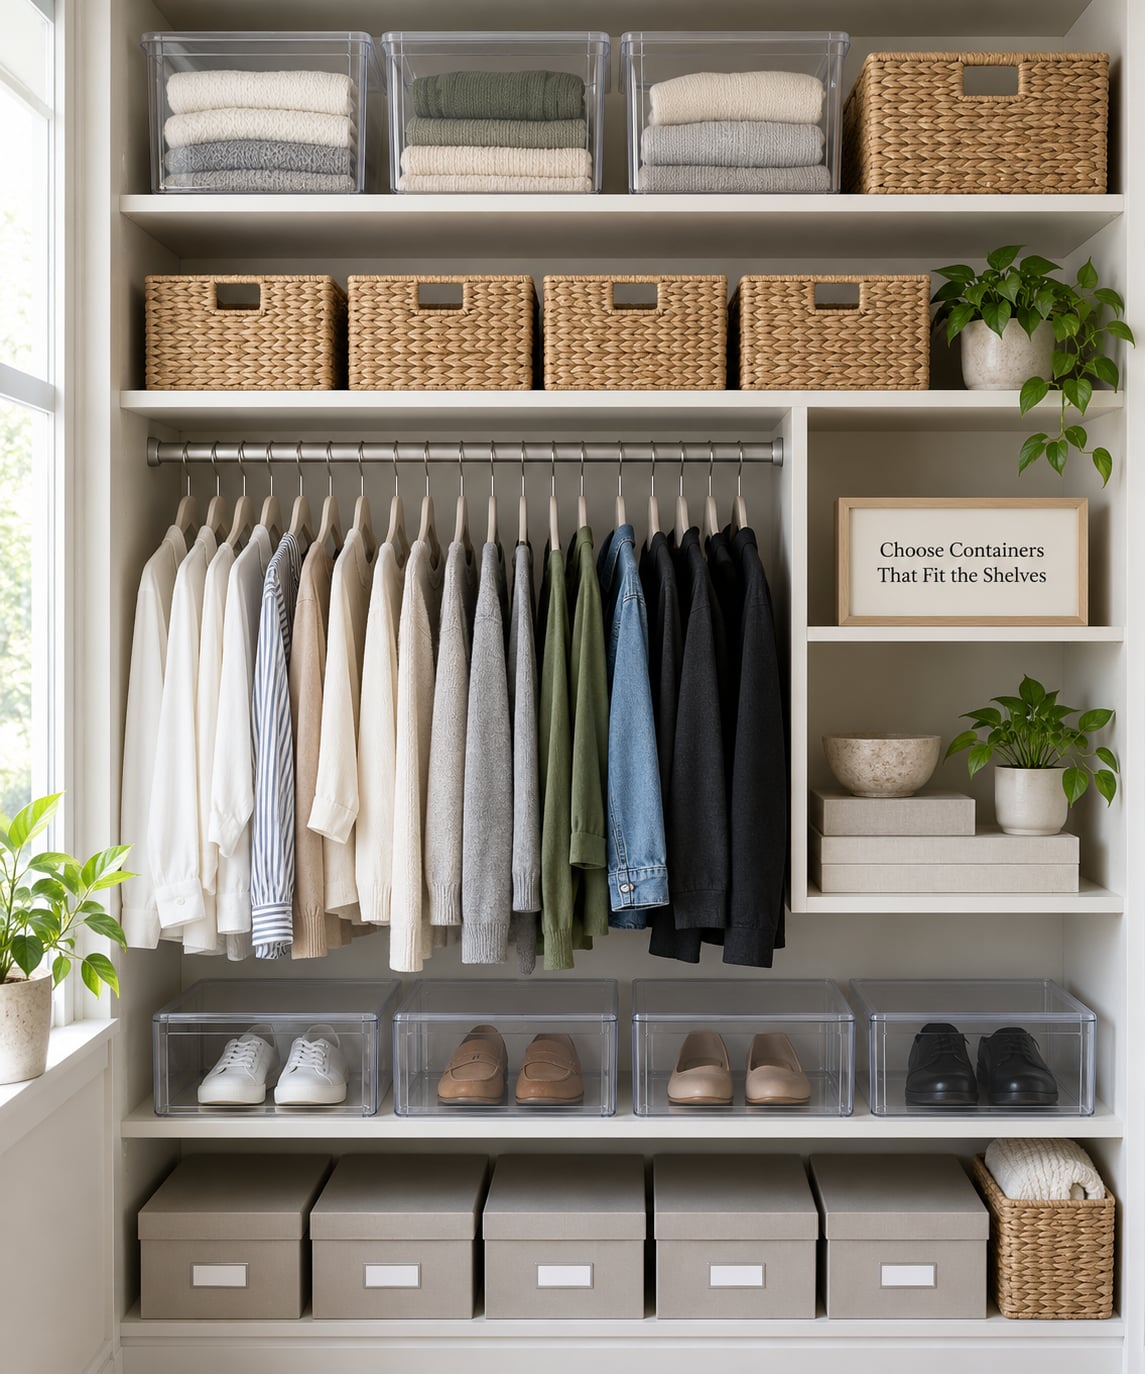
Bins are the last step, not the first. Once you know your shelf dimensions and how heavy the contents are, choosing containers takes about five minutes.
Measure the shelf opening, not the shelf surface, and choose bins that clear the front edge so you can slide them out without tilting. Depth matters more than width: standard 12 inch deep shelves swallow door clearance and block the view of the closet floor, so 10 inch bins are usually the better fit in a reach-in. Match bin height to the gap under the shelf above so you can stack only one high and still see the contents.
Weight decides the material. Plastic bins are light and cheap but bow under a stack of jeans. Wire baskets handle heavier loads and let you see what is inside, at the cost of showing clutter, so pair them with a liner or a lid. Fabric baskets hold light items like scarves and tees only; sweaters and jeans will crush the sides.
Keep one bin style in one color. This is advice that shows up constantly in organizing advice because it is the least popular and the most effective: a small closet full of mismatched containers looks like a jumble no matter how well it is sorted, while the same closet with four identical clear bins and a plain label reads as organized from the doorway.
Label in a way you can read from standing height. A label holder on the bin front works best, and one written with a marker on the shelf edge works nearly as well and costs nothing. Label by category rather than by item, for example work shirts and weekend shirts, so the bin stays meaningful as its contents change.
Avoid stacking more than two high, especially in a closet you reach into. The top bin becomes a lid on the one below it, and you will stop using both. If you need more vertical capacity, a shelf riser or an additional shelf solves the problem properly; tall stacks just hide it.
Storage choice also depends on what kind of closet you have.
| Storage type | Effort | Best for | Renter safe? |
|---|---|---|---|
| Slim velvet or felt hangers | Swap out existing hangers | Any closet with a rod | Yes |
| Tiered or cascading hanger | None | Pants, jeans, scarves on a single rod | Yes |
| Tension hanging rod | Brackets and a level | Closets with no rod, or a rod mounted too high | Yes |
| Over-rod shelf | Brackets and screws | Top-of-rod dead space | Use adhesive mounts |
| Shelf risers | Lift and measure | Opening up floor-level dead space | Yes |
| Over-the-door rack or hook rail | Hang on the door | Doors that swing inward, hats and bags | Yes |
| Second rod installed | Drill and level | Homes with permission to modify the closet | No |
| Bin and basket set | Measure then buy | Shelves, top shelf, off-season storage | Yes |
Two closet shapes deserve their own note. In a sloped-ceiling or attic closet, the usable height changes across the width, so measure at the front and at the back and place the shelf at the lower measurement or lose several inches at the front. In a deep closet, put your most-worn items on a rod that pulls forward, because clothes pushed to the back of a deep closet are clothes you stop wearing.
A word on doors. Closet doors that swing inward block access to the bottom half of the closet, which is the most-used part of it. If you own the closet and it is a hinged door, removing it is the single cheapest square inch you will ever gain, and the only time to do it is while the closet is empty.
Common Mistakes
Almost every failed small closet project comes down to one of these seven.
- Buying organizers before measuring. Fix: tape measure, three measurements written down, then measure the bin. A bin that is 2 inches too deep will not slide out.
- Sorting by category only, ignoring frequency. Fix: put your top 30% of worn items at eye level and everything else above or below it. Grouping by category alone is fine; grouping by category without regard for what you wear daily is what produces a closet you avoid opening.
- Filling the closet to the brim. Fix: aim for about 80% full. A closet packed to the ceiling reads as full and works as full, and the extra 20% is what absorbs the laundry and the items you did not know you needed to store somewhere.
- Stacking containers too high. Fix: one bin high on a shelf, two at most, and only when the lower one stays accessible.
- Opaque, mismatched containers. Fix: pick one style and one color for the closet, and use clear or open-front so you can see contents without unpacking.
- Bad labels, or none. Fix: label bin fronts and shelf edges in large writing, with categories rather than item names.
- No maintenance step. Fix: a ten-minute reset once a week, which is the whole fix.
The weekly reset is simple. Sunday morning, ten minutes: return strays to their zones, put one load away fully instead of half, and take anything out that you have been avoiding. If a category has spilled into two zones for weeks, that category needs a different container, not more discipline.
Two smaller habits matter more than they sound. Try on anything before you keep it after an edit, because a closet organized around clothes that do not fit or do not flatter is a photo of a system rather than a working one. And keep one out-of-closet overflow basket, so there is somewhere for the one item that has no home yet instead of it becoming the start of a new pile.
Frequently Asked Questions
What is the best way to organize a small closet?
Edit first, then zone. Take everything out, sort it into wear often, wear rarely and donate, and measure the rod and shelves so you know the real capacity. Put everyday clothing at eye level, folded items on the shelves, seasonal items above or outside the closet, and use slim hangers plus matching labeled bins to make the space hold more. Most of the improvement comes from removing items, not from hardware.
Where should everyday clothes go in a small closet?
On the rod and shelves between roughly 40 and 68 inches off the floor, which is the band you can reach without stretching or squatting. Group daily wear by type, with outerwear closest to the door and shirts, bottoms and dresses together, ordered light to dark. Keep one out-of-closet basket for the current outfit so the closet only holds what you are not wearing today.
How can I organize a closet with no shelves or doors?
Without shelves, build storage upward instead. A tension or installed hanging rod handles garments, a tiered hanger doubles pants capacity, and over-the-door racks and hook rails use the door panel that is otherwise dead space. For vertical storage without drilling, use a leaning shelf or a freestanding closet organizer set flush to the wall, then add one narrow shelf above the rod if the ceiling height allows.
What storage bins are best for a small closet?
Choose based on the shelf opening and the weight of what goes inside. Clear or open-front plastic bins up to about 10 inch deep suit most reach-in closets, wire baskets handle heavier loads like jeans and let you see the contents, and fabric baskets work only for light items such as scarves and tees. Measure the shelf gap first, pick one style and one color for the whole closet, and avoid stacking more than two high.
What is the 3-3-3 rule for decluttering?
Keep three of anything you have worn in the last three months, donate anything you have not worn in three years, and take three years to buy a replacement for something you regret. It is a fast filter rather than a strict deadline, and it works well on a closet because the categories are clear: unworn clothes go out, worn clothes come in, and duplicates lose. Apply it once per closet rather than continuously.
How often should I reorganize a small closet?
Do the full reset twice a year, at the end of each season, and spend ten minutes a week on maintenance. A weekly pass returning strays to their zones prevents the slow drift that makes a big reset necessary. If a category keeps spilling into two zones for more than a month, the fix is usually a different container or a different home for that category rather than another reorganization.
Conclusion
Organizing a small closet is a capacity problem before it is a storage problem. Cut the wardrobe down to what the rod and shelves can actually hold, then assign each category a home, keep everyday pieces at eye level, and use slim hangers, a second rod where you are allowed one, and a small set of matching labeled bins for everything else.
Start with the first thing this weekend: take everything out. That is the step people skip, and it is the one that makes every step after it faster. Measure before you buy anything, and give yourself one hour a week to put things back where they live.