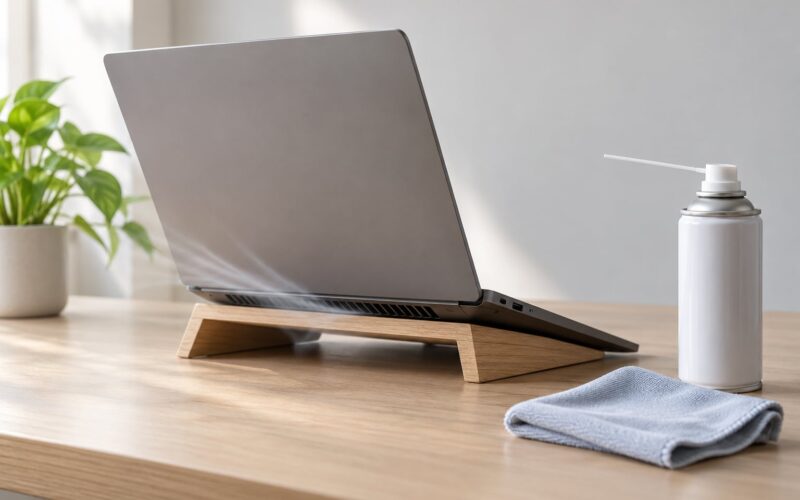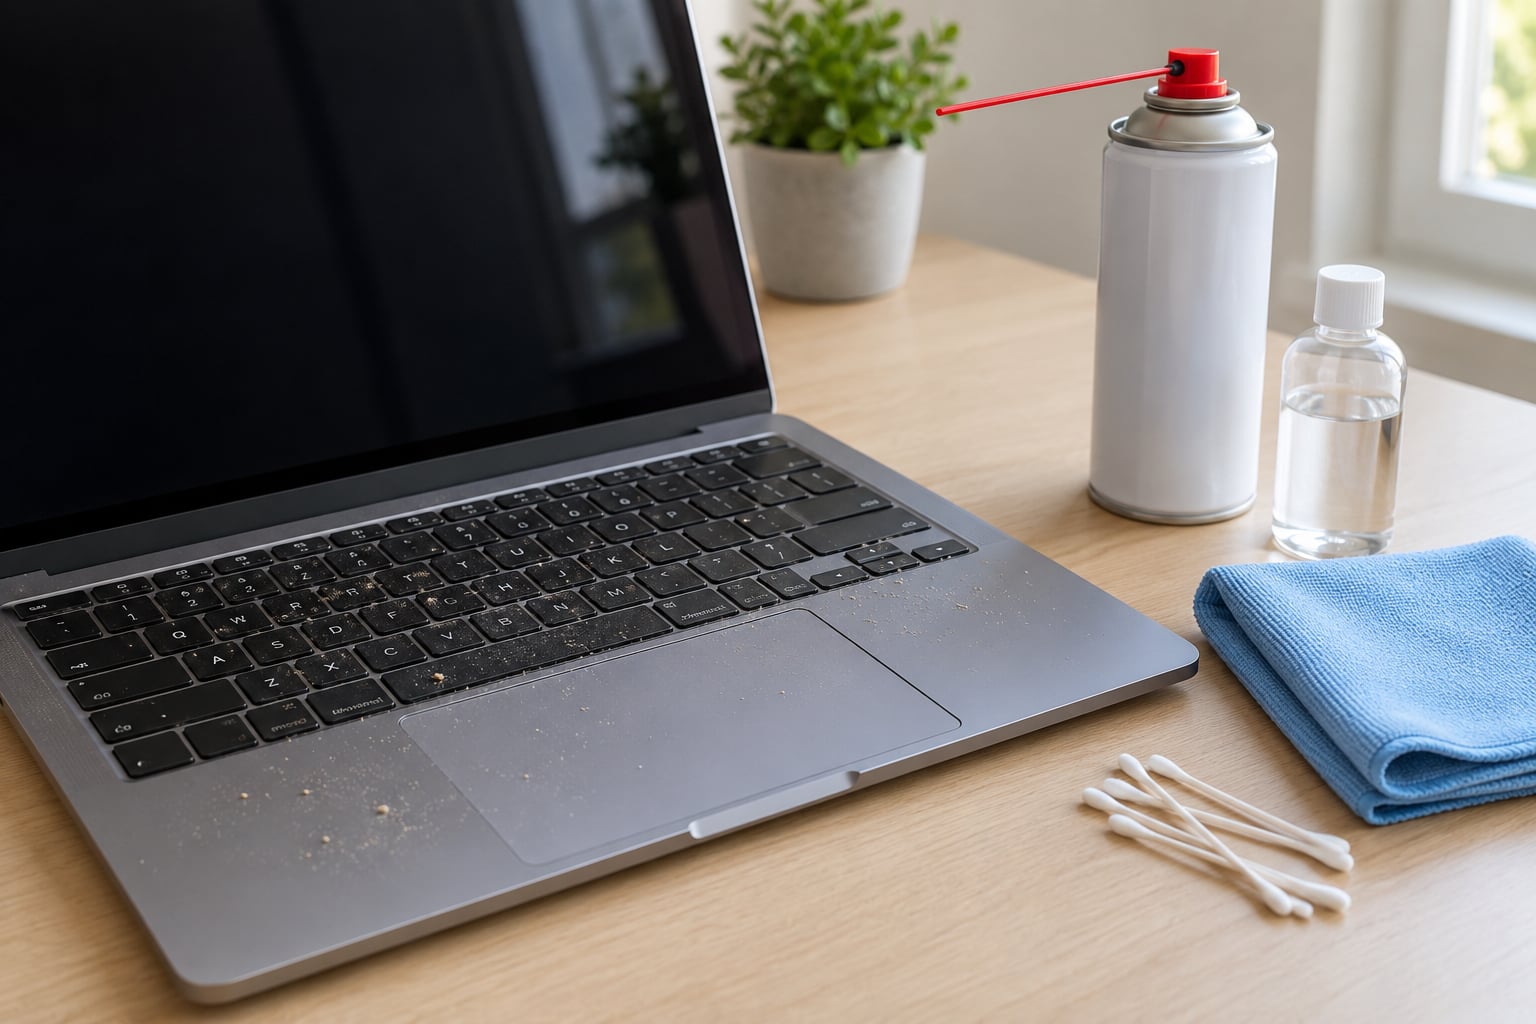
To clean a laptop keyboard safely, shut it down completely, unplug the charger, blow out crumbs and dust with compressed air, then wipe the keys with a microfiber cloth lightly dampened with 70% isopropyl alcohol. Never spray liquid straight onto the keyboard. The whole job takes about 20 minutes on a laptop, and almost all of that is drying time.
The mistake people make is treating it like a dirty plate. A keyboard is a circuit board sitting a millimetre under a bunch of plastic caps, so liquid goes places you cannot see.
I have cleaned mine roughly every three weeks for years, mostly because I eat at my desk and crumbs appear in the space bar well within a week. My rule is simple: dry cleaning first, damp cleaning second, and never more moisture than a damp cloth can hold.
Table of Contents
- What You Need
- Step-by-Step
- How to clean a laptop keyboard safely with compressed air
- How to remove crumbs and dust from individual keys
- How to disinfect a laptop keyboard without damaging it
- How to know when a laptop keyboard needs professional cleaning
- Common Mistakes
- Spraying cleaner directly onto the keyboard
- Using a household glass cleaner
- Using too much liquid
- Forcing a keycap that will not release
- Running a vacuum over a powered-on laptop
- Reaching for abrasive pads
- Cleaning while the laptop is on
- Frequently Asked Questions
- Can I use isopropyl alcohol to clean my laptop keyboard?
- How do I clean a laptop keyboard without removing the keys?
- What percentage of isopropyl alcohol is safe for a laptop keyboard?
- Is compressed air safe for cleaning a laptop keyboard?
- How do I clean a laptop keyboard after spilling liquid on it?
- How often should I clean my laptop keyboard?
- Conclusion
What You Need
Everything on this list is cheap and you probably already own some of it.
- A powered-off laptop. Fully shut down, not asleep or hibernated, and unplugged from the charger.
- Compressed air canister. The electronics kind, held upright while you use it.
- Microfiber cloth. A plain one, washed and dried, no fabric softener residue.
- Soft-bristled brush. An old clean paintbrush or a soft toothbrush works.
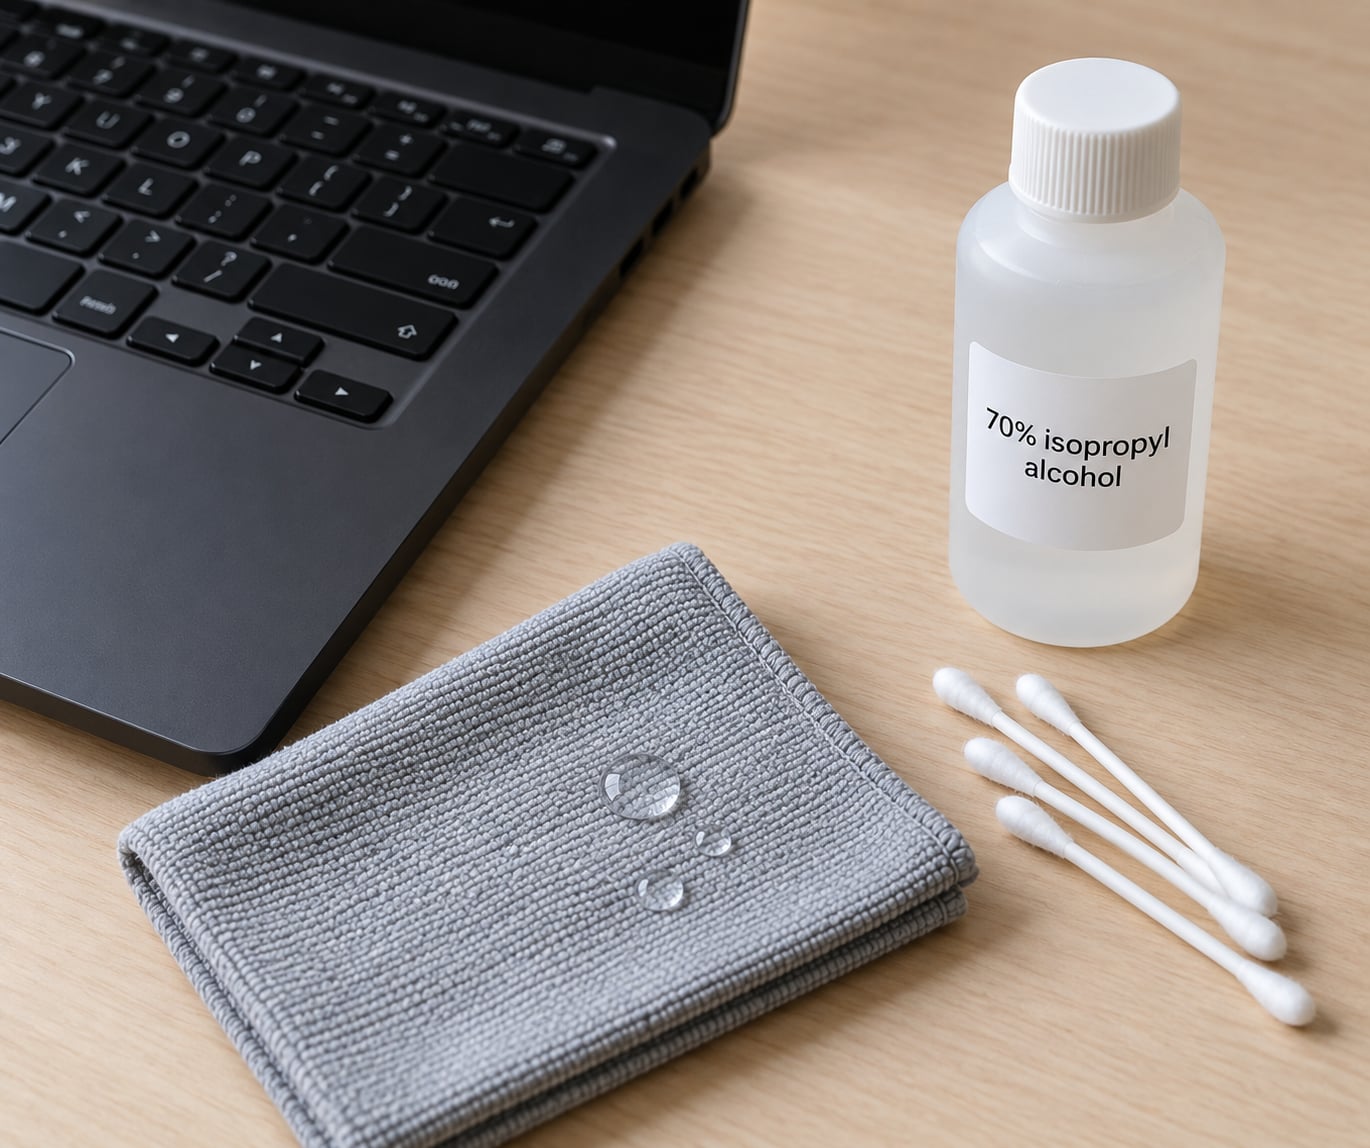
- 70% isopropyl alcohol. Also sold as rubbing alcohol or electronics cleaner.
- Cotton swabs. A few, plus one or two you are willing to sacrifice.
- Small flashlight. Optional, but it makes a sticky key much easier to diagnose.
Before you start, check your laptop’s manual or the manufacturer’s support page. Apple, Dell, HP, Lenovo and Microsoft all publish cleaning notes, and some models flag specific areas to avoid or parts that are not user-serviceable. If your warranty is still active, follow their instructions over anything you read here, including this guide.
Work over a hard table rather than a sofa or bed, and set up before you power down. If something falls out of a keywell you want to catch it, not hunt for it later. Keep the can of compressed air standing upright next to you; laying it on its side is how propellant ends up on your keys.
Step-by-Step
Here is the order that keeps the risk lowest. Do not reorder it: dust removal comes before damp cleaning because a wet surface traps dust rather than lifts it.
- Shut down and unplug. Hold the power button for a few seconds after you close the lid if you are not sure the machine is fully off. Unplug the charger and remove any USB device you have plugged in.
- Let it cool. A laptop that has just been running is warm, and warm air draws moisture in. Ten minutes on a hard surface is plenty.
- Turn it upside down over a bin or sheet of paper. This is the fastest way to catch what nobody sees during normal use: crumbs, dried seed husks, that one sunflower seed.
- Blow out the debris. Short bursts of compressed air at a shallow angle, working across the board rather than blasting one spot.
- Loosen what is stuck. Run the soft brush lightly between the keys and along the edges of each keycap to lift grime and dried residue.
- Damp-wipe the keycaps. A microfiber cloth with a few drops of 70% isopropyl alcohol, wrung out so it does not drip when you squeeze it.
- Detail the gaps with swabs. Dampen a cotton swab, not dripping, and run it along the seam where the keycap meets the deck.
- Leave it open and dry. Give it a minimum of 30 minutes before you close the lid or power it back on, longer if you used alcohol heavily.
- Test every key. Press each one. Note any that feel stiff, sticky or dead before you clean again, so you know whether the problem is dirt or hardware.
That last step matters more than people expect. A key that was already failing feels the same as a key that got wet and now feels bad.
How to clean a laptop keyboard safely with compressed air
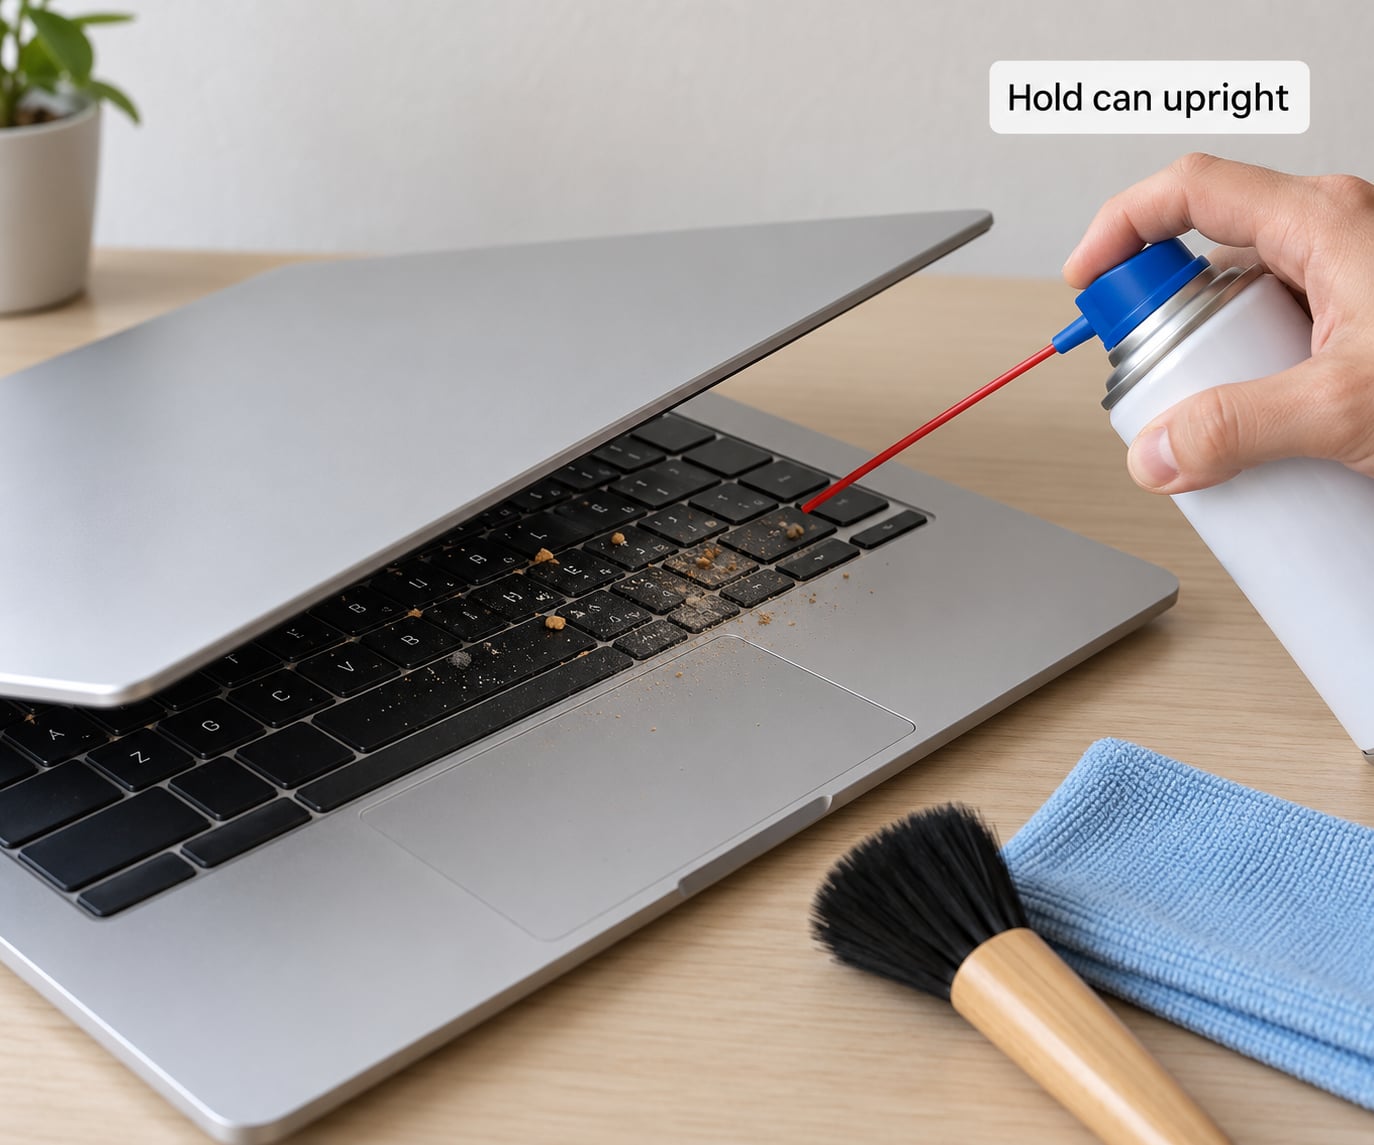
Compressed air works because it moves air from somewhere you cannot see to somewhere you can. Hold the laptop at roughly a 45-degree angle with the far edge raised, key deck facing down and slightly toward you, so debris falls away instead of inward.
Then use short bursts of one to two seconds, not a continuous stream. Long blasts can force crumbs deeper under the membrane and onto internal sheets, where they cause key chatter later.
Keep the can upright. This is the single most common error: tilt a compressed air canister and propellant liquid can spit out with the gas, which is exactly what you were trying to avoid. If you hear liquid, stop and let the machine sit open for an hour.
Work in rows from one side to the other and watch the direction the dust travels. If it is moving toward the hinge or into a power button, change your angle. Keep about an inch between the nozzle and the keys so you do not damage the legends or shine the plastic.
Move the laptop, not your technique, between passes. Debris that settled in the hinge area or the speaker grille will not come out if you keep pointing at the same spot.
How to remove crumbs and dust from individual keys
Most crumbs come out with air and a brush. You only need to lift a keycap when grime has packed underneath it and nothing else moves the buildup.
Not every key comes off. Full-size desktop-style keyboards, most ThinkPad models and many gaming laptops have keycaps that lift straight up. Low-profile scissor keyboards and MacBook butterfly designs have almost no clearance and clip-mounted caps that can snap if you lever them.
On a key that lifts up, switch the laptop off, slide a thin plastic card or a dedicated keycap puller under the cap from the side, and lift straight up slowly with even pressure. Never pry from one corner with force. If it resists hard, stop.
Shake the loose debris out, wipe underneath with a barely damp cloth if you must, then let everything sit until it is completely dry. Reinstall by pressing the cap down evenly with both thumbs until it clicks evenly on all four corners.
If a key does not click back into place, or if it sits lower than its neighbours, leave it and have a technician look. A bent retainer clip reads as a dead key for the rest of the machine’s life.
On the whole: take photos of each key before you pull it. Matching the shape and orientation back to its slot is faster than guessing, and getting it wrong is how keys end up dead.
How to disinfect a laptop keyboard without damaging it
70% isopropyl alcohol is the standard choice because it dissolves skin oils, kills most germs on a surface, and evaporates fast enough that it does not linger inside a key. Higher concentrations clean faster and evaporate faster, but they can attack some plastics and keycap coatings, so 70% is the sensible default.
Dampen the cloth, not the keyboard. Put a few drops on the microfiber cloth, spread it out, and test it on an unnoticeable spot such as the palm rest or the underside edge first. If it beads or leaves a mark, use less.
Wipe each keycap with a couple of firm passes, then work the deck around the keys. Turn the cloth often, because that is where the oil goes, and a cloth saturated with grime just spreads it around.
For the seams between keys, dampen a cotton swab until it is damp but not dripping, hold it flat, and drag it along the gap. Never push a wet swab deep into the mechanism. Let it rest on the surface and do the work.
Alcohol wipes and disinfecting wipes with quaternary ammonium ingredients are usually fine when they are barely damp. Clorox-type bleach wipes are not: they leave a residue that makes keys feel worse and can haze plastics. Skip them.
Let the board dry fully with the laptop open before closing it. A closed lid traps moisture against the membrane, and that is how a clean keyboard turns into an intermittent one.
How to know when a laptop keyboard needs professional cleaning
Stop doing it yourself the moment you hit any of these.
- Liquid got past the membrane. If a spill was deep enough that you had to invert the laptop and shake it, moisture can be under the keyboard assembly and on the board below.
- You can see corrosion. Greenish or whitish crust around a key, on a screw, or on the charging port means moisture has been sitting on metal.
- Several keys are unresponsive. One dead key is often a ribbon or a single switch. A cluster going dead together points at something underneath.
- The keys feel mushy and stay that way. If sugar or sticky liquid residue has crept under the caps, wiping the surface changes nothing.
- Alcohol ran under the keys. Over-wetting a laptop can carry fluid past the gasket that protects the membrane.
- The laptop got wet and you dried the outside only. Residue continues to conduct electricity for weeks, and the damage usually shows up later.
Manufacturer service is the right call for anything on that list, and it is cheaper than replacing a keyboard assembly or a board. Tell them what was spilled and how much, because that changes whether they clean or replace.
Common Mistakes
Almost every keyboard damage story I hear follows one of these patterns.
Spraying cleaner directly onto the keyboard
The liquid runs under the keycaps while you are still spraying. Spray the cloth, wipe the cloth, never the keyboard. If you have already sprayed, power off and let it dry for a full day before switching on.
Using a household glass cleaner
Windex and similar products are not made for plastic keycaps. They leave a sticky film that attracts more dust and can haze the legends over time. Use 70% isopropyl alcohol instead, and skip vinegar for the same reason.
Using too much liquid
A dripping cloth is too wet. Squeeze it until you cannot squeeze a drop out, and re-wet only the patch you are working on. More moisture than that buys you nothing except risk.
Forcing a keycap that will not release
Pushing on a clip-mounted cap is how thin caps snap. Lift straight, use even pressure, and if the cap resists, leave it. Grime under a keycap is a minor problem compared with a missing one.
Running a vacuum over a powered-on laptop
Suction pulls debris into the machine instead of out of it, and static can damage electronics. If you want suction, use a small handheld vacuum with the laptop off and held upside down over a bin, never a full-size shop vac.
Reaching for abrasive pads
A melamine foam pad works on oily keycaps but it is mildly abrasive and can wear the print off after a few uses. Use it gently, on the keycap only, and stop when the legends start fading.
Cleaning while the laptop is on
You cannot hit power, you cannot see a spill spreading, and a keystroke can restart the machine mid-wipe. On a Mac, Apple has a built-in way to lock the keyboard from System Settings. Other brands have similar lock-key combinations in their manual.
A light clean every one to two weeks, and a proper one every month or two, is enough for most people. More often if you eat at your desk, work somewhere dusty, or have pets.
Frequently Asked Questions
Can I use isopropyl alcohol to clean my laptop keyboard?
Yes, at 70% concentration it is the standard safe cleaner for laptop keycaps. Dampen a microfiber cloth with it rather than spraying the keyboard, and let the board dry fully before you close the lid. Higher concentrations clean faster but can be harsher on plastic keycaps and printed legends.
How do I clean a laptop keyboard without removing the keys?
Blow out debris with short bursts of compressed air, brush between the keys with a soft-bristled brush, then wipe each keycap with a cloth lightly dampened with 70% isopropyl alcohol. Finish the seams with a barely damp cotton swab. This handles the overwhelming majority of grime without touching the clips.
What percentage of isopropyl alcohol is safe for a laptop keyboard?
70% is the safest everyday choice because it dissolves skin oils well and evaporates quickly enough to avoid residue. 90% works and dries faster, but it is harder on some plastics and coatings. Avoid household disinfectants and bleach wipes, which leave a film that makes keys feel sticky.
Is compressed air safe for cleaning a laptop keyboard?
Yes, as long as you hold the can upright and use short bursts. Tilted cans can release propellant liquid, which is the opposite of what you want, and one long blast can push crumbs deeper inside. Keep the nozzle about an inch away and change your angle until debris moves outward.
How do I clean a laptop keyboard after spilling liquid on it?
Shut it down immediately, unplug it, and do not try to power it back on to save your work. Turn it upside down over a towel so liquid drains away from the board, blot the outside, and leave it open and powered off for at least 24 hours. If several keys stay dead or you see corrosion, take it to a service center.
How often should I clean my laptop keyboard?
A light pass every one to two weeks keeps crumbs from compacting under the keycaps, and a fuller cleaning every month or two handles the oil and grime that build up on the legends. Clean more often if you eat at your desk, work in a dusty space, or have pets. Regular light cleaning is what prevents a risky deep clean.
Conclusion
Start with the boring part and you will not have to deal with the expensive part. Shut the laptop down, unplug the charger, turn it upside down over a bin and blow out the crumbs with short bursts of air from an upright can. Only then bring out the alcohol, dampen the cloth rather than the keyboard, and wipe the keycaps. Leave it open and fully dry before you close the lid, then press every key to check your work. If you spotted corrosion or a cluster of dead keys, stop there and let a service center handle it.