
Filing taxes for the first time takes most people one long evening: check whether you need to file, collect your tax documents, pick a filing method, then submit your return and pay anything you owe by the deadline. If you have never done it before, learning how to file taxes for the first time is mostly a document and data-entry job, not a maths puzzle. You do not need an accounting degree or a paid preparer to do it. What you need is a clear folder of paperwork and a method that fits your situation.
The awkward part is rarely the math. It is the small administrative details — which form goes where, what to type when software asks for last year’s adjusted gross income, and whether a balance due is something you pay or something you already covered through your paycheck. This guide walks through each of those, with the country-specific thresholds and deadlines flagged as such, because filing rules vary by country and state.
Table of Contents
- What You Need to File Taxes for the First Time
- Identification and account numbers
- Income and payment records
- Deduction and credit records
- Bank details and last year’s information
- Step-by-Step
- Step 1: Gather Your Tax Documents
- Step 2: Choose the Right Tax Form
- Step 3: Enter Your Income and Payments
- Step 4: Add Deductions and Credits
- Step 5: Review Your Tax Return
- Step 6: File and Save Your Records
- Common Mistakes
- Frequently Asked Questions
- Can I file taxes for free?
- What do I do if my W-2 or 1099 is missing?
- Do I have to file if I did not owe any tax?
- Do I need to file both federal and state returns?
- How do I fix a mistake after I have already filed?
- When is it worth paying someone to file for me?
- Where to Start Tonight
What You Need to File Taxes for the First Time
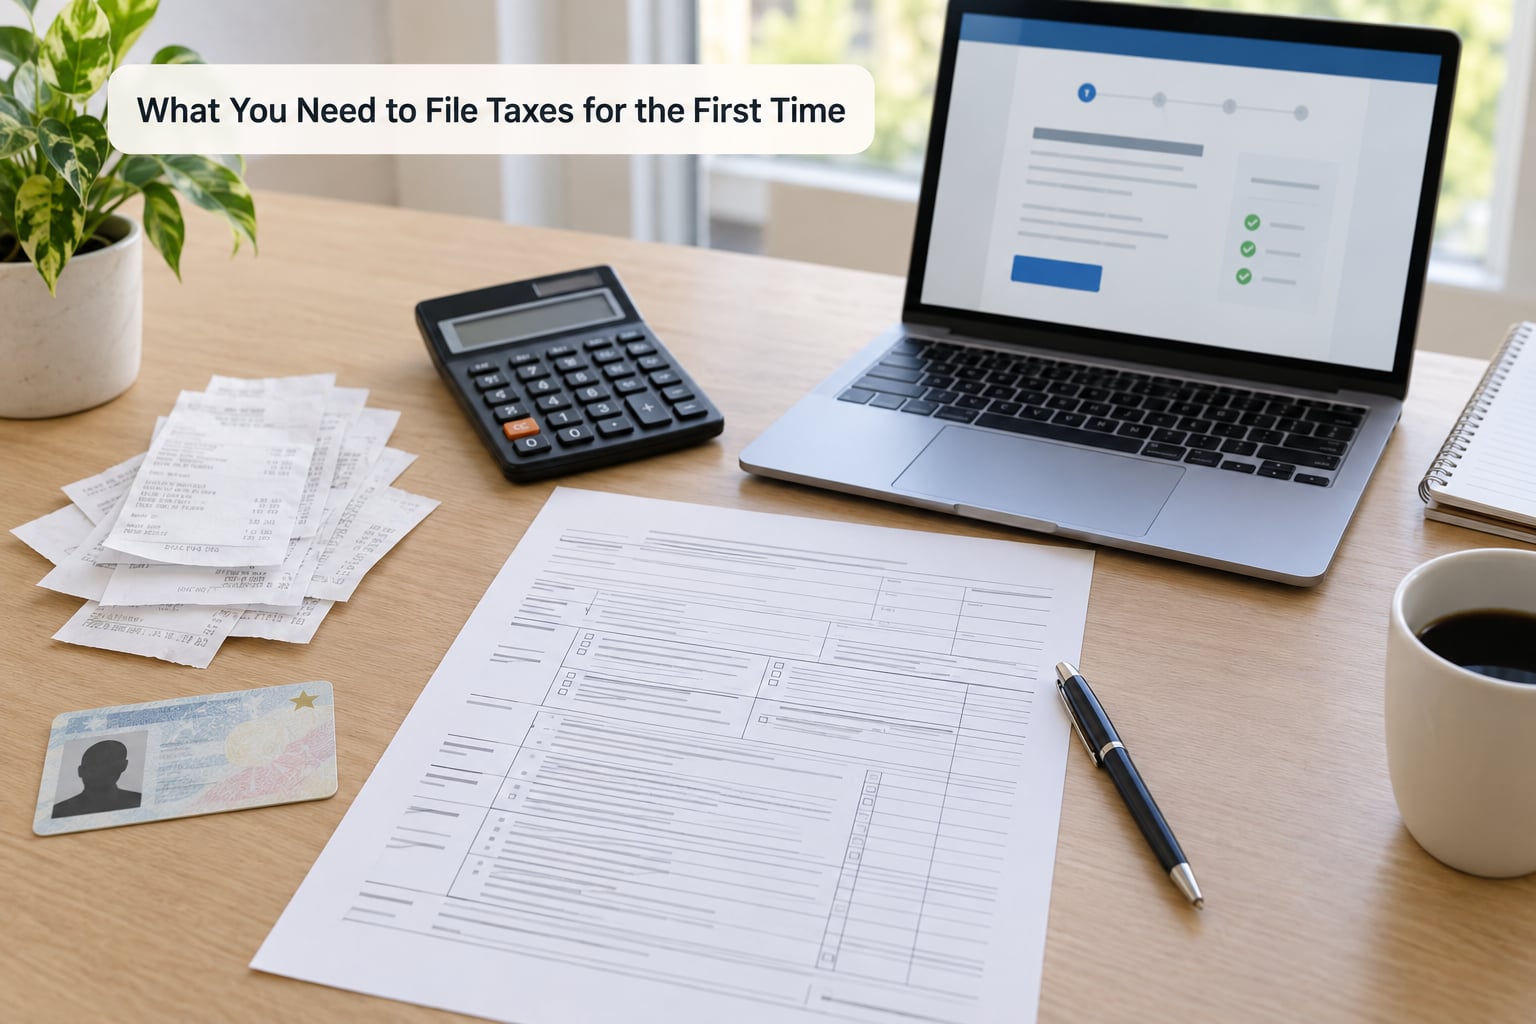
Before anything else, collect your records in one place. Filing is a data-entry job: the return is only as good as the documents behind it. A folder with everything in it saves you from stopping halfway through to hunt down a form you were sent months ago.
Identification and account numbers
You need your taxpayer identification number, which in the United States is a Social Security number, an Individual Taxpayer Identification Number, or an Adoption Taxpayer Identification Number. Newly assigned numbers are not always verified the same day you apply, so check that your record matches the number you will type in. A mismatch is one of the most common reasons a first return is rejected.
Income and payment records
These come from whoever paid you during the tax year. Employers issue a wage statement for employment income; banks, lenders, landlords, universities, clients and payment platforms issue various information returns for other kinds of income. Collect one for every payer, including a second job. Withholding already taken out of your paychecks appears on the wage statement too, which matters if you overpaid during the year.
Deduction and credit records
If you paid tuition, medical costs, mortgage interest, charitable contributions or retirement contributions, gather the statements that prove it. Student loan providers send a form by January or February for anyone who paid interest, and many people do not realise they can deduct it.
Bank details and last year’s information
Have your routing number and account number ready if you want a refund paid electronically. Software will also ask for your prior-year adjusted gross income. If you have genuinely never filed, enter zero. That field is only used to verify your identity for prior-year returns.
One practical note: requirements differ by country. The form names below follow United States practice, which is what most searchers mean by filing taxes. Elsewhere the equivalent document might be a tax return for employment income, a P60 certificate, or a notice from a revenue agency. Check your local revenue authority’s forms before you start.
Step-by-Step

Step 1: Gather Your Tax Documents
Start with the forms your payers already sent you, then work through what is missing. Most first-time filers underestimate this step and then rush the return itself.
If a document is missing, ask for it. Employers are required to issue a corrected wage statement if you ask within a reasonable window, and requesting a duplicate is routine. Bank and lender statements can usually be downloaded from an online account, and revenue agencies generally offer transcripts of the wage and tax records they hold, which is useful when an employer cannot produce a copy.
Ask yourself one question about every piece of income: who paid me, how much, and what category is it? Money that arrived through a resale platform, a payment app or a one-off contract is income even when no form arrives by January. Payment platforms report these transactions themselves, and a mismatch between their reporting and yours is a common source of letters.
Step 2: Choose the Right Tax Form
The right form depends on your income sources, your filing status, your age, whether you are disabled, and your local rules. There is no single beginner form that fits everyone, but there are a few decision points that narrow it down fast.
First, filing status. Single, married filing jointly, married filing separately and head of household each use different standard amounts, and picking the wrong one changes the result. Second, income type. Employment income needs a different return section than self-employment, rental, retirement or benefit income, and some income types carry self-employment tax on top of income tax.
Third, where you are. If you live in a country with a national income tax return, that is the return to complete; if you live in a state or province with its own income tax, you will usually file a second, shorter return for it. Software handles the federal and state pair together. Doing it by hand means two sets of forms.
Step 3: Enter Your Income and Payments
Copy each reported figure from its source document into the matching line of the return. Wages go in one place, interest in another, self-employment income in another, benefits in another. Then enter the tax already withheld from your paychecks, which is what turns over-withholding into a refund.
The common error is duplication: entering a combined figure from a summary page and then adding the individual items again. Work document by document rather than line by summary line, and keep each source form next to the page where you typed it. Numbers pulled straight from a document are far more reliable than numbers you reconstruct from memory.
Adjusted gross income is the total of your income after certain adjustments, and it is the starting point for many calculations, including which credits you qualify for. Most software shows it for you. On a paper return, it is the line everything else hangs off.
Step 4: Add Deductions and Credits
A deduction reduces taxable income. A credit reduces tax owed directly. They are not interchangeable, which trips up most beginners, and the order matters: deductions shrink the base, credits then apply to the tax computed on that smaller base.
Most first filers take the standard deduction because it requires no receipts and no tracking. Itemising only makes sense when your allowable expenses exceed the standard amount, and that takes real documentation. Credits are worth checking every year because many are refundable, meaning they come back to you even if you owed nothing. Education-related credits, credits for having low earnings, credits for paying childcare, and credits for retirement savings contributions are all worth reading the eligibility rules on before claiming them.
Use documented eligibility rules rather than an amount you guessed at. If you cannot point to the rule that qualifies you, leave it off.
Step 5: Review Your Tax Return
Read the whole return before you send it. Software catches arithmetic errors; it will not catch a wage statement you never opened.
Check names and identification numbers against your government-issued identification character by character. Confirm the address you entered is one where you can receive mail, since a refund cheque or notice goes there. Add up your income lines and compare the total with your documents. Verify that withholding is entered. Then look at the warnings the software flags; some are harmless, and some point at a real inconsistency.
Know your result before you submit. If the return shows you overpaid, that is a refund. If it shows you underpaid, that is a balance due, and it is payable even if your situation is one where you expected a refund.
Step 6: File and Save Your Records
Electronic filing gets your return accepted or flagged within days and speeds up refunds. Paper filing takes longer to process but is the only option in some situations, including if you owe and need to file a payment voucher with the return.
Choose direct deposit for a refund and have it split across up to three accounts if you want. Some banks will not accept a direct deposit unless you have used the account for at least one transaction.
If you owe, pay through your bank’s bill pay or the revenue agency’s own payment site on the same day you file, or as soon as you can. Filing by the deadline does not stop interest from accruing on an unpaid balance. Filing an extension gives you more time to submit the return, not more time to pay, and an extension still has to be filed on time.
Save the filed return, the confirmation number, the acknowledgement message and every source document. If you use paid software, also save your login so you can reopen the return later. Many disputes with the revenue agency are won simply because you had the acknowledgement in your email.
Common Mistakes
Almost every first-return problem traces back to one of a handful of errors. Most are visible before you submit, which is the good news.
Leaving out a second payer. People remember the main job and forget the weekend one, or the seasonal one. Add up every deposit that looked like income and make sure each one has a home on the return. A missing form can become a reassessment later, with interest attached.
Claiming a parent as a safety net. If you are under 25 and someone supported you, a parent may be entitled to claim you as a dependent, and it is often worth more than your own refund. Two returns claiming the same person is one of the few situations that gets flagged automatically, so if your parent claims you, do not file a return claiming yourself.
Filing late because a form was missing. Not filing on time is penalised separately from owing money, and the penalty applies even when your total tax is zero. Ask for the missing document early, file on the deadline with what you have, and amend later if you need to.
Paying to file when free help exists. Revenue agencies publish free guided filing software, free fillable forms and a locator tool for free in-person help, and several commercial products offer a free federal edition. If a software screen offers you a refund transfer or a paid upgrade before it lets you download your return, close the tab. Free help exists for people who cannot navigate software at all, staffed by trained volunteers at community sites.
Expecting a specific refund. No filing method can promise you a number before it has your documents. Anyone quoting you a refund amount before seeing your forms is guessing, and their guess is the wrong thing to plan around. Expect a range, then a real figure.
Sharing too much information online. When asking a stranger for help, share the structure of your question, not your identification number, account numbers or full employer details. Free help services that need your documents will ask for them in person through a secure process.
Never filing in previous years. If you worked for two, three or four years and never filed, you are not starting from zero. Each unfiled year can carry its own penalty. File the years you were required to file, even if you get a small refund or owe a modest amount, and consider asking a preparer to catch you up. A refund claim is generally limited to a few years, but a filing obligation does not expire the same way.
Frequently Asked Questions
Can I file taxes for free?
Usually, yes. Revenue agencies publish free guided filing software and free fillable forms, many commercial products offer a free edition for a simple return, and free in-person help exists through volunteer programs at community sites. Watch for refund-transfer offers and paid upgrades shown before you can download your return. State filings are sometimes charged for even when the federal return is free.
What do I do if my W-2 or 1099 is missing?
Contact the payer first and request a replacement or corrected copy; they are obliged to issue one when asked promptly. Meanwhile ask the revenue agency for a transcript of the wage or tax records it holds, which can often supply the figures. File by the deadline with what you have and amend later if the missing document changes your total. Do not guess a number.
Do I have to file if I did not owe any tax?
Sometimes, yes. If a payer withheld tax from your paycheck or paid you a tax-prepaying form, you generally must file to claim that money back. If you are a dependent claimed by a parent, you usually do not need to file. If you had self-employment income, remember that self-employment tax applies to net profit even when it is below the income threshold for filing.
Do I need to file both federal and state returns?
That depends where you live. Most states that levy an income tax require a separate state return, and software usually files both together. A handful of states have no individual income tax at all, so there is nothing to file. Elsewhere the requirements differ again, so check your local revenue authority rather than assuming a second return exists or that it does not.
How do I fix a mistake after I have already filed?
File an amended return using the special amendment form rather than a fresh return, and explain what changed and why. It must be filed within the normal amendment window for that year. Note that refund claims are generally limited to a few years back, so file on time in the first place. Keep the original return and the amendment together so the history is clear.
When is it worth paying someone to file for me?
Paid help earns its cost when you have several income sources, self-employment or rental income, a business, a complicated dependency situation, uncertainty about eligibility for credits, or years of unfiled returns to catch up. A single wage statement with standard deductions is genuinely easy to do yourself. Free volunteer help is worth checking first if you qualify.
Where to Start Tonight
Open a folder and put every document a payer sent you inside it, then send one message to any employer whose wage statement you have not seen. That single message is usually what turns an evening of guesswork into a calm hour of data entry. Once the documents are in front of you, choose the simplest filing method that fits your situation, and check your result before you submit rather than after.
That is really the whole of how to file taxes for the first time: documents, a form, the numbers from your documents, and a check before you hit submit.
This is general information, not individual tax or legal advice. Thresholds, rates and deadlines change and differ by country and state, so confirm the figures for your situation with your revenue authority or a qualified preparer.