You can screen your tap water at home in about twenty minutes with pH, hardness and chlorine strips, but those strips will not tell you whether lead, arsenic or bacteria are present. For an answer you can act on, you collect a sample from a flushed cold tap in a clean container and send it to an accredited laboratory. The strips narrow the field; the lab closes it.
Here is how to test tap water at home, in the order that saves you time and money. Start with the free records your water provider already publishes, use household checks to catch obvious problems, and upgrade to laboratory analysis only when a result points somewhere worth going.
Table of Contents
- What You Need
- Step-by-Step: How to Test Tap Water at Home
- Collect a Representative Sample
- Check Clarity, Color and Odor
- Measure Chlorine Residual
- Test pH and Total Hardness
- Screen for Specific Contaminants
- Record the Results and Decide What to Do Next
- Common Mistakes
- Frequently Asked Questions
- Can I prove my tap water is safe with a home test?
- When should I test my tap water for lead?
- Does boiling tap water remove lead or other chemicals?
- How often should I test water from a private well?
- What should I do if a home water test shows a positive result?
- Conclusion: Start with the Right Test
What You Need
Home screening and professional testing answer different questions. Household supplies tell you about pH, hardness, chlorine and sometimes one specific contaminant. A certified laboratory measures dozens of substances at concentrations low enough to matter, using methods a strip cannot reproduce.
For the home route, gather:
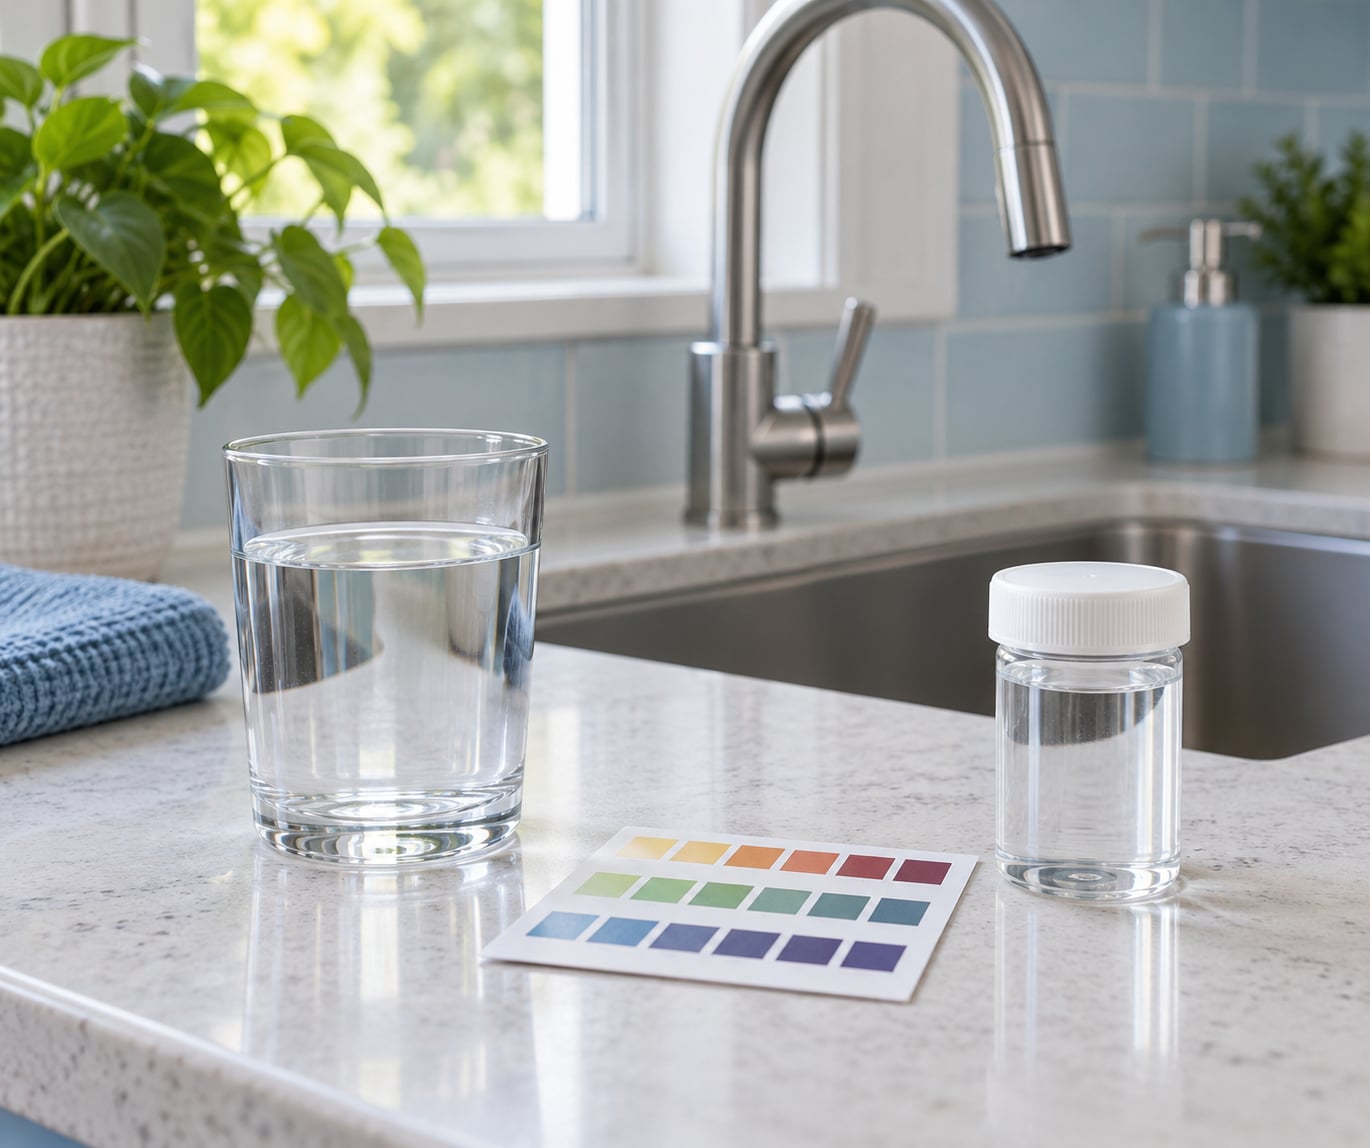
- A clear glass or transparent container you can hold up to light
- Clean sample containers with no detergent or rinse-aid residue
- A timer, because several strips have to be read inside a narrow window
- pH and total-hardness strips for a baseline on the water’s character
- A chlorine residual test kit, often sold as a DPD kit
- Optional lead, nitrate or bacterial screening strips, checked for expiration before opening
Follow each manufacturer’s directions exactly. Dip times, reagent amounts and reading windows were chosen in a lab, and guessing at them produces a color that means nothing. If your kit gives you a comparison chart, read it in daylight or under a white lamp, not under warm kitchen bulbs, which shift how the colors look.
For the professional route, the lab supplies the container. Ask your state health department or the certifying agency for a list of accredited drinking-water laboratories near you, and request the sample bottle and shipping instructions before you fill anything. A mailing address and a preservation time come with it.
Step-by-Step: How to Test Tap Water at Home
Work through these in order. Each step depends on the one before it, and skipping the sample preparation is the single most common reason a home result is wrong.
Collect a Representative Sample
Start by identifying your water source. Municipal water, a private well and a rainwater or RV system carry very different risks, and what you are testing for depends on that answer more than anything else.
Run the cold tap until the water coming out has reached a steady temperature. Many instructions ask you to remove the faucet aerator first so the sample comes from the pipe itself, though some local programs tell you to leave it in place. Check the directions for the kit you are using.
Then clean the container, fill it without touching the inside, and cap it. Never hold your fingers inside the mouth of the bottle or let the tap stream touch the rim. Both add bacteria and metal to a sample that was meant to be clean.
First-draw and flushed samples are not the same test. Water that has sat in pipes overnight, after a weekend or in a vacant apartment can pick up more lead from solder and fixtures. A first-draw sample is taken the moment the tap is opened; a flushed sample is taken after running the water. For lead, labs often want both.
Check Clarity, Color and Odor
Hold the sample against a window in daylight. Note any cloudiness, floating particles, staining on the glass or an unusual color, and smell it once, without drinking.
Treat all of that as a warning sign, not a test result. Rusty water, a chlorine smell, a rotten-egg smell, or a gray film that dries on a glass all point to something specific, but none of them tell you what or how much. Clear water can carry unsafe levels of lead, bacteria, nitrate, arsenic or other dissolved substances without changing its appearance at all.
Measure Chlorine Residual
Fill the kit’s cell with sample water, add the reagent, swirl as directed and compare the color against the chart while it is fresh. If you have a municipal supply, ask your utility what residual range they maintain.
No detectable chlorine does not mean bacteria-free. Chlorine dissipates over time in a tank, a summer afternoon or a long stretch of pipe, and a warm house uses chlorine faster than a cold one. A normal chlorine reading does not mean the water is safe either. It tells you the disinfectant is present, nothing more.
Test pH and Total Hardness
Multiparameter strips give you an approximate pH and hardness from the same dip. pH between roughly 6.5 and 8.5 is broadly compatible with what most household plumbing expects. Very low or very high pH corrodes fixtures and eats copper lines over time.
Hardness is mostly calcium and magnesium. It is an aesthetic and scaling issue rather than a health one, showing up as white spots, soap that will not lather and scale in the kettle. Neither a good pH nor a low hardness number certifies drinking water, so do not treat a green light here as a clean bill of health.
Screen for Specific Contaminants
Properly chosen strips do exist for lead, nitrate, arsenic and coliform bacteria, and they are worth using when a result might change what you do. They also come with real limits: a finite sensitivity, an expiration date, and a required reaction time you must respect.
Check the expiration on the foil pouch. Some reagents lose accuracy within months of manufacture even in unopened packaging. Read the result at exactly the stated moment, in good light, and hold the strip at an angle so the color pad is not smeared.
Any positive result on a bacterial or chemical strip should be handled the way the instructions say, and confirmed at an appropriately certified laboratory. Treat the strip as a reason to order a real test, not as the result itself.
Record the Results and Decide What to Do Next
Write down the date, the faucet used, whether it was a first-draw or flushed sample, every reading, and any change in taste or appearance. Add the weather if you are testing a well, since heavy rain moves things underground.
Repeat a questionable reading before you act on it. Flush the tap and test again, then test a different faucet in the same house, which separates a plumbing problem from a supply problem.
Contact the utility if the pattern points to their system. Order accredited laboratory testing for a private well with no current results, a new property with unknown plumbing, a persistent odor, or water that changed suddenly with no obvious cause.
Common Mistakes
Most wrong answers come from a handful of avoidable errors.
- Testing stagnant water. Water that sat in the pipes overnight is not what most people drink. Run the cold tap until the temperature holds steady, or take a first-draw sample deliberately and label it as one.
- Using expired strips. Reagents degrade in the pouch. A strip past its date gives you a color, but not a reliable number.
- Reading charts in the wrong light. Warm bulbs shift the color. Compare under daylight or a neutral white lamp.
- Skipping the reaction time. Reading a nitrate strip ten seconds early gives a biased result in the reassuring direction.
- Treating pH as a safety test. It is a plumbing health number, not a pathogen or metals screen.
- Assuming a home kit replaces laboratory analysis. A strip panel cannot see disinfection byproducts, PFAS, low-level metals or trace organics.
A few habits make home screening much more useful. Wash the containers between tests so residue from a previous dip cannot skew the next one, and take at least two readings on different days before you decide something is wrong.
Compare cold and hot water from the same tap. Hot water sits in heater tanks, so it often shows more metals and more of whatever else is in that tank. Keep the printed results and note what you did about them, because a date and a number make every future conversation with a plumber, a landlord or a utility easier.
Frequently Asked Questions
Can I prove my tap water is safe with a home test?
No. Home screening strips and TDS meters confirm the presence of a few substances, not the absence of everything else. Knowing how to test tap water at home is useful for spotting pH, hardness, chlorine and one or two likely contaminants, and for deciding whether a lab test is worth ordering. Only an accredited laboratory can give you a result you can rely on for a health decision.
When should I test my tap water for lead?
Test for lead if your home was built before 1986, if any plumbing work has been done, if you have a private well, or if a utility advisory mentions it. Ask for a first-draw sample taken after water has sat overnight, because that is when lead is most likely to appear, and a flushed sample for comparison. An infant, a pregnant person or an immunocompromised household is a reason to test sooner.
Does boiling tap water remove lead or other chemicals?
No. Boiling kills bacteria and viruses, and it is the right response during an official boil-water advisory. It does not remove lead, copper, nitrates, arsenic or PFAS, and because water evaporates while the solids stay behind, boiling can concentrate them. Metals and persistent chemicals call for a certified filter rated for that specific contaminant or for bottled water until the issue is resolved.
How often should I test water from a private well?
Test at least annually, and more often if nearby land use changes, after heavy rain, flooding or any repair work on the well. Most recommendations put coliform bacteria and nitrate on an annual cycle, and arsenic, fluoride and uranium on a cycle of every few years. Keep the results on file. A private well has no utility watching it, so the testing is the entire safety net.
What should I do if a home water test shows a positive result?
Repeat the test following the kit instructions, then order confirmation from an accredited laboratory using their own bottle and shipping method. Until you know the contaminant and its concentration, do not assume a filter will help, since treatment media is specific. Note the date, faucet and sample method, and keep the printed report for your plumber, utility or landlord.
Conclusion: Start with the Right Test
Begin with a flushed sample from a cold tap, a pH and hardness strip, and a chlorine reading. Write the numbers down, repeat anything that looks strange, and let those results tell you whether a full panel is worth ordering.
When health-relevant contamination is suspected, when a private well has no current testing, or when water changes suddenly, use an accredited laboratory rather than a home kit. For personal health questions, speak with a doctor or your local public-health authority, and follow official boil-water notices as written while they are in effect.