To season a cast iron pan, bake a very thin layer of high-smoke-point oil onto the metal at 450°F to 500°F (230°C to 260°C) for one hour, then repeat the coat two to four more times. The whole job takes about three hours of oven time and most of it is waiting. It is a forgiving process, which is good news if you have read three different guides and gotten three different answers.
The confusion is mostly about oil amount and temperature. Both are simpler than the internet makes them sound. Below is one method that holds up, plus the checks that tell you when the seasoning actually bonded and what to do when it didn’t.
Table of Contents
- What You Need to Season a Cast Iron Pan
- How to Season a Cast Iron Pan: Step-by-Step
- 1. Clean the Pan Thoroughly
- 2. Dry the Pan Completely
- 3. Apply a Thin Layer of Oil
- 4. Heat the Pan to Develop the Seasoning
- 5. Cool, Inspect, and Repeat
- 6. Maintain the Seasoning After Cooking Cast iron care after the first bake takes about a minute. While the pan is still warm, rinse it, scrub out any stuck food, and dry it on the burner. Rub on the thinnest coat of cooking oil you can manage, wipe the handle, and put the pan away. That is the whole routine. It is not the same as seasoning, but it does the same job at a smaller scale: it keeps water off the iron. Never put cast iron in the dishwasher. The cycle strips the seasoning, traps moisture, and leaves you re-seasoning a pan that was fine last week. For long storage, coat the pan lightly with food-grade mineral oil and store it uncovered or with the lid ajar so air moves. Inverted storage on a rack keeps condensation away from the cooking surface. In a humid kitchen, a silica gel packet in the cabinet helps. Common Mistakes Almost every ruined season traces back to one of these. Too much oil. The single most reported error, and the reason most sticky pans exist. Wipe the pan down again with a dry towel after you think you are done. Seasoning a wet pan. Water under the oil causes pitting and blotching. Dry on the stovetop before you oil. Skipping the upside-down bake. Oil pools in the base of a right-side-up pan and cooks into a thick, gummy patch. Overheating. Above roughly 500°F for long stretches, the oil burns past its smoke point and leaves a thin, bitter layer that flakes. One r/castiron thread is a cautionary tale about a pan left at 800°F. Soaking. Hours in standing water will put rust spots on a seasoned pan overnight. Harsh or acidic cleaners. Steel wool leaves fibers, and oven cleaner strips seasoning and dulls the surface. Storing the pan damp. A closed, wet lid traps the moisture that causes rust. Dry it before it goes into the cabinet. Blaming the seasoning for sticking food. Long-running threads on r/castiron repeat the same point: seasoning is overrated next to heat control and fat management. A cold pan started with cold oil will stick whatever coat it has. None of that is permanent. The recovery advice that comes up most often in those threads is simply to scrub the pan clean and bake it again. Cast iron is nearly indestructible, and a bad coat is a bad coat, not a ruined pan. Frequently Asked Questions What happens if you don’t season cast iron?
- Should I season cast iron at 350 or 450?
- What is the best oil and temperature to season a cast iron skillet?
- Do you put oil on cast iron after seasoning?
- Is cast iron ruined if washed with soap?
- Why is my cast iron pan sticky after seasoning?
- Conclusion
What You Need to Season a Cast Iron Pan
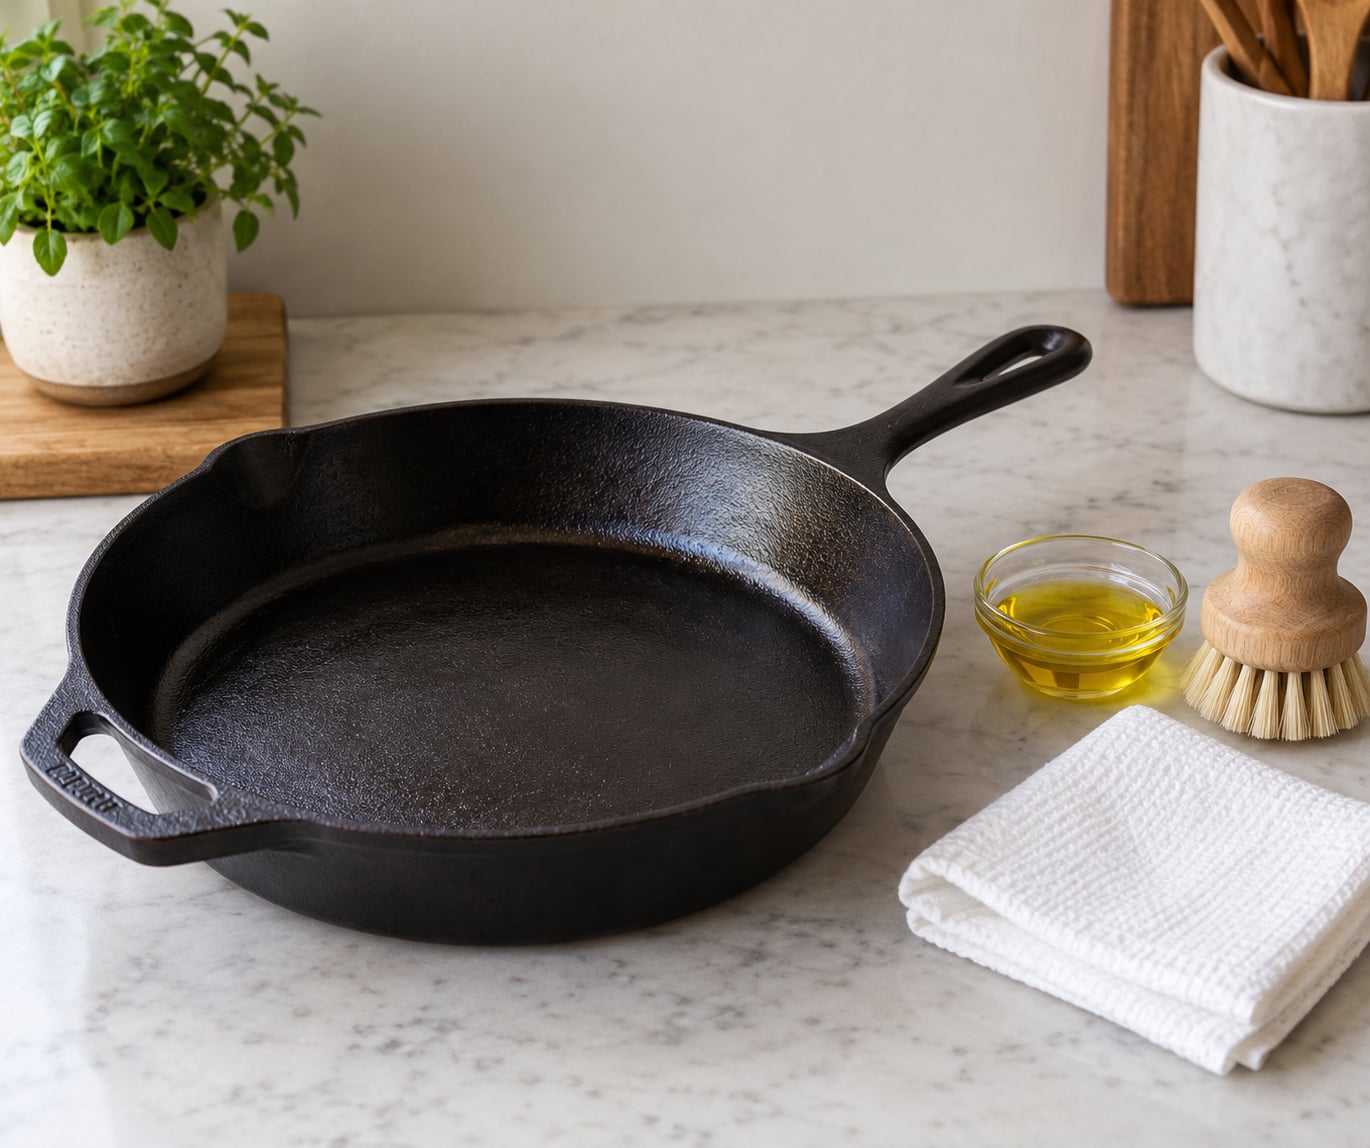
The supply list is short: the pan, a high-smoke-point oil, a paper towel or lint-free cloth, and an oven. A scrub brush or chainmail scrubber helps if the pan is new or rusty.
Oil choice matters less than most guides claim. What you need is a fat that stays liquid and stable past 450°F without smoking heavily. Canola, grapeseed, avocado and vegetable oil all fit. Flaxseed oil works too, though it goes rancid faster in storage and is fussier to cook with. Olive oil does the job but sits below the recommended temperature, so it needs a gentler heat and more time.
Solid fats like Crisco or lard are traditional and they polymerize fine, but they are hard to wipe off evenly. Liquid oil gives you a thinner film, and a thinner film is what you want.
One decision comes before anything else: do you keep the coating your pan arrived with? Factory seasoning is a real polymerized layer, and it is worth keeping. Strip it only if it smells stale, feels sticky, peels, or if you bought a pan that has been sitting damp and rusty. New pans from a reputable maker need seasoning, not re-seasoning.
How to Season a Cast Iron Pan: Step-by-Step
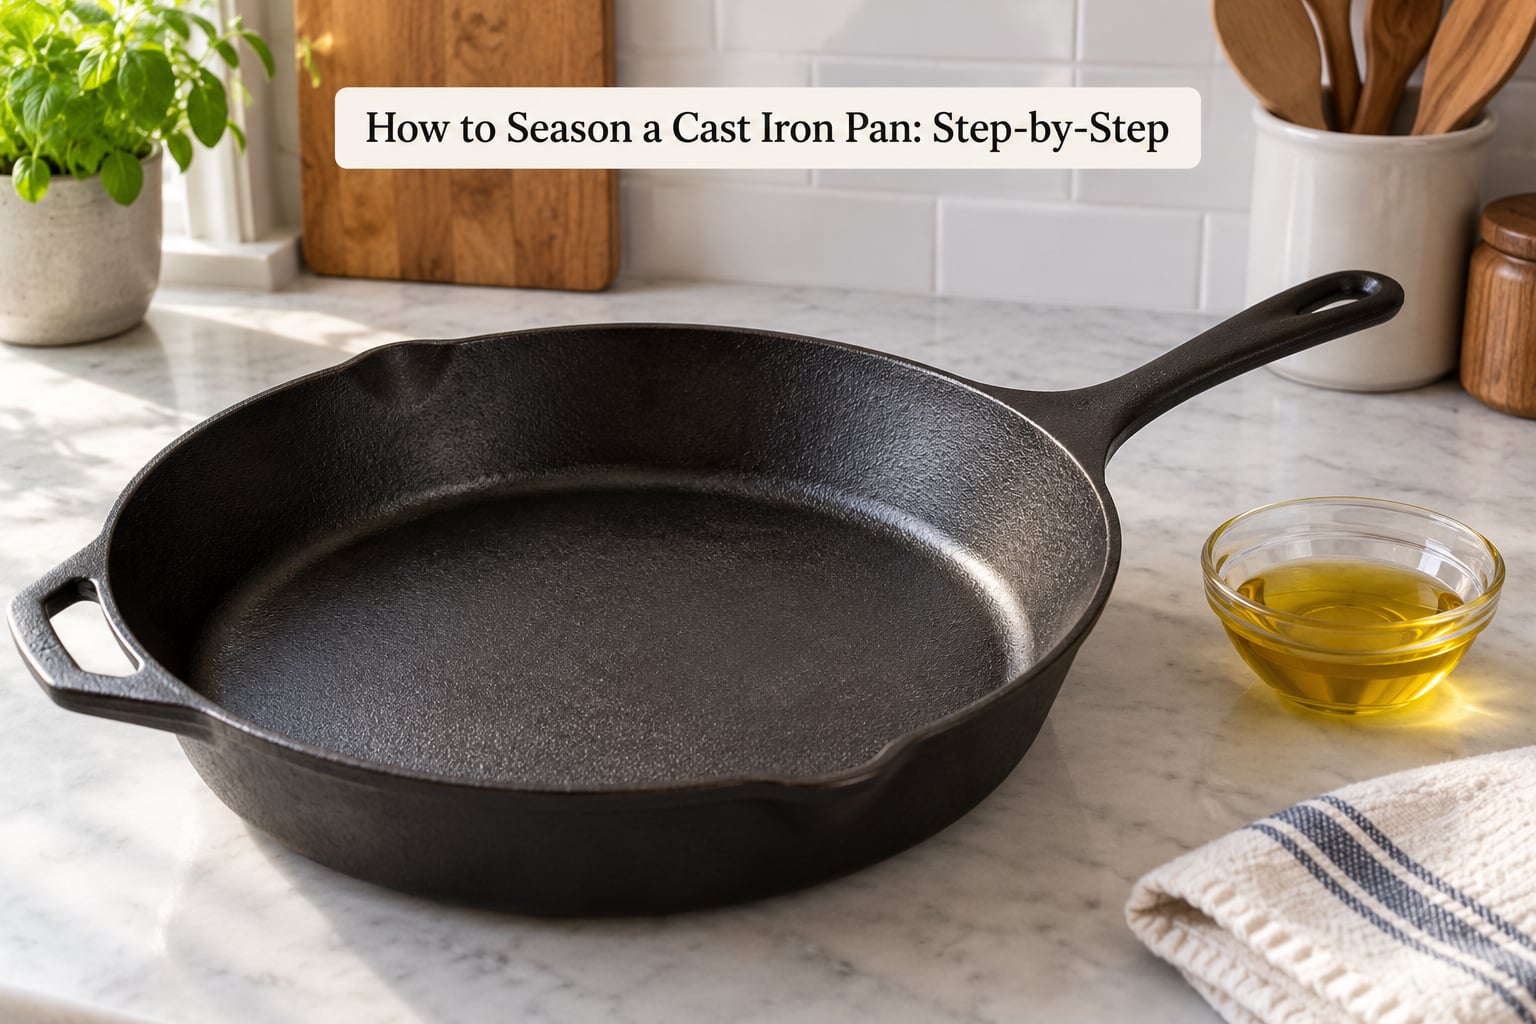
1. Clean the Pan Thoroughly
Wash the pan with hot water and a scrub brush. A small amount of mild dish soap is fine here, even for the first cleaning.
Scrub off any loose factory wax, oil residue, or rust with a stiff brush or chainmail scrubber. Scrape stuck bits with a wooden spatula or a plastic scraper rather than steel wool, which leaves stray iron fibers in the pores.
Rinse and move on. Do not soak the pan. Standing in water is the fastest way to start a rust problem you were trying to prevent.
2. Dry the Pan Completely
Water is the enemy of every step that follows. If any moisture bakes into the oil layer, you get pitting and a blotchy finish that will never fully bond.
Towel dry, then set the pan on a burner on low heat for a minute or two until it is warm and dry to the touch. Some cooks finish in a warm oven for ten minutes. Either works. The test is simple: no cool patches left on the metal.
3. Apply a Thin Layer of Oil
Pour a small amount of oil into the still-warm pan and wipe it around with a paper towel until the pan looks dry. That is the goal: it should look like nothing happened.
Work the oil into the cooking surface, the rim, the sides, and the underside. Most people leave oil on the handle, where it stays tacky forever. Wipe the handle and any raised lettering with a clean towel.
When you are done, wipe the pan again with a fresh dry paper towel. If the towel comes away oily, you still have too much on there.
4. Heat the Pan to Develop the Seasoning
Place the pan upside down in a cold or warm oven and set it to 450°F to 500°F. Baking upside down keeps any stray oil from pooling on the cooking surface and running down the walls of the oven. Put a sheet of foil or a baking tray underneath to catch drips.
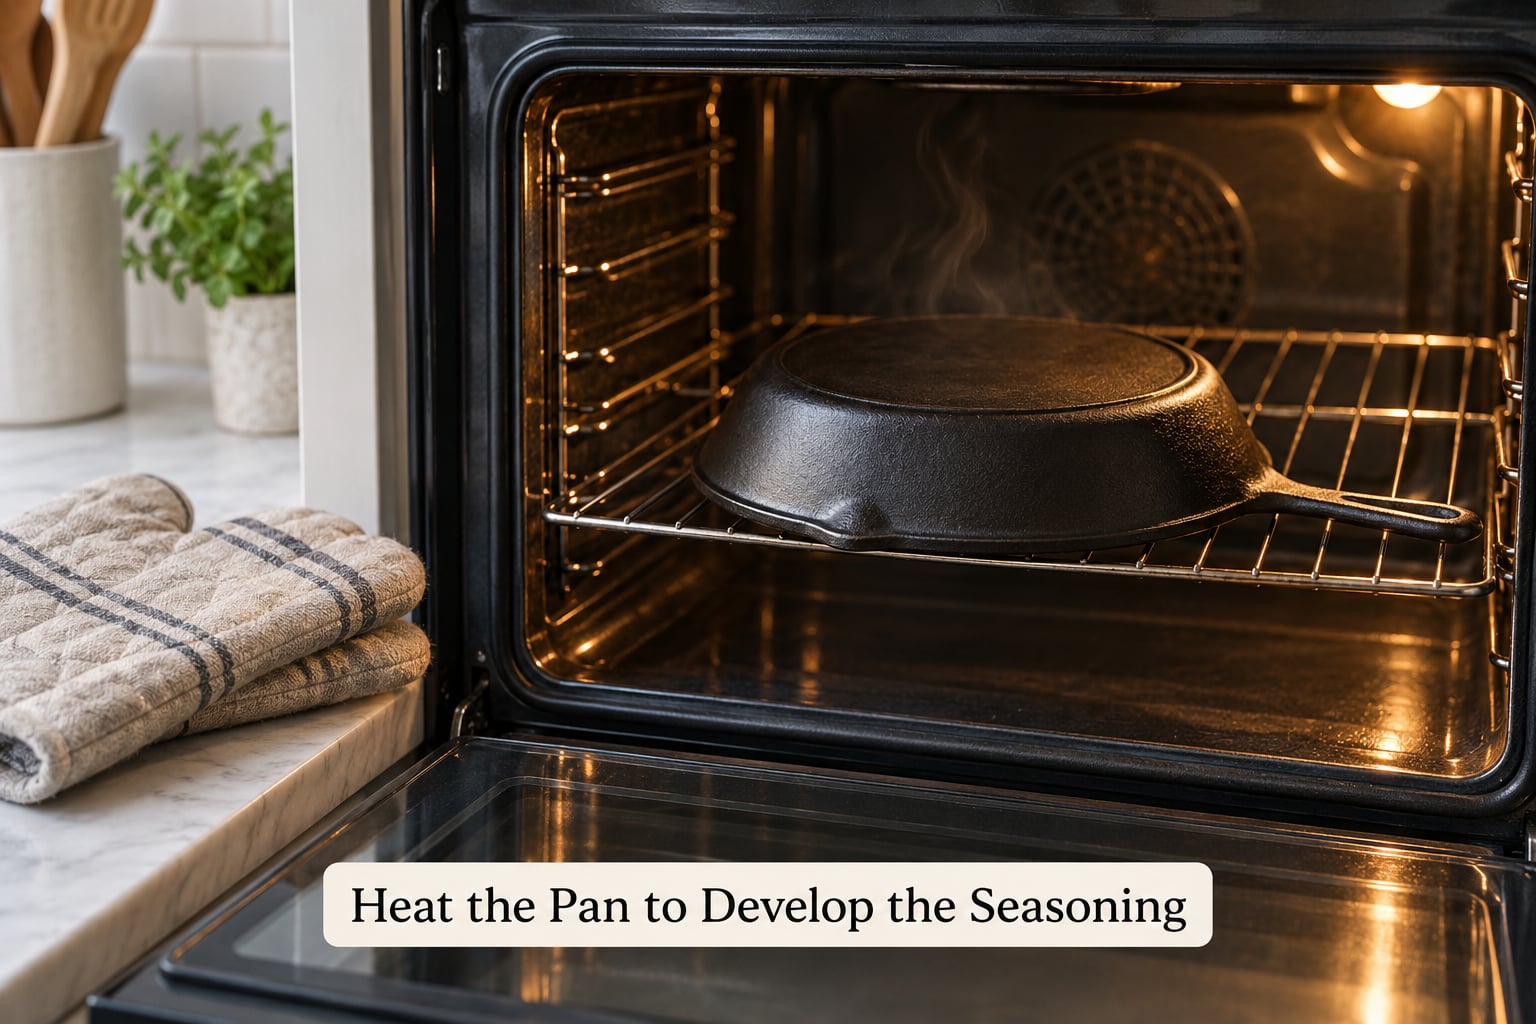
Bake for one hour. Turn the oven off and let the pan cool inside for another hour with the door closed. A faint haze or wisp of smoke in the first ten minutes is normal; heavy smoke means your oil was too thick or the oven was cranked too high.
Ventilate. Cast iron releases a faint smell as the oil polymerizes, and it gets worse if you go above 500°F and scorch the oil.
No oven? Season on the stovetop. Set the burner to medium, coat the pan as above, and heat it for 15 to 20 minutes until the surface turns a dry rust-brown or dark grey and the oil stops looking wet. Move it to a cool burner and let it cool completely, then repeat. It takes more cycles than the oven method and is fussier, but it works.
5. Cool, Inspect, and Repeat
Take the pan out, run your fingers across the cooking surface, and look at it in decent light.
A good layer looks smooth, even, and slightly satin. It is not glossy-wet, not tacky, and not grey-black in patches. If you see sticky or rubbery spots, you used too much oil. Wipe those spots off with a bare paper towel and bake again.
Then do the water test. Put a few drops of water on the surface and let it sit for thirty seconds. It should bead up and roll, not spread into a flat film or evaporate. Beading is a good sign the surface is sealed.
Repeat the coat and bake two to four more times. Each cycle adds a fraction of a layer, and they stack. Three to five total coats is normal for a new pan. You can stop as soon as the bead test passes and the surface looks even, and most cooks cook on it from there rather than chasing a perfect finish.
6. Maintain the Seasoning After Cooking
Cast iron care after the first bake takes about a minute. While the pan is still warm, rinse it, scrub out any stuck food, and dry it on the burner.
Rub on the thinnest coat of cooking oil you can manage, wipe the handle, and put the pan away. That is the whole routine. It is not the same as seasoning, but it does the same job at a smaller scale: it keeps water off the iron.
Never put cast iron in the dishwasher. The cycle strips the seasoning, traps moisture, and leaves you re-seasoning a pan that was fine last week.
For long storage, coat the pan lightly with food-grade mineral oil and store it uncovered or with the lid ajar so air moves. Inverted storage on a rack keeps condensation away from the cooking surface. In a humid kitchen, a silica gel packet in the cabinet helps.
Common Mistakes
Almost every ruined season traces back to one of these.
- Too much oil. The single most reported error, and the reason most sticky pans exist. Wipe the pan down again with a dry towel after you think you are done.
- Seasoning a wet pan. Water under the oil causes pitting and blotching. Dry on the stovetop before you oil.
- Skipping the upside-down bake. Oil pools in the base of a right-side-up pan and cooks into a thick, gummy patch.
- Overheating. Above roughly 500°F for long stretches, the oil burns past its smoke point and leaves a thin, bitter layer that flakes. One r/castiron thread is a cautionary tale about a pan left at 800°F.
- Soaking. Hours in standing water will put rust spots on a seasoned pan overnight.
- Harsh or acidic cleaners. Steel wool leaves fibers, and oven cleaner strips seasoning and dulls the surface.
- Storing the pan damp. A closed, wet lid traps the moisture that causes rust. Dry it before it goes into the cabinet.
- Blaming the seasoning for sticking food. Long-running threads on r/castiron repeat the same point: seasoning is overrated next to heat control and fat management. A cold pan started with cold oil will stick whatever coat it has.
None of that is permanent. The recovery advice that comes up most often in those threads is simply to scrub the pan clean and bake it again. Cast iron is nearly indestructible, and a bad coat is a bad coat, not a ruined pan.
Frequently Asked Questions
What happens if you don’t season cast iron?
Raw cast iron is porous, so water and oxygen reach the metal and you get rust, plus food welded to the surface. An unseasoned pan will still cook and it will not fall apart, but eggs and fish will stick and the rust will keep spreading. A seasoning layer seals the pores so the pan releases food and survives years of storage.
Should I season cast iron at 350 or 450?
Use 450°F to 500°F for the standard method. Below about 400°F the oil does not fully polymerize in one hour, so you need more cycles for the same result, and a heavy coat at a low temperature is the recipe for a sticky pan. Around 350°F is workable if you bake longer, but 450°F is faster and more forgiving.
What is the best oil and temperature to season a cast iron skillet?
Any unsaturated oil with a smoke point above 500°F works well: canola, grapeseed, avocado, or vegetable oil at 450°F to 500°F for one hour per coat. Flaxseed oil polymerizes thoroughly and is a good choice, but it can go rancid in storage. Olive oil works at a gentler heat with more time.
Do you put oil on cast iron after seasoning?
Yes, but a very light coat, and only after washing and fully drying the pan. Cooking oil or food-grade mineral oil both work. Wipe the handle and the outside of the pan so nothing sits tacky there. This daily touch-up is what keeps the existing seasoning intact between full baking sessions.
Is cast iron ruined if washed with soap?
No. Modern dish soap does not strip a polymerized oil layer, and a small amount of mild soap on a pan that needs scrubbing does more good than harm. Skipping soap and leaving food welded to the surface is what damages seasoning. Skip the dishwasher, where long soaking and detergent do a real job against the finish.
Why is my cast iron pan sticky after seasoning?
Almost always too much oil. A thick film bakes into a gummy, tacky layer instead of a hard one. The fix is to wipe the sticky spots with a bare paper towel, then run the oil-and-bake cycle again at 450°F for an hour. A sticky pan is not ruined, and most cooks say a few more bakes blend the problem away.
Conclusion
Start tonight, not this month. Scrub the pan, dry it on a burner, wipe on the thinnest film of canola you can find, and set it in a 450°F to 500°F oven upside down for an hour.
Two principles carry the whole job: thin coats, and slow even heat. Break either one and you get a sticky or blotchy pan that needs another bake, not a new pan. Once the seasoning is down, the rest is a minute of care after every cook, which is what keeps cast iron cooking well for decades.