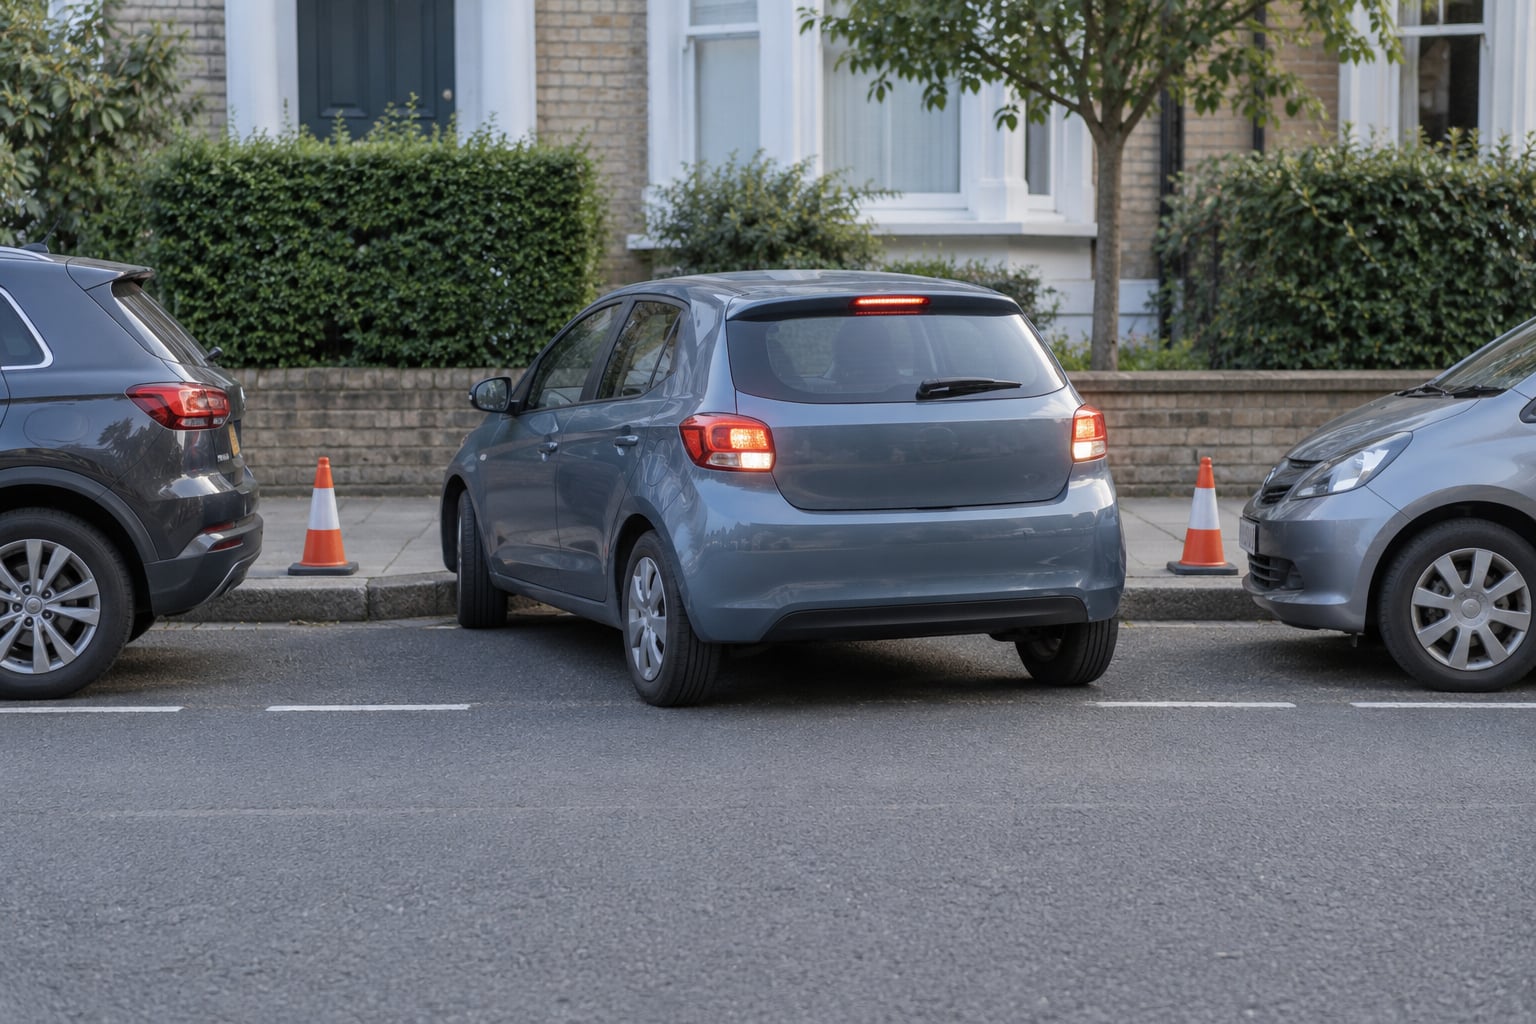
Learning how to parallel park without stress comes down to one thing: fixed reference points instead of guesses. Leave about two feet between your car and the car in front, line your rear bumper up with theirs, select reverse, turn the wheel hard toward the curb and back at walking pace until you sit at a 45-degree angle. Then straighten the wheels, keep reversing until your front corner clears their back bumper, and cut the wheel the other way to bring the car parallel to the curb. Give yourself three attempts on an empty quiet street and most people find it stops being frightening after that.
The stress is not really about skill. It is about having no fixed idea of where your car’s corners are, plus the audience of drivers queueing behind you. Fix the first problem with a reference cue and the second shrinks on its own.
This guide covers the method used in both left-side-drive and right-side-drive countries, how to adjust it if you drive an SUV, van or pickup, and what to do when it goes wrong halfway through. Parking rules differ by country and by state, so check your local driver’s handbook for the exact legal requirements.
Table of Contents
- What You Need
- A valid licence and the correct side of the road
- One reference point on your own car
- Working indicators, mirrors and lights
- Space of roughly 1.5 times your car length
- Camera and sensors, if your car has them
- A quiet street for your first attempts
- Step-by-Step: How to Parallel Park Without Stress
- The seven movements, in order
- Step 1: Check the Space and Traffic Before You Move
- Step 2: Signal and Position Your Car
- Step 3: Turn Into the Space at the Right Angle
- Step 4: Straighten and Correct
- Which Reference Point to Use: A Cheat Sheet
- Left-Side Drive and Right-Side Drive: What Actually Changes
- Adjusting the Method for SUVs, Vans and Pickups
- Parking on a Hill or Cambered Road
- When It Goes Wrong: The Forward-and-Back Shuffle
- Common Mistakes and How to Fix Them
- Tips for Nervous First-Time Drivers
- There is no timer
- Use one physical calm-down cue
- Practise in a deliberate order
- Ask for a helper, not a critic
- Know what the examiner actually scores
- Let the first few attempts be bad on purpose
- Frequently Asked Questions
- What are the 3 R’s of parallel parking?
- Is there a trick to parallel parking?
- What is the 1-2-1 method of parallel parking?
- How close to the curb should I parallel park?
- Do I have to parallel park on my driving test?
- How do I stop feeling stressed while parking on a real street?
- Conclusion
What You Need
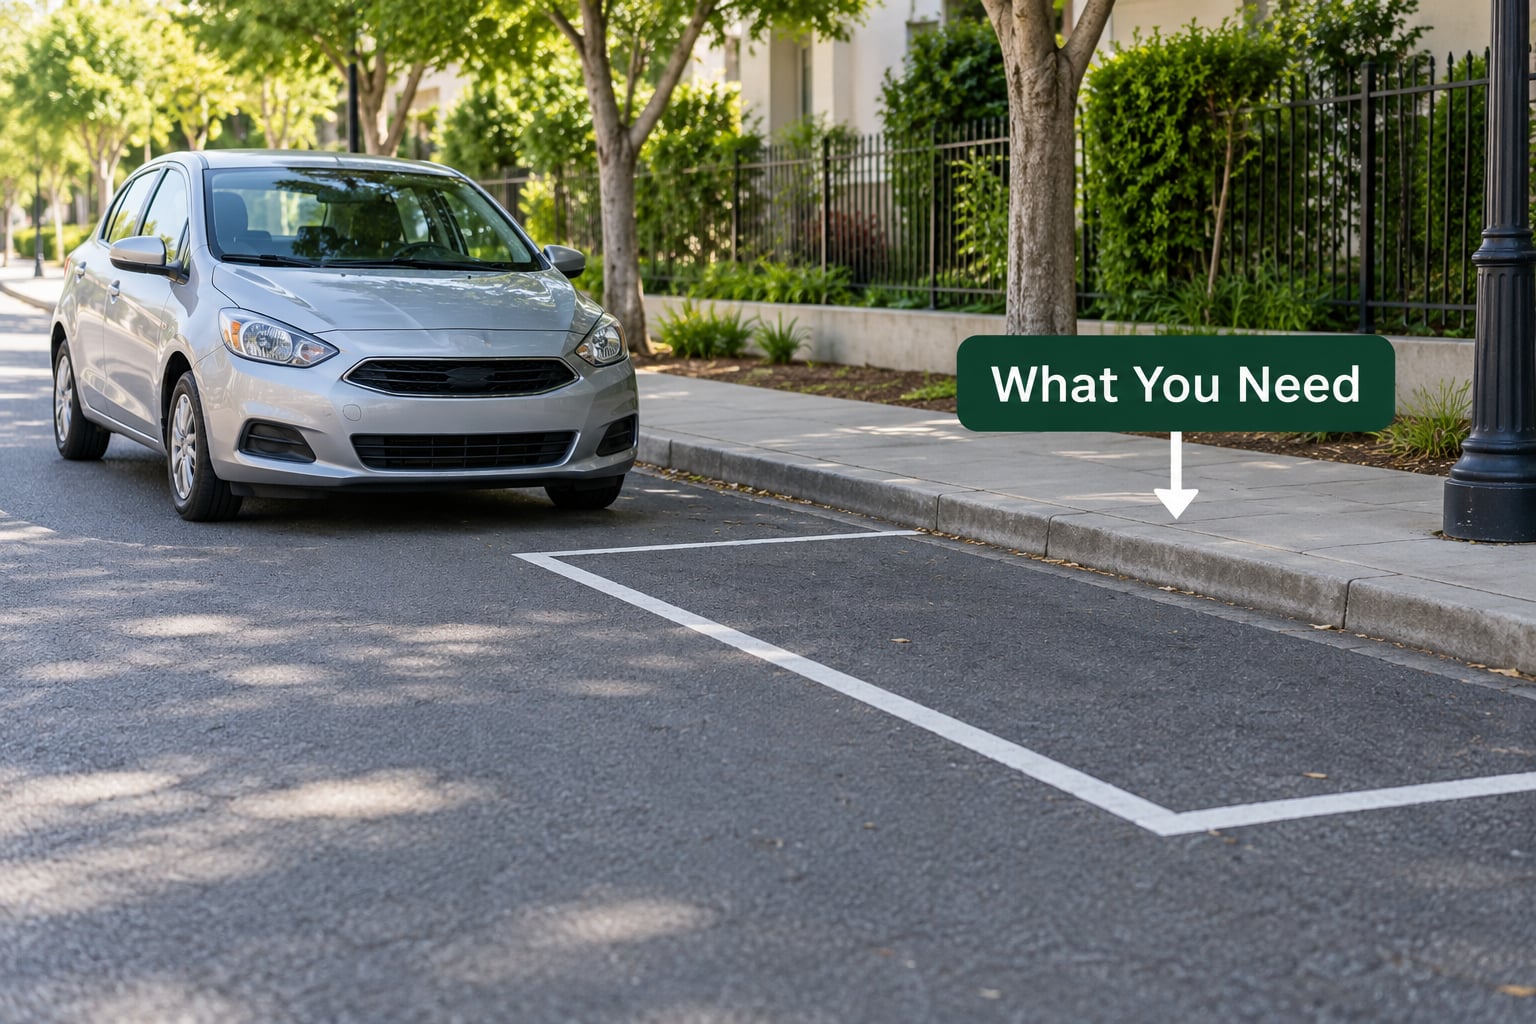
Parallel parking needs almost no equipment. It needs preparation, and most of the preparation happens before the car moves.
A valid licence and the correct side of the road
Make sure you are legally allowed to drive the vehicle and drive on the side you think you are. Roughly half the world drives on the right and parks on the right curb, while the UK, Ireland, Japan, Australia and much of the rest drive on the left and park on the left curb. Everything below assumes parking on the right-hand curb of a right-hand-drive road. Flip every steering instruction if you are on the other side.
One reference point on your own car
Pick a cue you can see without moving your head: your rear bumper, the middle of your rear side window, or the side mirror. Any of them works once you know what it means. What does not work is switching between cues mid-manoeuvre, which is the single most common source of confusion for learners.
Working indicators, mirrors and lights
You need a functioning indicator for the side of the road you are parking on, brake lights, reverse lights and two side mirrors. Fold the relevant mirror in before you start so your view down the side of the car is clear. If a bulb is out, fix it before you drive.
Space of roughly 1.5 times your car length
A comfortable gap is about one and a half times the length of your vehicle, plus a little more. Measure it once against your own car so you stop guessing. Learners who practise only in empty car parks often freeze on a real residential street because nothing was ever between two vehicles.
Camera and sensors, if your car has them
A reversing camera and parking sensors are genuinely useful for judging the curb and the rear bumper. Treat them as a second opinion rather than the primary cue. Drivers who learn to watch only the screen lose all sense of the front of their car and end up unable to park without it.
A quiet street for your first attempts
An empty residential street with parked cars down one side and no moving traffic is the ideal practice ground. You get the geometry without the pressure.
Step-by-Step: How to Parallel Park Without Stress
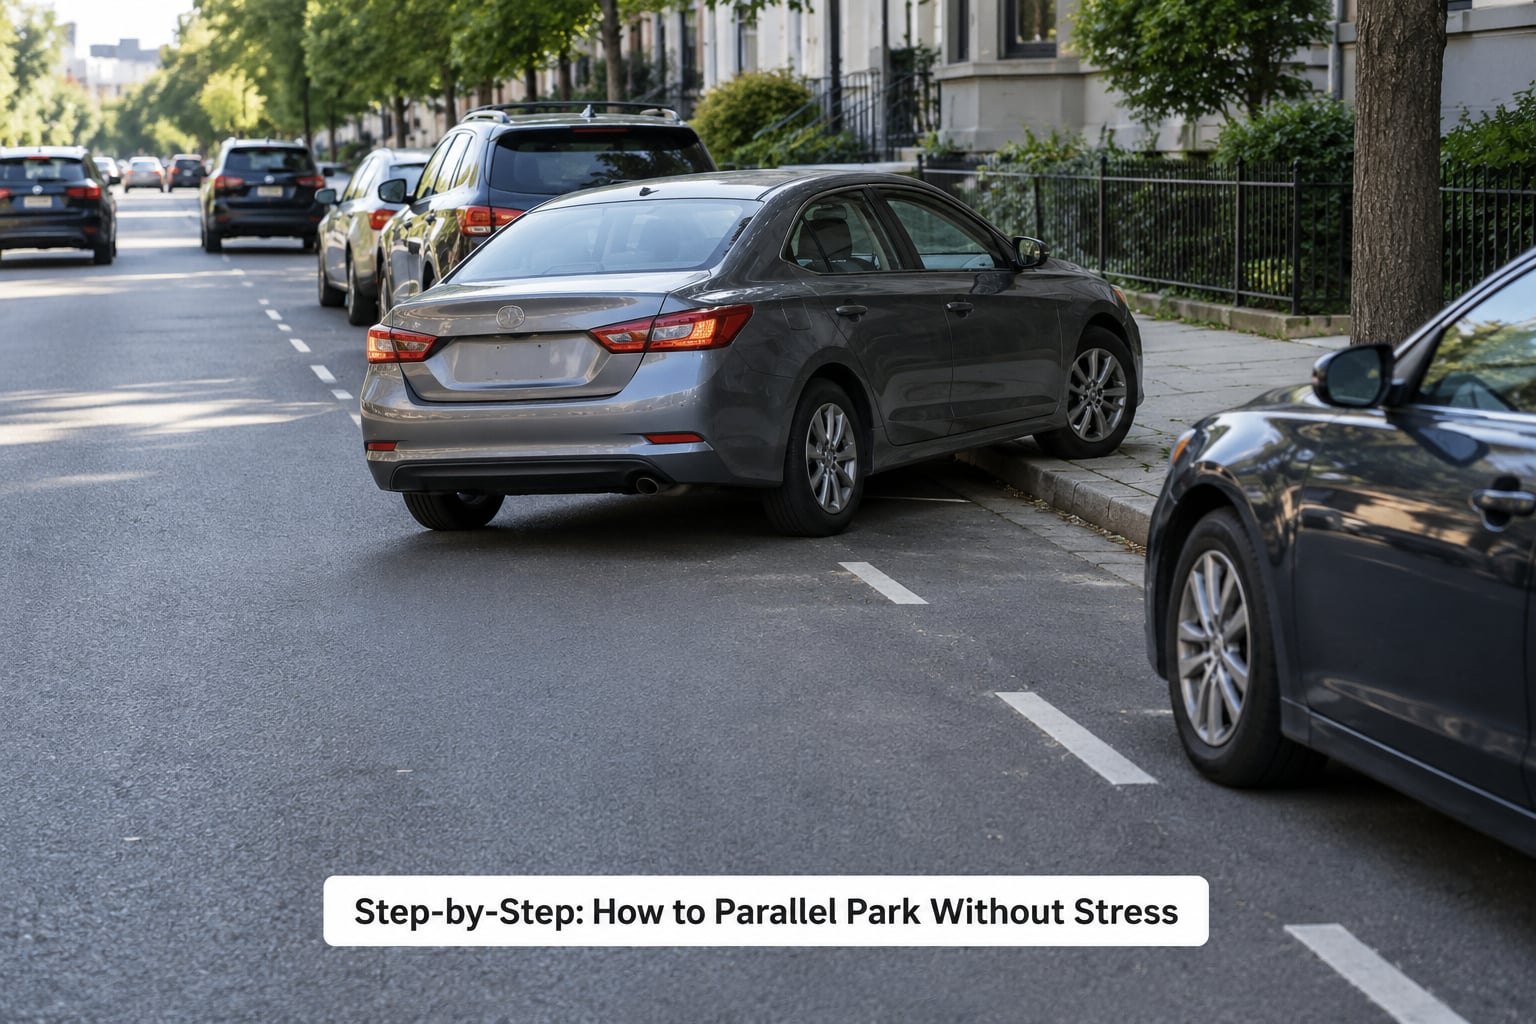
The seven movements, in order
- Check the gap is long enough and scan mirrors, blind spot and traffic.
- Signal toward the curb and pull up alongside the front car, leaving two to three feet of clearance.
- Align your rear bumper level with theirs.
- Select reverse, check behind you again, and turn the steering wheel fully toward the curb.
- Reverse at walking pace until the car sits at a 45-degree angle to the curb.
- Straighten the wheels and keep reversing until your front corner clears their back bumper.
- Turn the wheel the opposite way, creep back until the car is parallel, then straighten and centre.
Step 1: Check the Space and Traffic Before You Move
Look at the gap and decide immediately whether you want it. Measure roughly: is it one and a half car lengths or more, plus the width of the two vehicles either side? Look for hidden obstacles such as a driveway where a car could emerge, a post, a skip or a wheelie bin.
Then do a full observation cycle. Mirrors, over each shoulder, through the rear window, and above the sill of the open driver window. Look for cyclists on your nearside, pedestrians stepping off the curb, and oncoming traffic. On a busy road, one car behind you will usually wait a reasonable length of time. Nobody is timing you, and if the queue does start to move, you are allowed to drive on and come back.
Step 2: Signal and Position Your Car
Signal toward the side of the curb you are parking on before you move and hold it through the manoeuvre. Ease forward until you are alongside the parked car in front, keeping two to three feet of side clearance. That two feet is doing a lot of work: it gives you a visible gap and room to correct later. Closer than about a foot and you are gambling.
Stop when your rear bumper is level with their rear bumper, or with their front wheel if you use that as your cue. Set your handbrake, then shift into reverse. With a manual, ease the clutch to the bite point. With an automatic, hold the brake until you are ready to creep.
Step 3: Turn Into the Space at the Right Angle
This is where most people go wrong, and the fix is simple: turn the steering wheel as far as it will go toward the curb, then reverse at walking pace.
Use the side mirror and the rear side window together rather than one alone. When the front car appears as a diagonal in your mirror and your car sits at roughly 45 degrees to the curb, stop turning. Keep the wheel at full lock. Only now start bringing the front of your car round by reversing straight for a moment.
If you turn too early and swing the nose in hard, the rear bumper heads toward the car behind you. If you turn too late, you run out of room behind you to straighten out. The 45-degree position exists because it balances those two errors.
Step 4: Straighten and Correct
Straighten the steering wheel completely and keep reversing slowly until your front corner clears the rear bumper of the car in front. Then turn the wheel the opposite way and continue reversing until the car sits parallel to the curb, roughly 6 to 12 inches (15 to 30 cm) from it.
Small corrections are normal. If the car is nose-in, creep forward a foot with the wheel turned slightly into the curb and then reverse again. Repeat as many times as you need. Nobody is counting movements, and several short shuffles beat one long correction every time.
Which Reference Point to Use: A Cheat Sheet
Different instructors teach different cues, and learners assume one of them must be wrong. They are not wrong; they just mark different moments. Pick the row that matches your car and stick to it.
| Cue you see | What it means | What to do next |
|---|---|---|
| Your rear bumper level with their rear bumper | You are in the starting position for the turn | Select reverse, full lock toward the curb |
| Their rear door handle lines up with the middle of your rear side window | Your rear corner has swung safely into the space | Straighten the wheel and keep reversing |
| Their rear bumper appears as a diagonal across your side mirror | The car is near the 45-degree angle | Stop turning, hold full lock, reverse straight |
| Their tailgate edge disappears past the bottom of your mirror glass | You are angled shallow enough to begin bringing the nose in | Continue straightening slowly |
| Your front headlight reaches the line of their rear wheel | Your front corner is about to clear their back bumper | Cut the wheel the other way and reverse |
| The curb edge fills the reversing camera guidelines at the bottom | The rear bumper is 6 to 12 inches from the curb | Select drive and shuffle forward to centre |
For most cars, the window and mirror cues are more reliable than the bumper cue, because they use your side vision instead of your judgement of where your own tail is. A good compromise many instructors use is to line their rear door handle up with the middle of your rear side window, then use the 45-degree angle in the mirror to know when to straighten.
Left-Side Drive and Right-Side Drive: What Actually Changes
The sequence never changes. The steering direction and the direction you look before reversing do.
- Parking on the right-hand curb: signal right, take your mirror checks over the right shoulder, turn the steering wheel right at the start, then left to bring the nose in.
- Parking on the left-hand curb: signal left, check over the left shoulder, turn the steering wheel left at the start, then right to bring the nose in.
- Both sides: the 45-degree angle, the 6-to-12-inch curb distance and the number of shuffles are identical.
Adjusting the Method for SUVs, Vans and Pickups
Bigger vehicles have bigger blind spots behind the cab and longer front overhangs, which is why the standard cue points do not work. Adjustments that help:
- Leave more side clearance. Three feet instead of two. Extra space sideways means fewer corrections.
- Use a wider angle target. Aim for 40 degrees rather than 45 if your turning circle is tight.
- Watch your front overhang, not your headlight. On a pickup or van, the front corner often leads the visible headlight by a foot or more.
- Rely on mirrors set correctly. Adjust both mirrors before you start so the rear doors are just visible. That is often more useful than a camera in a big vehicle.
- Target a bigger gap. A van that fits an average car gap with one shuffle will usually fit with three.
Parking on a Hill or Cambered Road
A slope makes the car roll, which makes the final curb distance hard to hold. Turn the steering wheel toward the curb before you release the handbrake, and hold the brake on the automatic or keep your foot on the brake. When reversing uphill, expect the car to accelerate as you reach the top of the manoeuvre and ease off the accelerator. On a cambered road, park with the wheels turned toward the curb rather than against it, and leave more distance from the curb so the car cannot lean onto a door.
When It Goes Wrong: The Forward-and-Back Shuffle
Almost every imperfect attempt can be fixed without starting again. Pull forward slowly until your wheels are straight and your car sits clear of both vehicles, then look again and start a fresh attempt with the front wheels angled toward the curb instead of straight. If you have reversed too far and the rear of your car is heading toward the car behind, forward is the only safe move. If the nose is deep in the curb, drive forward out of it before trying again.
If the gap is genuinely too small, drive past and circle back. That is a judgement call, not a failure, and experienced drivers make it regularly.
Common Mistakes and How to Fix Them
These are the errors that come up again and again in learner threads, with the correction that actually resolves each one.
- Turning the wheel too late. You run out of space behind you to straighten out. Fix: take full lock immediately in reverse and hold it until you reach the 45-degree angle before doing anything else.
- Starting too close to the car in front. You lose visibility into the space and have no room to swing in. Fix: hold two to three feet of side clearance.
- Reversing too fast. Small steering inputs become large movements. Fix: walking pace, roughly 3 mph, and treat the clutch bite point as the slowest you will ever go.
- Steering full lock while watching the curb. You straighten the car and hit the front car. Fix: eyes on mirrors and side window through the turn, curb only at the end.
- Stopping between the wheels of the parked car. The car ends up at a bad angle and the shuffle becomes longer. Fix: the target is the space between the wheels, at 6 to 12 inches from the curb.
- Using only the mirror or only the camera. You lose track of the front of the car. Fix: combine the side window, mirror and camera, and do a 360-degree check before you finish.
- No observation before moving off. This is what turns a small error into a serious fault. Fix: mirrors, shoulder check, rear window, over the sill, every single time.
- Forgetting the handbrake or the reverse light check. Fix: handbrake on before selecting reverse, and confirm your reverse lights work the first time you try it.
- Trying to do it in one perfect movement. The expectation itself causes the panic. Fix: plan on two or three movements from the start and it becomes far less stressful.
Tips for Nervous First-Time Drivers
Almost every driver finds this manoeuvre hard at the beginning. Surveys of driving anxiety repeatedly find that holding up traffic and being watched by other drivers rank above the fear of hitting a car. So address the people, not just the geometry.
There is no timer
The single biggest reframe that anxious learners mention is this: nothing is counting down. Nobody has a stopwatch, nobody fails you for taking three attempts, and the driver behind you is far more forgiving than your imagination says. Once you internalise that, the pressure drops noticeably.
Use one physical calm-down cue
Slow your breathing before you signal: two seconds in through the nose, four seconds out through the mouth, three cycles. It lowers heart rate enough that your hands stop shaking on the wheel, and it works in the ninety seconds before you start.
Practise in a deliberate order
Build up over about a week. Start with cones set out to mark a gap on an empty street, then real parked cars on a quiet road, then a busy street with moving traffic, and finally your own street. Each stage only starts feeling normal after a few repetitions, and jumping straight to the hard version is why people convince themselves they cannot do it.
Ask for a helper, not a critic
When practising with someone, give them one job: stand at a safe distance and call out clearances in feet, not opinions. “Two feet on your left” is useful. “That’s wrong” is not.
Know what the examiner actually scores
Examiners assess three things: control, accuracy and observation. A correctly executed parallel park with a proper 360-degree check scores better than a technically tidy park made without observation. Deliberate, slow and watchful is the target, not fast. Minor faults such as an imperfect final curb distance rarely end a test on their own; serious faults such as hitting another vehicle or failing to look around do. You are also allowed to ask the examiner to repeat an instruction, and asking is never a fault.
Let the first few attempts be bad on purpose
Pick a gap that is too large on your third attempt. It feels absurd, and it removes every risk of contact, which lets you concentrate on the wheel and the mirrors instead of on damage. Then step down to a realistic gap when the movement feels automatic.
Frequently Asked Questions
What are the 3 R’s of parallel parking?
The three R’s are Rule, Reference point and Reversal. The rule is the spacing you set before you turn: two to three feet of clearance beside the car in front, and a gap of roughly one and a half car lengths. The reference point is the fixed cue on your own car that tells you where your corners are, such as the middle of your rear side window. The reversal is the backwards movement at full lock and walking pace until you reach the 45-degree angle.
Is there a trick to parallel parking?
The only real trick is having reference points you trust instead of estimating. Most beginners fail because they are guessing where their rear bumper is, not because they are bad at steering. Fix one cue on your car, use it every time, and the same gap becomes repeatable. Practising with two empty spaces marked by cones on a quiet street is the fastest way to build that trust.
What is the 1-2-1 method of parallel parking?
The 1-2-1 method is a counting cue for the movements. One: pull alongside the front car with two feet of clearance. Two: reverse at full lock toward the curb until you reach the 45-degree angle. One more: straighten and reverse until your front bumper clears the back of the vehicle ahead. It is the same manoeuvre as the standard method, with the counts attached so you stop losing track of which stage you are in.
How close to the curb should I parallel park?
Most guidance points to between 6 and 12 inches, which is about 15 to 30 cm, from the curb to your wheels. Aim for the middle of that range rather than the extreme, because a slightly wider position leaves you room to straighten later. If you need to open the door fully or load luggage from the pavement side, park a little further out. On a cambered road, leave more space than usual so the car cannot lean onto the door.
Do I have to parallel park on my driving test?
It depends on where you are testing. In the UK, parallel parking is part of the DVSA and DVA test, and reversing into a bay is a separate assessed manoeuvre. In the United States it is common as a road test manoeuvre in New York, California, New Jersey, Pennsylvania, South Carolina and several other states, but many states do not include it. Check your local licensing authority’s page for the exact list before your test day.
How do I stop feeling stressed while parking on a real street?
Slow your breathing with two seconds in and four seconds out for three cycles before you signal. Give yourself permission to skip a gap that is too small and circle back, because that decision alone removes a lot of pressure. Pick gaps that are one and a half car lengths while you are still learning, and plan on two or three movements instead of one. Nothing is timing you, and slow with full observation scores better than rushed.
Conclusion
Start with one thing tomorrow: find a quiet street, mark two spaces with cones or parked cars about one and a half car lengths long, and run the seven movements three times with one fixed reference point. Do not change the cue between attempts.
Parallel parking stops being difficult through repetition rather than talent. Almost everyone is bad at it for the first few attempts, including people who have driven for years. Pick a gap you can afford to get wrong, allow yourself two or three movements, and the queue of traffic behind you will stop being the thing you are thinking about.