If you want the short answer, here is how to winterize your car: test the battery, set tire pressure to the door-jamb numbers, check the oil and coolant, swap in winter washer fluid, and pack an emergency kit. The full job takes a couple of hours on a mild weekend, and most of it is well within a first-time owner’s ability. Do it between late October and early November, before the first hard freeze, not after your car strands you on a cold morning.
Cold weather is unkind to the weakest parts of a vehicle. A battery can lose a large share of its starting power at freezing, tire pressure drops as air contracts, oil thickens, and coolant that is too weak can freeze and crack an engine block. Winterizing is simply dealing with those points one at a time before they turn into a roadside problem.
Most of the work is DIY. A few items, like a battery load test or a coolant mix check, are quick for a shop to do and worth doing there if you are not sure. Where the guide below says to check something, I will tell you how to confirm it actually worked rather than just assuming.
Table of Contents
- What You Need
- Step-by-Step: How to Winterize Your Car
- 1. Check the Tires and Set Correct Pressure
- 2. Test the Battery and Protect Connections
- 3. Check the Oil and Use the Right Grade
- 4. Inspect Coolant, Hoses, and Heating System
- 5. Replace Windshield Washer Fluid
- 6. Inspect Brakes, Wipers, and Weather Seals
- 7. Protect the Interior and Exterior
- 8. Run a Final Safety Check
- Common Mistakes
- Frequently Asked Questions
- When should I winterize my car?
- Do I need to winterize my car every year?
- Should I disconnect the battery or use a trickle charger over winter?
- How long should I let my car warm up in winter?
- Do I need snow tires if I already have all-season tires?
- Is it okay to leave my car outside all winter?
- Conclusion
What You Need
Gather everything before you start. Half-finished prep usually happens because the tool was in the garage and the car was in the driveway.
- Your owner’s manual and vehicle service information. This sets the oil viscosity spec, the coolant type, the cold cranking amp requirement, and the tire pressure for your exact model.
- A tire pressure gauge rated for higher pressures plus a tire tread depth gauge or a penny.
- A socket or wrench set, a multimeter, and a terminal brush for battery work.
- Correct coolant or antifreeze for your local climate, in the type and mix your manual specifies, plus a funnel and a coolant-safe container for disposal.
- Winter-grade windshield washer fluid rated below the lowest temperature you expect. Read the label rather than going by bottle color.
- Fresh wiper blades sized for your windshield.
- Battery supplies: a clean cloth, baking soda or a battery terminal cleaner, and a battery maintainer if your car will sit for weeks at a time.
- Emergency supplies: an ice scraper, snow brush, small shovel, flashlight, reflective vest or triangles, jumper cables, a first aid kit, blankets, water, and non-perishable food.
- Protective supplies: a car wash safe for the finish, a microfiber towel, and a breathable car cover if the car lives outdoors.
Step-by-Step: How to Winterize Your Car
Work in this order. Tires and battery first, because they cause the most winter breakdowns, then fluids, then visibility and comfort items, then a final pass. Exact intervals and fluid specifications depend on your vehicle, so treat your owner’s manual as the authority whenever it disagrees with anything you read, including this guide.
1. Check the Tires and Set Correct Pressure
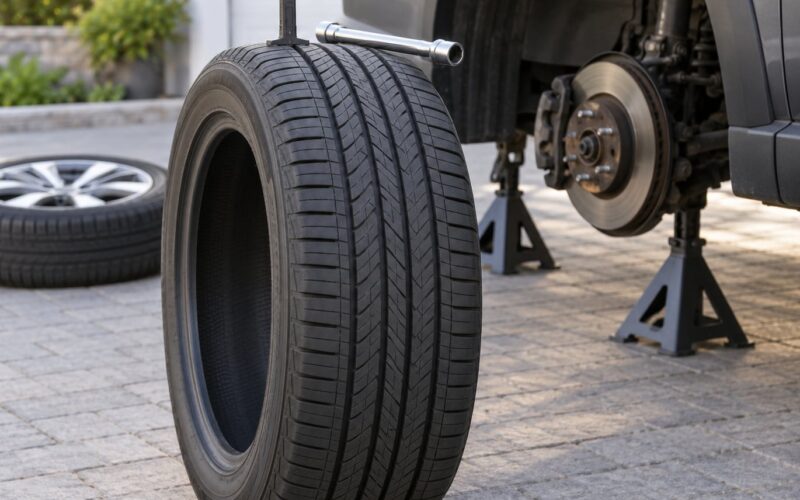
Start with the door-jamb placard, not the tire sidewall. The driver’s door frame sticker lists the recommended cold inflation pressures for front and rear, and that is your target. The sidewall number is a maximum the tire is rated to hold, not a recommendation.
Look at all four tires plus the spare. Feel for bulges, cuts, exposed cords, and uneven wear across the tread, which can point to an alignment or suspension problem. Run the tread depth gauge across several points, or do the penny test: insert a penny into the groove with Lincoln’s head down and see whether it covers any part of the wear bar. Below about 2/32 inch and the tire is past its legal life in most places.
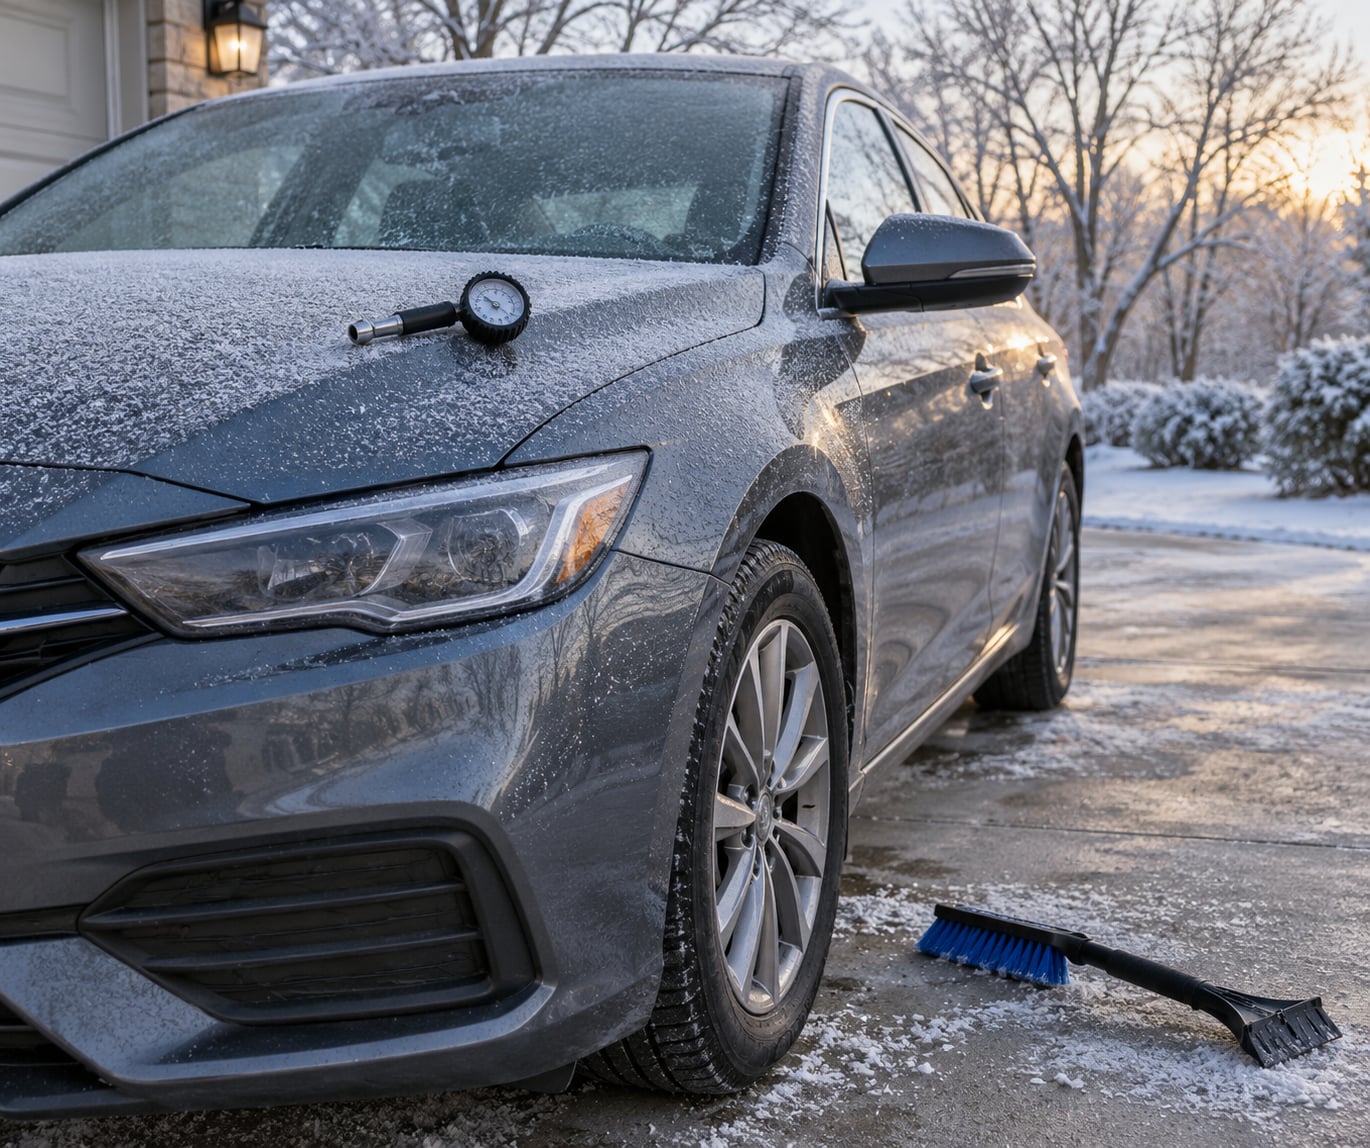
Tire pressure falls roughly 1 PSI for every 10°F drop in outside temperature, so a car inflated in mild weather reads low all winter. Measure when the tires are cold: parked at least three hours, or driven fewer than a mile. Add air in small doses and recheck.
How you know it worked: every tire, including the spare, matches the door-jamb number, and nothing on the tread or sidewall shows damage. If a tire is cracking, corded, or worn to the bar, replace it rather than inflating it harder.
2. Test the Battery and Protect Connections
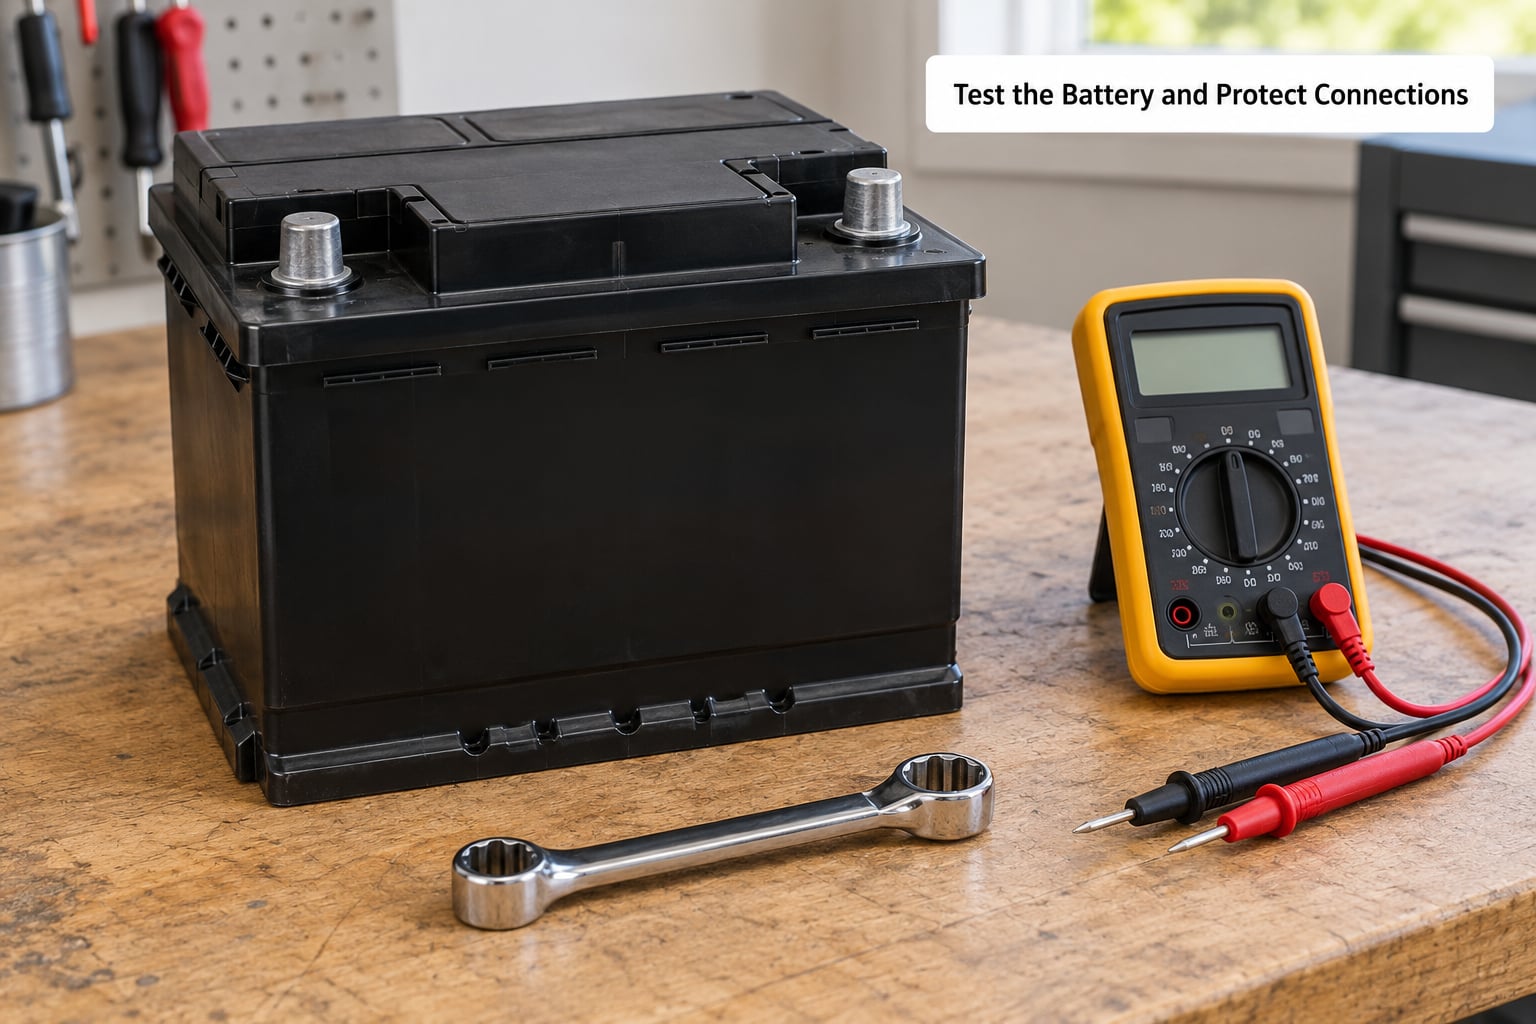
The battery is the number one cause of winter dead batteries, and the most avoidable one. Look at the date sticker on the case. Most lead-acid batteries last three to five years, and a battery already three years old in the fall is a likely winter failure.
Then inspect it with the engine off. Check for a white or blue-green crust on the terminals, a swollen or bulging case, a loose clamp, or a cable that frays where it enters the case. Clean corrosion with a terminal brush and a paste made from baking soda and water, then dry the area and tighten the clamps until they are snug.
Measure resting voltage with a multimeter. A fully charged 12-volt battery sits around 12.6 volts with the engine off; a reading near 12.2 suggests a partial charge, and 12.0 or lower means it needs charging or replacement. Cold-cranking capacity matters too. Cold-climate owners in places like Fairbanks and Grand Forks typically look for a battery rated at 450 to 500 cold cranking amps or higher.
How you know it worked: terminals are clean and tight, the case is not swollen, and a load test at a shop shows good cranking capacity. If your car will sit for weeks, a battery maintainer on a low charge rate keeps it topped up. If you are unsure around a battery, have a shop do the load test; it is quick and it gives you a printed result.
3. Check the Oil and Use the Right Grade
Pull the dipstick, park on level ground with the engine off and either cold or after a few minutes off, and read the level between the two marks. Low oil matters more in winter because a thin film protects a cold engine poorly on a cold start.
Look at the oil on the dipstick too. Gritty specks, a milky or foamy look, or a fuel smell all point to a problem that winter will make worse. Check under the car for drips after a night parked on a clean driveway.
For grade, use your manual’s viscosity specification for the lowest temperature you drive in. Many owners make the mistake of switching to a heavier oil in winter, when the standard advice in cold climates is the opposite: a slightly thinner grade flows faster and reaches the engine’s components sooner on a cold start. Confirm the exact rating your manufacturer lists, including any low-temperature allowance such as a specification that covers down to a stated minimum.
If an oil change is already due, do it before winter rather than after. That is also the cheapest moment to ask the shop to look at the brakes and fluids while the car is up on the lift.
How you know it worked: the level sits between the marks, the oil looks clean and consistent, and the grade on the container matches the manual’s specification.
4. Inspect Coolant, Hoses, and Heating System
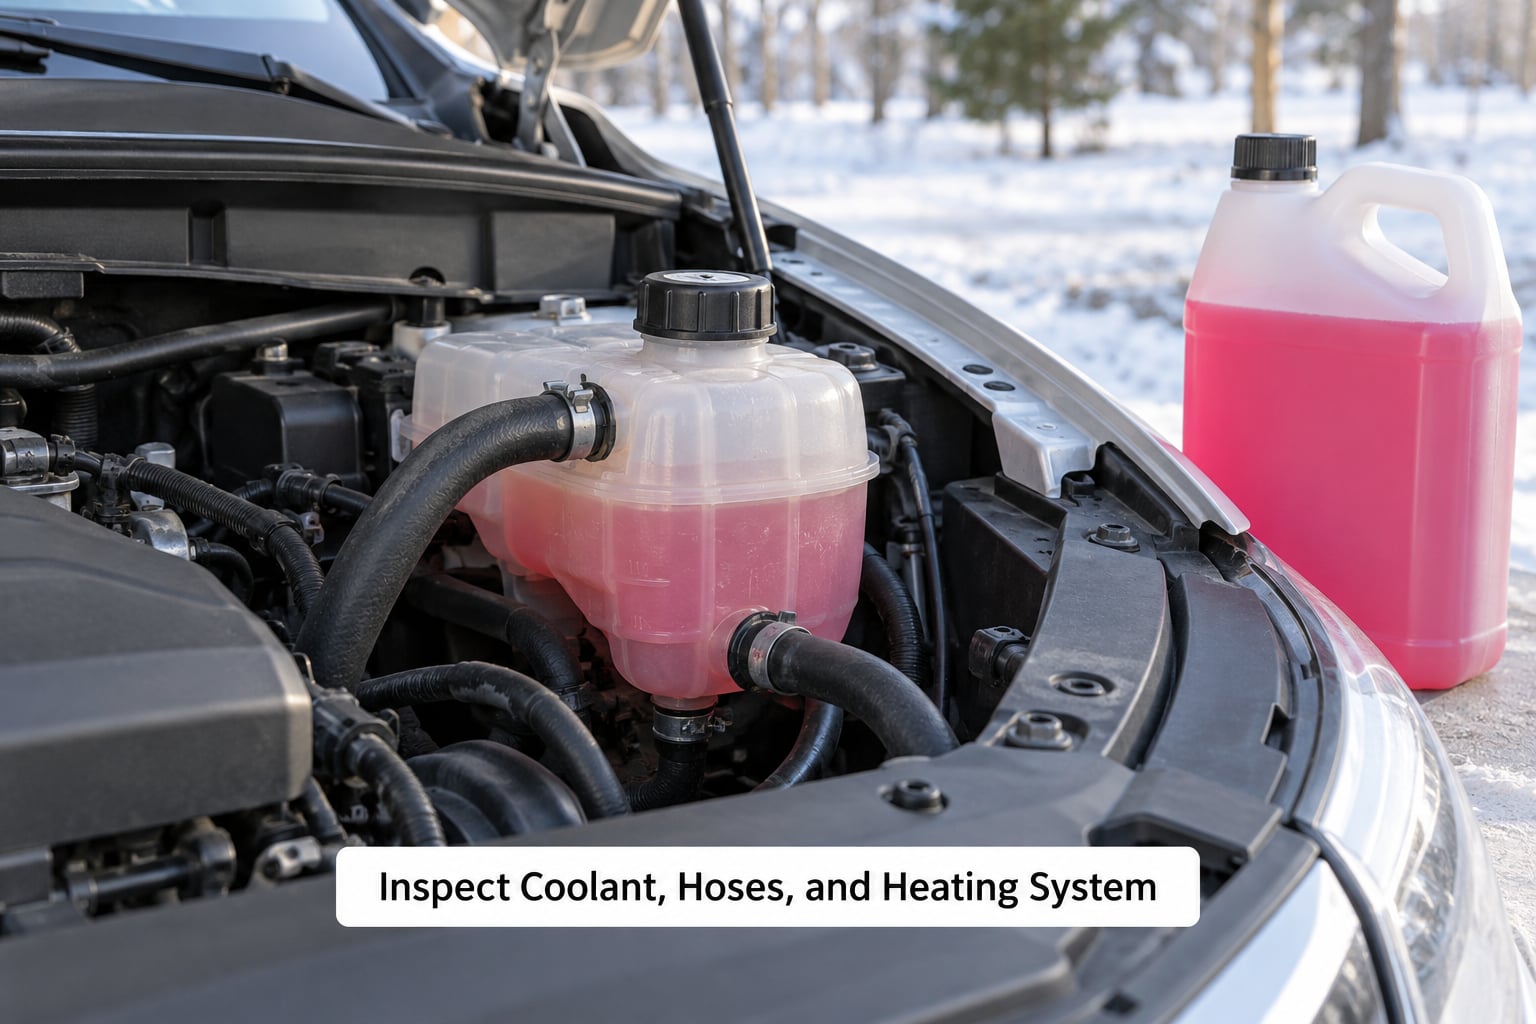
Check the coolant level at the right place for your car. Most vehicles have a translucent expansion tank in the engine bay with MIN and MAX marks; some older designs have a radiator overflow bottle instead. Check only when the engine is cold.
Confirm the mixture, not just the color. A 50/50 mix of the correct antifreeze and distilled water is the baseline for most climates, and the protective range printed on the bottle tells you how far below freezing it holds. If your area regularly drops below that range, mix a stronger solution such as 60/40, following the ratios on the container. Adding straight antifreeze on top of an already full-strength system is a good way to end up with a mix that is stronger than any part can handle.
Use the coolant type your manual calls for. Many newer engines require a specific extended-life or hybrid formulation that mixes with the older chemistry already in the system, and the wrong one can cause deposits or gel.
With the engine cold, squeeze the upper radiator hose and heater hoses. They should feel firm and slightly tacky, not soft, collapsed, or swollen. Look for weeping around hose clamps, white crust near the water pump weep hole, or greenish residue on the radiator cap. Note that a small amount of antifreeze weeping from the water pump hole is normal on many engines.
Never open the radiator cap or coolant system while the engine is hot. Pressurized scalding coolant will spray out.
How you know it worked: the level sits between MIN and MAX when cold, the mixture matches the antifreeze’s rated range for your lowest expected temperature, and no hoses look soft or damaged. A hydrometer or a refractometer gives you a confirmable reading when you want certainty.
5. Replace Windshield Washer Fluid
Drain the old fluid and fill with winter-grade washer fluid rated below the coldest temperature you expect. A bottle marked for 30 below zero, for instance, protects you much better than a standard all-season formula that freezes around 32°F. Read the label rather than guessing by color.
Pour in enough to cover the nozzles and run the washer for a few seconds to purge the old fluid from the lines. Over the summer months, bugs and grit sit in the tubing and nozzles, and frozen slush blocks the spray pattern when you need it most.
Never use household water, and never top off with tap water. Tap water carries minerals that leave deposits on the inside of the windshield once they dry, and a mixture that freezes will split the lines.
How you know it worked: clear fluid streams from every nozzle when you test it, and the fluid in the reservoir is the winter blend you just poured in.
6. Inspect Brakes, Wipers, and Weather Seals
Brakes and traction work together in snow, so look at both. Through the wheel spokes you can often see pad thickness and, on many vehicles, the rotor surface. A low grinding or scraping noise, a steering wheel that pulls, or a rotor with a visible deep groove means a shop inspection rather than a DIY fix.
Replace wiper blades as a pair. Old rubber streaks, smears, or skips in the middle of a swipe, and blades freeze onto the glass in exactly the weather you need them. Check the wiper arm springs too; a weak arm smears even with a new blade.
Inspect the windshield for chips and cracks, especially small star patterns at the edge of the field of vision. Windshield repair guidelines generally treat a crack reaching the driver’s critical area as a reason to replace the glass rather than repair it, and a compromised windshield is a poor first line of defense against road salt and debris.
Check weather-stripping around doors, the hood, and the trunk. A hard, cracked, or stiff rubber seal leaks cold air and lets moisture in where it can freeze. Wipe the seals with a damp cloth and apply a silicone conditioner rated for vehicle seals.
Finally, test the heater and defroster on a cold morning. Turn the fan to high with the temperature high and listen for a fan noise, then check that air moves out of every vent, including the windshield defroster and rear defroster. Heat that blows out of the wrong vent or a fan that only works at one speed needs a mechanic.
How you know it worked: pads and rotors look serviceable, the wipers clear the glass in a single pass with no streaks, seals are pliable, and hot air reaches the windshield vents.
7. Protect the Interior and Exterior
Salt and grime attack paint and trim more aggressively when they are allowed to sit with water on top of them. Wash the car, paying attention to the lower doors, rocker panels, wheel arches, and the underside of the bumpers, then dry it thoroughly. If the paint is sound, a wax or sealant layer adds protection before the road salt season starts.
Clean the interior too. Mats trap grit and moisture that scratch the floor and freeze stiff underfoot. Remove them, clean underneath, and let the carpet dry fully before putting them back.
If the car parks outdoors, lift the wiper blades off the windshield so a freezing night does not bond them to the glass, and clear leaves and snow out of the cowl drain and around the wipers. Snow and ice sitting against the glass under a cover can scratch the finish as the cover shifts in wind.
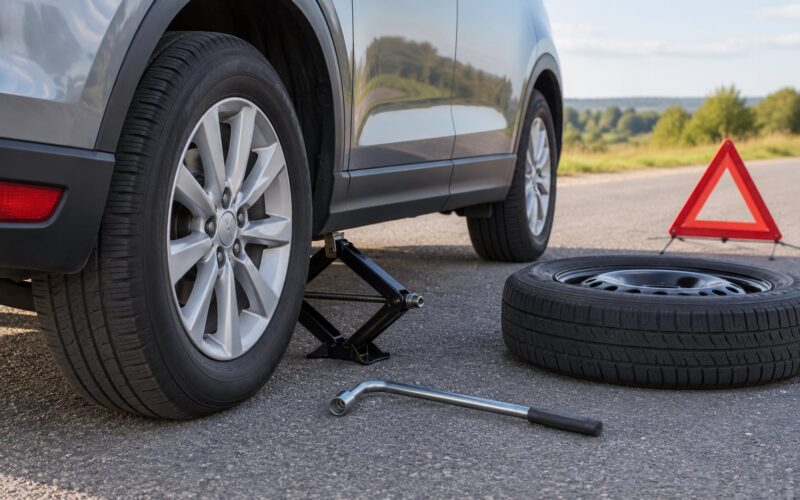
Keep the emergency kit in the vehicle rather than in the trunk on moving days. Include the ice scraper, snow brush, shovel, flashlight with working batteries, jumper cables sized for your vehicle, a first aid kit, a reflective vest or warning triangles, warm blankets, drinking water, and shelf-stable food. In a stuck breakdown, warmth and water matter more than gadgets.
How you know it worked: the paint is clean and dry, the interior is free of grit, the drains are clear, and every emergency item is actually in the car with working batteries.
8. Run a Final Safety Check
Do one last pass before the first freeze. Look underneath for fresh drips under the engine, around the radiator, and at each wheel. A stain that has grown since last week needs attention, not a shovel of dirt over it.
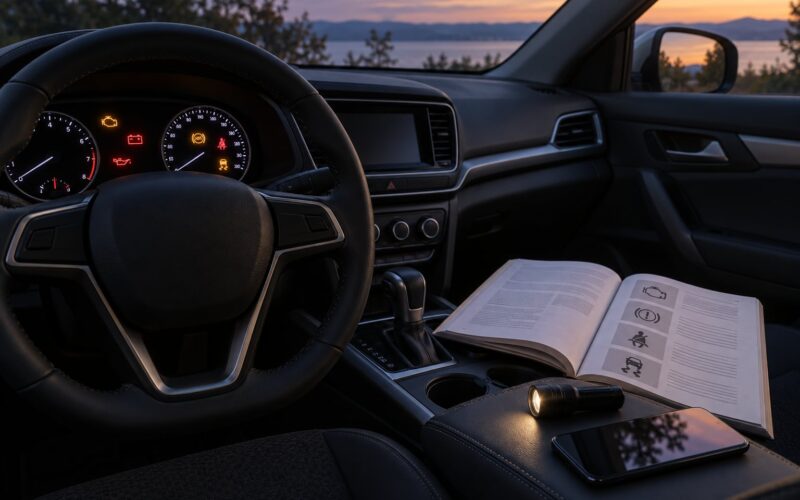
Check every warning light with the key on and the engine running. No illuminated dash light should remain after startup. Then check headlights, brake lights, turn signals, hazards, and license plate lighting, because longer nights and snow make visibility problems more likely to matter.
Confirm the wipers clear the windshield, the washer fluid still sprays, the tires hold pressure, and the battery is secure in its bracket. Check the emergency kit once more and confirm the flashlight works.
Get a mechanic involved when a warning light comes on, a fluid test fails, you find a leak, a component looks damaged, or you are simply not sure. None of those situations improves by waiting for colder weather. If an oil change is due, booking it now and asking for a full check while the car is in the shop covers most of this list in one visit.
Common Mistakes
Inflating tires to the maximum sidewall PSI. That number is a rating, not a target, and overinflation reduces the contact patch and worsens braking on snow. Use the door-jamb placard.
Ignoring the owner’s manual. Generic internet advice cannot know your engine’s coolant type or viscosity spec. The manual wins, every time.
Using the wrong coolant or over-thinning the mix. A 50/50 baseline is right for most climates; going much thinner reduces freeze protection, and topping off with pure antifreeze can exceed what the cooling system is meant to handle. Mix to the range printed on the container.
Switching to heavier oil for winter. Cold starts need oil that flows quickly. Check the viscosity specification for your lowest expected temperature instead of guessing.
Opening a hot cooling system. The cap holds pressure, and removing it releases scalding coolant. Every coolant check happens cold.
Leaving the battery untouched. A battery at the end of its life will fail on the first genuinely cold morning. Testing it now costs far less than a jump on a snowy roadside.
Adding additives that promise to fix everything. Winter additives cannot restore worn belts, corroded cables, low coolant, or a failing alternator. Fix the actual problem instead.
Treating a parked idling car as a winterized one. An engine that idles every few weeks in a garage is not the same as an inspected vehicle, and short idle runs can add condensation to the exhaust and oil without fully charging anything.
Skipping the weather seals. Cracked door and window seals let cold air and moisture in, which is how frozen door handles and a wet interior happen.
Frequently Asked Questions
When should I winterize my car?
Aim for late October through early November in most regions, before the first sustained freeze. Doing it after temperatures drop means the tire pressure you set has already drifted low and any low coolant is at risk of freezing. If you live where winters arrive early, use the first cool week where overnight temperatures approach freezing as your cue instead of the calendar date.
Do I need to winterize my car every year?
For an average driver, the full seasonal treatment is not required annually. A battery test, tire pressure and tread check, winter washer fluid, and wiper replacement are cheap enough to redo each year, and skipping them is what causes most problems. The deeper work, such as coolant replacement, brake inspection, and adding a battery maintainer, is tied to age, mileage, and how the car is used rather than to the calendar.
Should I disconnect the battery or use a trickle charger over winter?
For a car driven regularly, neither is necessary if the battery passes a load test and the terminals are clean. If the car sits for weeks at a time, a maintenance charger on a low charge rate is the better choice than disconnecting, because you keep the battery topped up instead of letting it discharge. Whatever you do, clamp a memory saver or jumper lead to a good ground point before disconnecting anything, so the radio and memory settings survive.
How long should I let my car warm up in winter?
For a modern gasoline engine, most drivers need only about 30 seconds of idling, just long enough for oil to reach the engine and the exhaust system to clear a windshield. Driving gently for the first few minutes is more useful than sitting in the driveway. Diesel engines are different and can take several minutes to warm up fully. Avoid fast revs and hard acceleration until the engine is at operating temperature.
Do I need snow tires if I already have all-season tires?
That depends on where you drive and what the tires are rated for. All-season tires with the three-peak snowflake symbol handle most winter conditions reasonably. If you get repeated heavy snow, drive mountain passes, or live where temperatures swing around freezing, dedicated winter tires give noticeably shorter stopping distances on packed snow and ice. Chains are worth carrying where the law allows, but they do not replace correct tires.
Is it okay to leave my car outside all winter?
Leaving a car parked outside through winter is normal and does not harm it, as long as you manage the battery, tires, and moisture. Run a maintenance charger if the car sits for weeks, keep tire pressure above the door-jamb recommendation to reduce the chance of flat spotting, and clear snow from the exhaust pipe before starting. Wash off road salt regularly, since trapped salt and moisture cause corrosion faster than cold alone.
Conclusion
If you do only five things this week, read the owner’s manual, set tire pressure to the door-jamb numbers, get the battery load tested, confirm the coolant mix covers your lowest expected temperature, and swap in winter washer fluid. Everything else on this list takes another hour.
Hand the rest to a shop when a warning light stays on, a fluid level keeps dropping, a test fails, or a component looks damaged. Winterizing is not complicated, but guessing is what turns a small fix into a roadside tow.