How to document damage for an insurance adjuster comes down to one thing: a dated, organized record of the loss built from photographs, narrated video, a written inventory, receipts and a communication log. That record decides whether your account of the loss is accepted, how large the estimate is, and whether you are offered actual cash value or replacement cost. Most of the work takes a couple of hours if you start before anything is moved, dried or thrown away.
The order matters more than the equipment. Capture the condition of everything before cleanup, repairs or disposal, then keep the originals. What follows is the process I would walk through, with the small details that most people skip and later wish they had.
Rules differ by country, state, policy and insurer, so treat this as a general method and check your own policy wording for anything specific.
Table of Contents
- What You Need
- Step-by-Step: How to Document Damage for an Insurance Adjuster
- How to Document Damage for an Insurance Adjuster Before the Inspection
- Photograph Every Affected Area and Detail
- Record Video and the Surrounding Context
- Create a Written Damage Log
- Collect Receipts, Reports, and Other Supporting Records
- Organize and Share the Evidence
- Common Mistakes That Reduce a Claim
- Safety and Privacy Tips
- Frequently Asked Questions
- How many photos should I take of damage for an insurance claim?
- Should I take pictures before or after cleaning up the damage?
- Can an insurance adjuster use my videos and photos if I send copies?
- What should I do if I need emergency repairs before the adjuster arrives?
- Do I need receipts to document damage, or are photos enough?
- Can I edit photos or annotate them before sending them to my insurer?
- Conclusion
What You Need
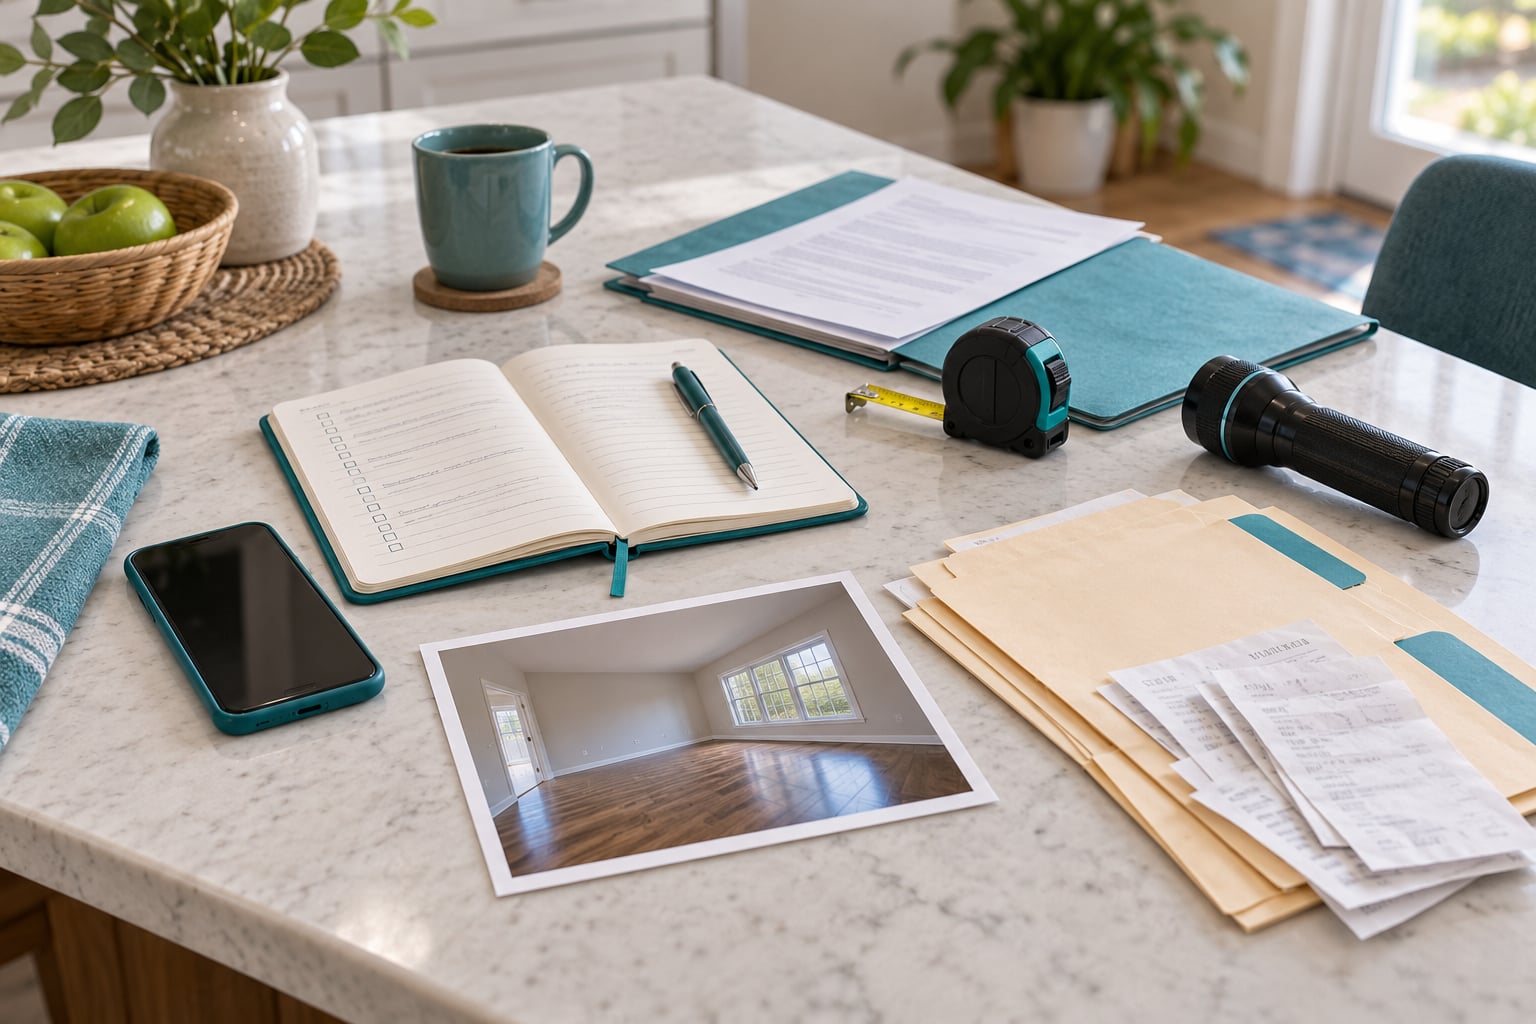
Gather these before the inspection, not after. Most claims stall because someone forgot one of them on the day.
- A phone with a working camera — the date and time are usually embedded automatically, which is the cheapest piece of evidence you own.
- A measuring tape — it turns “a big hole in the ceiling” into a number an estimator can price.
- A flashlight or headlamp — crawl spaces, closets, attic hatches and water in a wall are where damage hides.
- A notebook and pen — paper survives a dead battery, a flooded phone and a reset laptop.
- Your policy and declarations page — knowing your deductible, coverage limits and the cause-of-loss wording ahead of time saves arguing from memory.
- Prior photos of the property — an older image of the same wall is the fastest way to show condition before the loss.
- A way to back up files — cloud storage, an external drive, or emailing the folder to yourself.
- Access to utility and emergency records — shutoff valves, plumber notes, fire or police report numbers.
Step-by-Step: How to Document Damage for an Insurance Adjuster
Eight steps, in order. Work safely, capture the condition of everything before repairs whenever that is safe to do, and never edit the originals. Skipping ahead to the cleanup step is the single most common way people destroy their own proof.
How to Document Damage for an Insurance Adjuster Before the Inspection
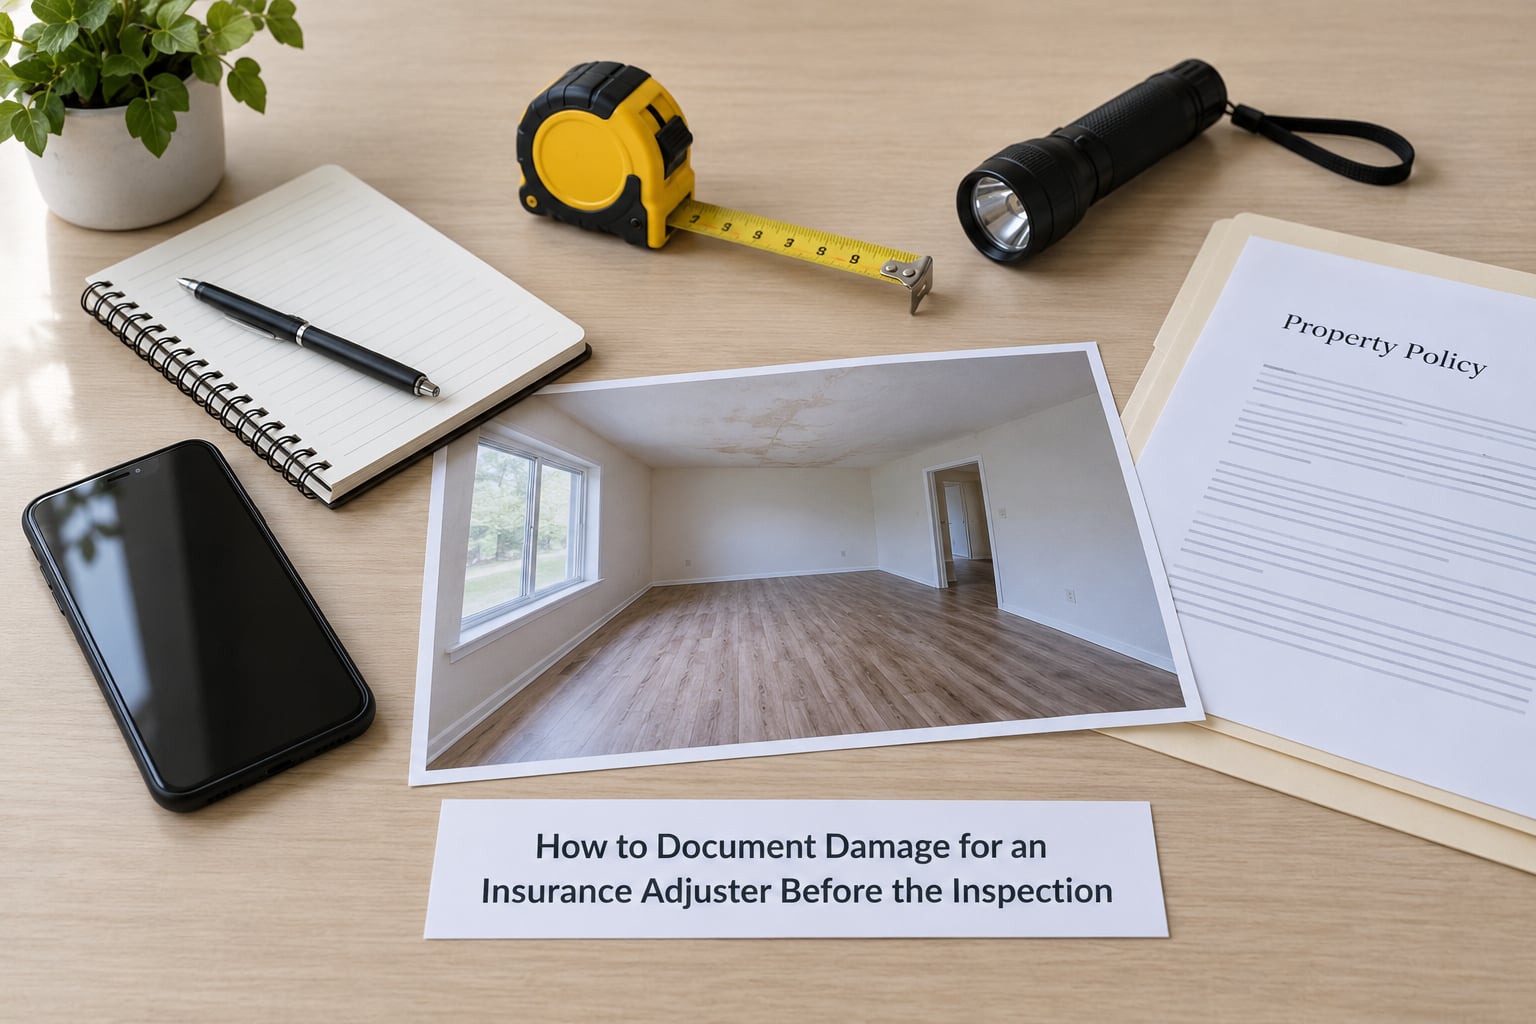
Start before anyone arrives. Read the policy and declarations page, confirm the inspection date with the carrier, and write down every area you believe is affected.
Then walk the property room by room and start a damage log, even if it is a rough list on the back of an envelope. A complete first record contains: the date of the loss, the date you are documenting, each room or exterior area, what is damaged in it, and whether you have photos or video of it.
Mark anything you are unsure about as “not yet inspected” rather than guessing. Adjusters photograph more of the property than you expect, and that is normal procedure rather than a judgement about you — but knowing your own list ahead of time means you can ask about anything they missed.
Photograph Every Affected Area and Detail
Use a repeatable method so nothing is ambiguous: take a wide shot that establishes the room or object, a medium shot that shows it in context, then a close-up of each damaged area. Put a familiar object in the frame for scale — a coin, a ruler, a tape measure, even a standard-size outlet cover.
Work outside inward and top down when weather allows, then interior room by room. Photograph doors and windows, ceilings and floors, the source of the damage, and the areas above, behind and underneath it. Open every closet; clothing and stored items are the ones homeowners most often forget.
| Photo type | What it proves | Example shot |
|---|---|---|
| Wide establishing shot | Which room, and how much of it is affected | Corner of the kitchen showing the whole floor and cabinet run |
| Medium shot | Where the damage sits in the room | The sink cabinet with the wall behind it in frame |
| Close-up with scale | Size, depth and severity of a single defect | Burst pipe joint with a tape measure laid beside it |
| Brand or serial label | Model, age and replacement value | Appliance data plate or equipment serial number |
| Source of damage | Cause, which drives coverage | The failed fitting, the struck branch, the gap in flashing |
| Mitigation in place | You prevented further loss | Tarps, dehumidifiers, fans and the shutoff valve |
| Measurement shot | Quantities an estimator can price | Tape extended across the water line on the drywall |
Name, date and back up every file. A convention that works: YYYY-MM-DD_Room_Item_Angle.jpg, so a file reads like 2026-03-14_Kitchen_CabinetBase_Close.jpg. Keep the automatic time stamp in the file data, copy everything to a second location, and never crop, filter or enhance an original. Send yourself an email with the folder attached; people lose phones after storms more often than anyone expects.
Record Video and the Surrounding Context
One continuous walkthrough video beats a pile of stills for showing how the damage relates to the space. Walk slowly, narrate the date, the property and each room, and describe what you see in plain language: “kitchen, back wall, water stain roughly four feet wide, still damp.”
Show how the damage affects use — a blocked doorway, a dead outlet, a room you cannot sleep in. That connects the loss to additional living expenses and habitability later. Independent, contemporaneous video is the hardest evidence to argue with, so keep the original file untouched and never edit it down.
Skip the video if conditions are unsafe. Nobody needs a shaky clip from a collapsed floor; a wide photo from outside caution tape is better than a broken ankle. For hidden water damage, ask for professional moisture readings, moisture mapping and thermal imaging rather than guessing, and keep the printed report.
Create a Written Damage Log
Use one row per damaged item or area, with these columns: date, location, description, cause if known, photo or video filename, and estimated impact. A spreadsheet works; a ruled notebook page photographed clearly works just as well.
Write what you observed, not what you assume. “Discolored patch on ceiling, about 3 feet across” is useful. “The pipe caused 10,000 dollars of damage” is not, and it invites a denial for exaggeration. Save estimates for the estimate column and label them as contractor or adjuster figures.
For contents, add brand, model, approximate age, serial number and where it sat. Age and condition drive the difference between actual cash value and replacement cost, and those are the fields adjusters use to depreciate an item. If you have no receipt, a warranty card, a bank statement, a retailer order history or a serial number photo is the accepted substitute — not a dealbreaker.
Collect Receipts, Reports, and Other Supporting Records
Photograph every receipt as you receive it, not later. That covers emergency board-up, water extraction, dehumidifier rental, plumbing repairs, temporary lodging, tarps, generators and debris haul-away.
Also gather the plumber or restoration company invoice, contractor estimates, the fire or police report number, and any written communication with the carrier. Note that mitigation coverage typically pays for temporary protection, not permanent repairs, so keep those categories on separate sheets.
Keep originals in one folder and copies in another. Redact account numbers, Social Security numbers and medical details you do not need to share, and include only records connected to this loss. A clean packet reads better than one padded with unrelated statements.
Organize and Share the Evidence
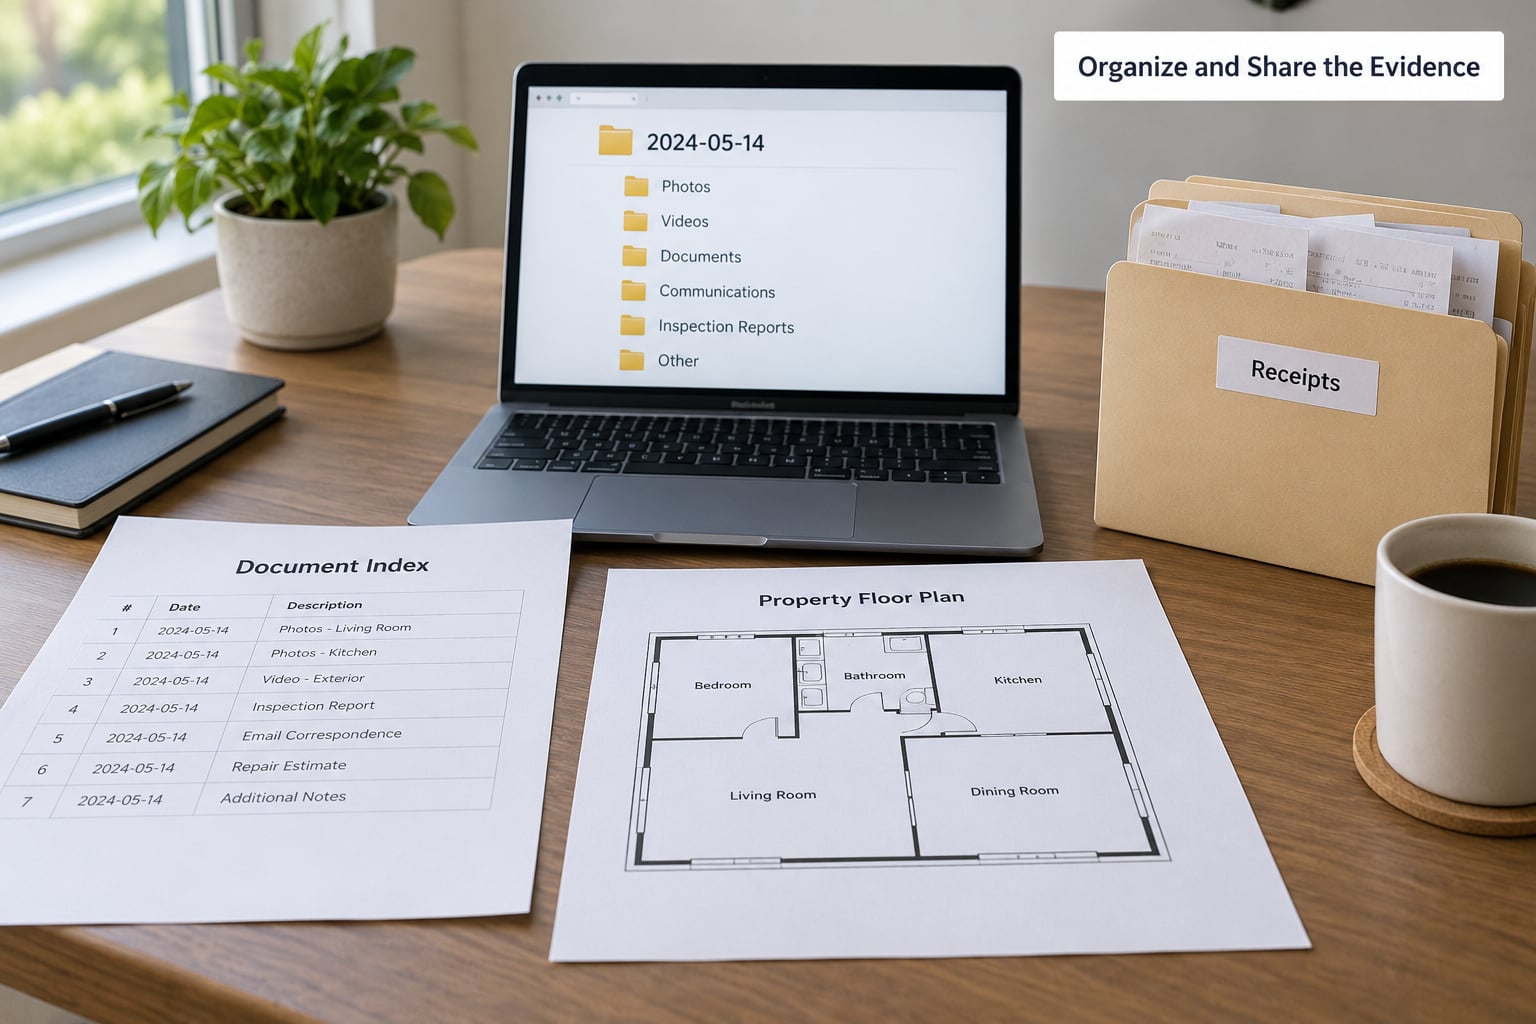
Build the folder chronologically and name it after the claim number: CLAIM-XXXX/Photos, Video, Receipts, Estimates, Inventory, Communications. Inside each, keep the file dates in order so an adjuster can follow the claim’s history without asking you questions.
Write a one-page index at the top of the packet: loss date, cause, claim number, a short list of affected areas, and where the photos, inventory and receipts live. Knowing how to document damage for an insurance adjuster means the evidence is easy to verify, not merely collected.
Submit through the carrier’s portal or the email address your adjuster gives you, then ask for written confirmation of receipt. Ask for a copy of the scope of damage before the adjuster leaves the property, and again after the report is finalized — that scope becomes the baseline number for the whole claim, so a copy matters. Review it against your own photos and flag anything missing in writing.
Common Mistakes That Reduce a Claim
Each of these is easy to fix in advance and hard to fix afterwards.
- Cleaning up before photographing. Wet carpet, soaked drywall and discarded belongings carry the evidence. Fix: photograph first, then mitigate, and save what you remove until the claim closes.
- Waiting for the adjuster to take the photos. Adjusters work from ground level and roof access, so cracked tiles, bent flashing and displaced shingles are easy to miss. Fix: take your own set the same day.
- Discarding items because they look ruined. Fix: bag and store them if it is safe, with photos showing condition.
- Editing or enhancing images. Cropped or filtered photos raise questions about the rest. Fix: keep originals pristine and only annotate in a separate layer.
- Skipping context shots. A close-up of a stain proves little about scale. Fix: always take the wide shot first.
- Guessing at cause or cost. Fix: describe what you saw and let the carrier determine cause; put contractor numbers in the estimate column.
- Sending evidence through one channel only. A lost phone takes the only copy with it. Fix: cloud backup plus an email to yourself.
Safety and Privacy Tips
Safety comes before evidence. Stay out of unstable structures, near downed power lines, around gas leaks and leaking fuel lines, and away from contaminated water, mold, aggressive animals and areas an authority has marked unsafe. If a photo would put you on a roof, a ladder or a cracked floor, photograph it from where you can stand safely or leave it to a licensed professional.
Use licensed trades for electrical, gas and structural work, and for water extraction and mold remediation. Their reports and readings carry far more weight than a home video, and the cost is often reimbursable as mitigation.
On privacy, keep evidence off public feeds. Storm and fire damage photos show your address, your belongings, your street number and sometimes your vehicle plate. Post them in private threads with the insurer, not publicly, and ask before sharing your address, claim number or documents with anyone else.
Frequently Asked Questions
How many photos should I take of damage for an insurance claim?
More than feels necessary, taken in a repeatable pattern. For each affected area, take a wide shot of the room, a medium shot showing position, and a close-up with an object for scale. Add shots of the damage source, brand and serial labels, measurements, and every affected room including closets and storage spaces. If a loss affects a whole property, room by room coverage is the goal.
Should I take pictures before or after cleaning up the damage?
Before, always. Wet carpet, stained drywall and soaked belongings are the evidence of both the damage and its severity, and cleaning first destroys it. Photograph and video everything, then start mitigation if the situation is unsafe or causing further damage, and keep whatever you remove until the claim is fully settled. Tell your insurer what you had to remove and when.
Can an insurance adjuster use my videos and photos if I send copies?
Yes. Send copies, never the only file. Your adjuster will review the evidence you submit and may ask for more, so keep the originals on your own phone or drive plus a backup in cloud storage or an email to yourself. Keep the automatic time stamp intact, do not edit or enhance anything, and ask for written confirmation that your submission arrived.
What should I do if I need emergency repairs before the adjuster arrives?
Protect the property first, then document. Photograph the damage before work starts, photograph the mitigation equipment in place, and keep every invoice and receipt for board-up, water extraction, dehumidifiers, plumbing repairs and temporary lodging. Mitigation coverage generally covers temporary protection rather than permanent repairs, so tell your insurer in writing what you are having done and why it was urgent.
Do I need receipts to document damage, or are photos enough?
Photos establish what was damaged, but receipts prove what it cost and when. If you have lost the originals, alternatives are usually accepted: retailer order history, bank or card statements, warranty cards, serial number photos, and a written inventory showing brand, model, age and condition. An itemized list paired with proof of ownership is stronger than a photo with nothing attached to it.
Can I edit photos or annotate them before sending them to my insurer?
Keep the originals untouched and never crop, enhance or filter them. If you want to point something out, send a separate annotated copy or a marked-up floor plan alongside the original files, and describe the location in words in your damage log. Keep a paper copy of anything you submit, because file dates and metadata can be lost when images are forwarded or re-saved repeatedly.
Conclusion
The first action is small and immediate: make a safe, date-stamped visual record of everything affected, then organize it chronologically and preserve the originals. That single habit is what the rest of the process — inventory, receipts, the adjuster visit, the scope of damage — builds on.
Keep in mind what you do not control, either: the carrier’s estimate and what an adjuster writes down on the day. Good documentation does not guarantee an outcome, but it is the only reliable way to point at what was missed and ask for it in writing. Filing deadlines, proof-of-loss requirements and duty-to-mitigate rules vary by country, state, policy and insurer, so check your own before you start.