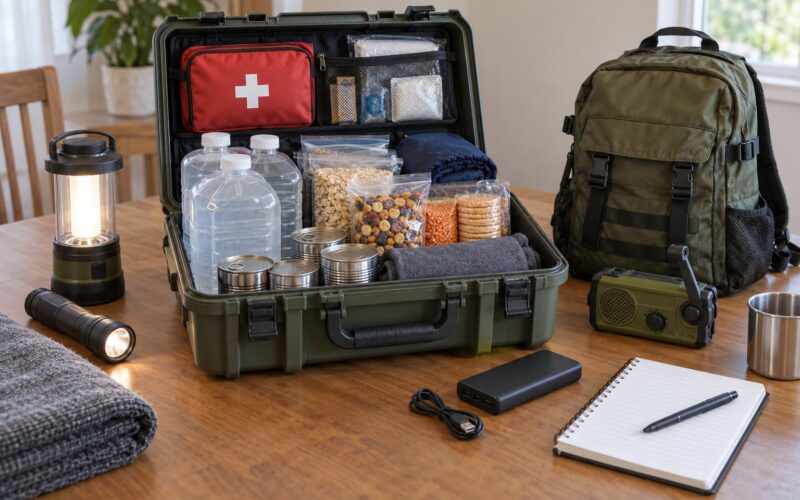
A cold snap does most of its damage through water rather than wind. Pipes that freeze split at a fitting and put hundreds of gallons on the floor in a few hours, and the repair bill usually dwarfs the cost of an afternoon of prep. How to prepare your home for a cold snap takes about an hour of work and a small bin of supplies, and almost all of it can be done the day before the freeze.
The order matters. Pipes first, because they are invisible until they fail. Drafts second, because a leaky envelope makes every other measure work harder. Detectors and heating third. Then the outdoor hazards nobody thinks about until they hear a crack at 2 a.m.
Table of Contents
- What You Need
- Step-by-Step: How to Prepare Your Home for a Cold Snap
- 1. Check the Weather and Make a Supply Plan
- 2. Protect Pipes from Freezing
- 3. Seal Drafts and Reduce Heat Loss
- 4. Check the Heating System Safely
- 5. Clear Outdoor and Emergency Hazards
- 6. Do a Final Cold-Weather Walkthrough
- Common Mistakes
- Frequently Asked Questions
- How cold does it have to be for pipes to freeze?
- Should I turn the thermostat down when I go away in winter?
- How do you winterize pipes in a vacant house?
- What should I stock up on before a winter storm?
- Is it safe to run a generator during a power outage?
- What are the four Ps of preparing for freezing weather?
- What to Do First
What You Need
None of this is specialised equipment, and you do not need a contractor to gather it. Most of it comes from a hardware store in a single trip, and a few items you probably already own.
- A flashlight and spare batteries. Batteries go flat in a cold garage faster than anywhere else. Keep a second set in the emergency bin.
- Pipe insulation. Foam pipe sleeves sized to match your pipe diameter are the cheapest fix there is. Self-adhesive heat tape is the more expensive option and needs correct placement to do anything.
- Weather-stripping, sealant and removable window covers. V-strip and foam tape for door frames, paintable caulk for gaps around pipes, and clear plastic film or magnetic covers for draughty windows.
- The right furnace filter. Most people buy the wrong size because they guess. The model number is printed on the side of the old filter or on the furnace label.
- A basic toolkit. Screwdriver, adjustable wrench, tape measure, a flashlight and a pair of work gloves.
- Batteries for your smoke and carbon monoxide alarms. Test buttons only tell you the alarm beeps. They do not prove the sensor still works.
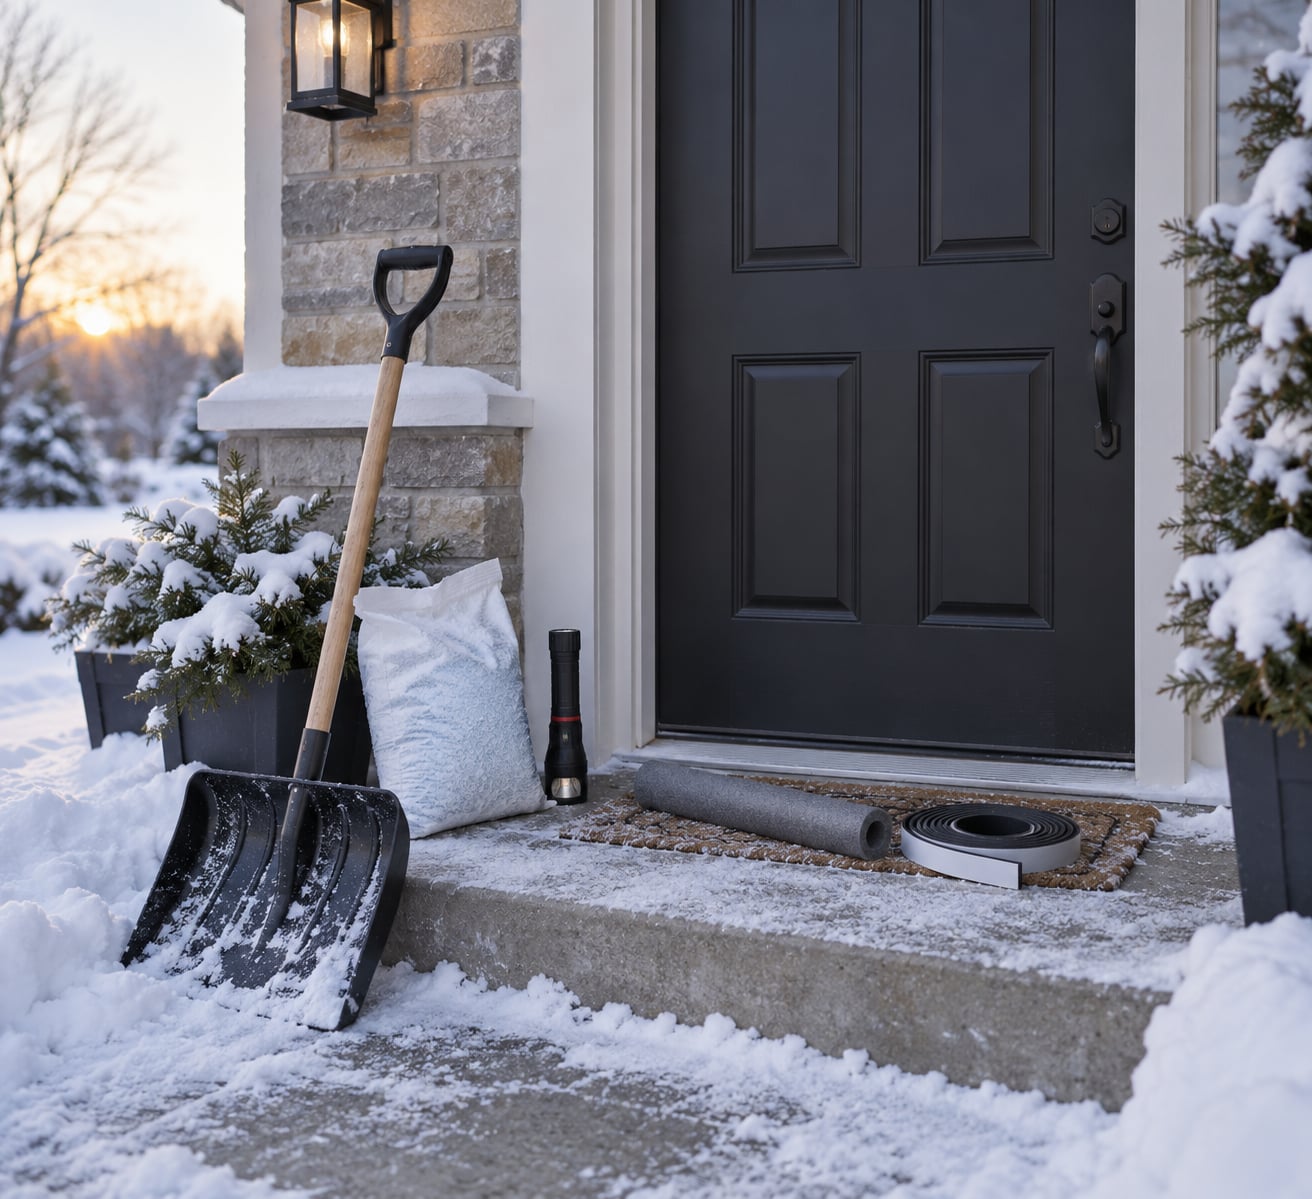
- A shovel, ice melt and a heavy broom. Dig you out before the storm, not during it.
- Emergency contact numbers on paper. Plumber, gas utility, power company, landlord, 211 assistance line, doctor’s office. A dead phone cannot dial from a locked screen.
- Two days of drinking water and shelf-stable food per person who lives there, plus pet food and any prescription medicine.
Step-by-Step: How to Prepare Your Home for a Cold Snap
Work through these six stages in order, starting a day before the temperature drops. The whole sequence takes roughly an hour and a half for a typical house, plus drying time for sealant, so starting early matters more than working fast.
1. Check the Weather and Make a Supply Plan
Watch the forecast rather than reacting to it. The National Weather Service issues a frost warning when the ground surface is expected to drop below 36 F, and a freeze warning when the air itself is forecast below 32 F, and the freeze warning is the one that threatens pipes.
Once a freeze warning is in play, charge every phone, fill the kettle, and put a fresh set of batteries in the flashlight. Nobody in your house should have to hunt for a torch in the dark. Open a closet and pull out the winter blankets now rather than at midnight.
Then make the water plan. A tap running for a drip is useless if you run out of water. Fill a tub, keep a jug per person in the car, and check that the stopcock on the sink is not seized. If someone is on powered medical equipment, treat its battery like a phone battery and find the nearest warming centre now, while roads are still passable.
Write down where the water, gas and electrical shut-offs are if you have never looked. It takes five minutes and it is the difference between a small problem and a flooded house. Renter or owner, the meter and the main valve are usually in the same place regardless of who owns the walls.
If you have never wintered the home before, the crawlspace is worth a look. People rarely mention it, but a fitted cover over open crawlspace vents does more for a cold pipe run than anything you can do inside the house, and it costs less than most toolboxes. Keep a bright flashlight handy because it will be the worst-lit five minutes of the job.
2. Protect Pipes from Freezing
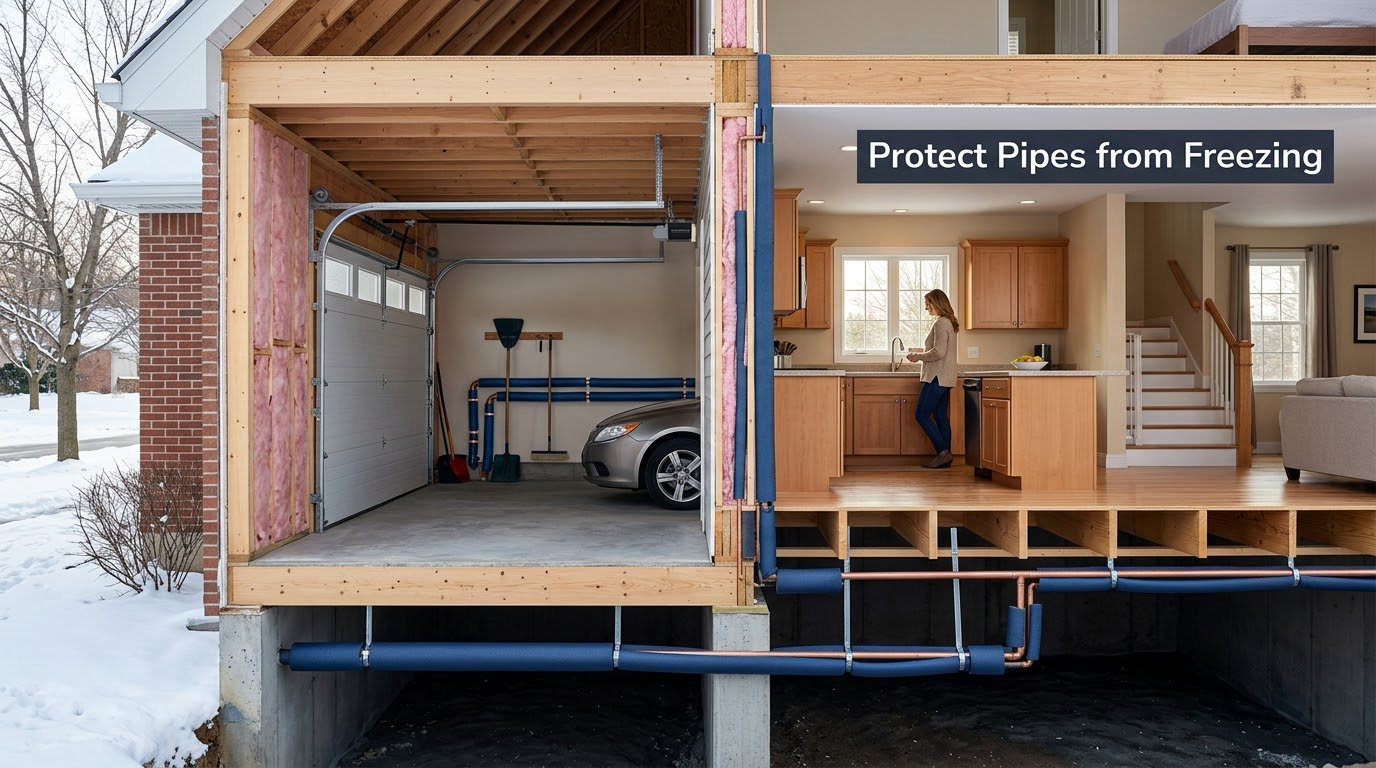
Vulnerable pipes are the ones you cannot see or reach easily. That list covers basement and crawlspace runs, plumbing in garages and outbuildings, and any pipe passing through an exterior wall or an unheated attic. Showers on an outside wall are a classic failure because they sit behind the wall where nobody looks.
Wrap them in foam sleeves sized to the pipe, or use self-adhesive heat tape following the manufacturer’s instructions. Foam is slower to warm a pipe but costs a fraction as much and never fails electrically. Heat tape is the better answer for a drain line that will sit unused all winter.
On the night of the freeze, open the cabinet doors under every sink on an exterior wall and let a slow drip run from the hot and cold taps. Moving water resists freezing, and a slow trickle uses a few gallons overnight, which is pennies against a burst line. The myth that dripping wastes water and does nothing comes from people who drip at full force, or who drip one tap and leave the pipe behind the wall still sitting in the cold.
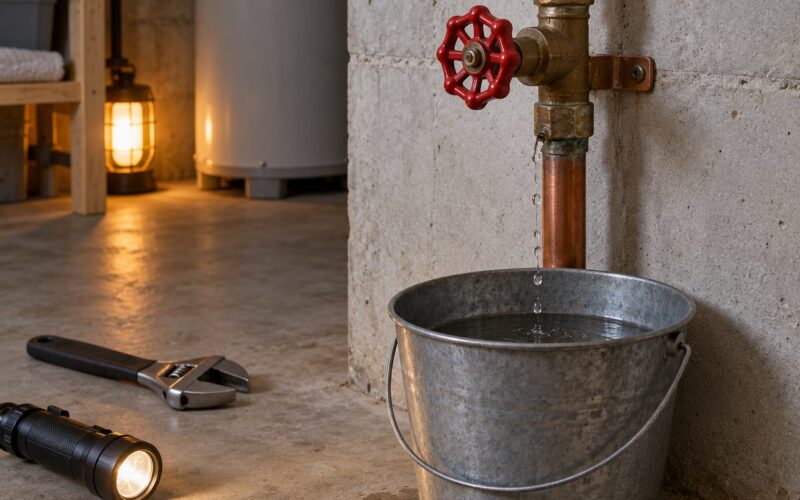
Know where your main water shut-off valve is before you need it. It usually sits on the lowest wall of the basement, in a garage, or in a plastic meter box at the property line. Find it, check the handle turns, and take a photo of it so you can show a plumber in a flooded room. If the valve sticks, call a plumber now rather than at 3 a.m.
Never apply an open flame or a blowtorch near a frozen pipe. Use a hair dryer on a low setting or wrap the section in towels soaked with warm water, then heat slowly from the end of the pipe toward the middle.
3. Seal Drafts and Reduce Heat Loss
Run your hand along the edges of exterior doors and windows on a windy day and mark where you feel air. Those marks are where heat escapes and where cold pipes sit behind the drywall.
Fill gaps around plumbing penetrations with paintable sealant, then fit self-adhesive foam or V-strip weather-stripping to door frames following the manufacturer’s directions. For a single-pane window that will not be replaced, a removable clear cover taped inside the frame can cut the draft noticeably for very little money.
Pay attention to the attic hatch, the rim joist above the garage, and any pipe or vent running through an unheated space. Gaps there leak the biggest volumes of heated air, and a removable cover on the attic hatch costs less than a pizza.
Keep in mind that sealing a home makes it drier inside. Vent gas appliances as the manual specifies and run the kitchen and bathroom exhaust fans after showering, because indoor humidity in a closed-up house is what turns a cold window into a mould problem in February.
4. Check the Heating System Safely
Owner checks are limited to things you can do without tools: replace the furnace filter with the correct size, set the thermostat to heat, and listen for the system to start and for warm air at every vent. A furnace that runs but never produces warm air needs a technician, not a homeowner with a wrench.
Never open the furnace door, remove a panel, or attempt a repair. Anything gas, electrical or structural belongs to a licensed professional. If you own a fireplace or wood stove, have the chimney or flue inspected annually, and confirm the damper and screen work before the first storm.
Set a thermostat myth straight here: turning the heat way down before a cold snap or a trip away is a bad plan. Deep indoor drops warm humid indoor air that then condenses on cold surfaces, including the pipes you were trying to protect. Leaving the heat on a moderate, steady setting costs less over several days than a deep drop followed by recovering.
5. Clear Outdoor and Emergency Hazards
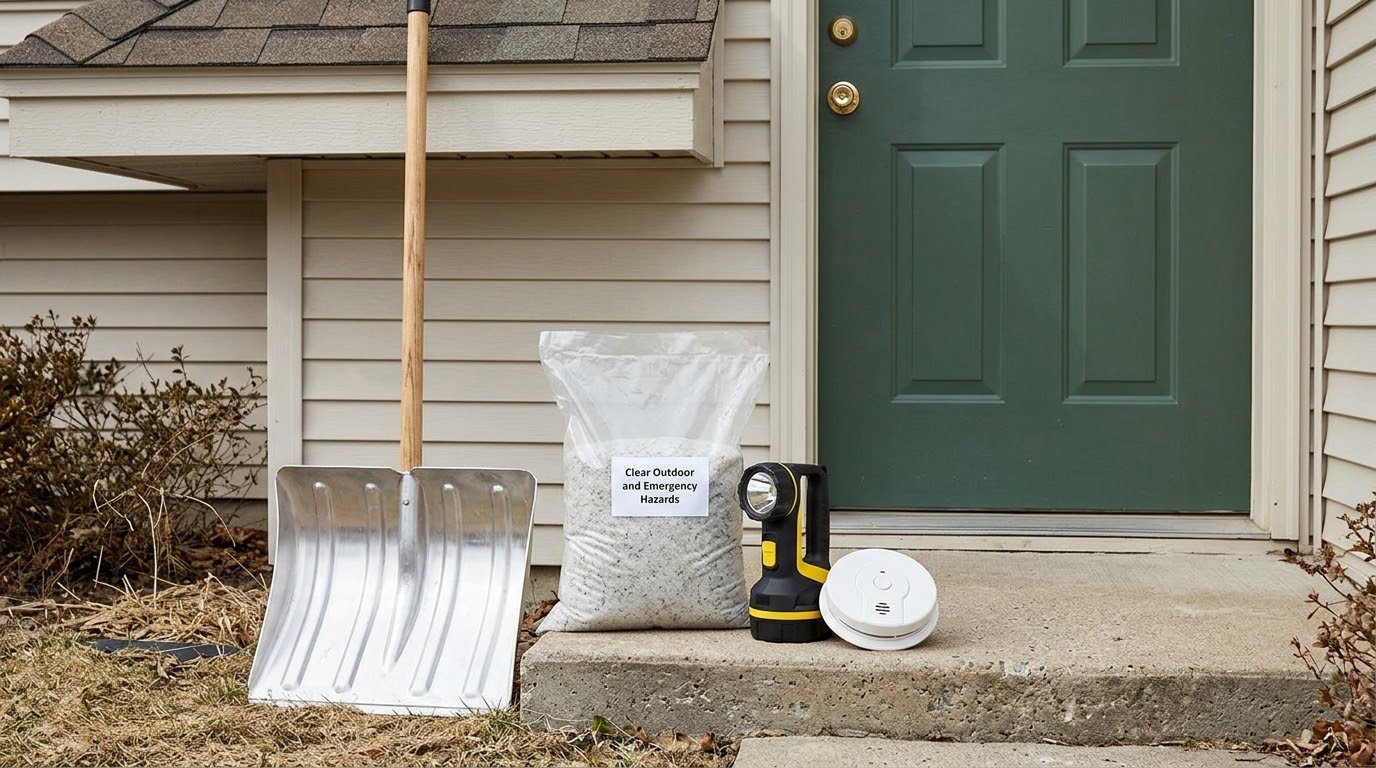
Clear leaves and debris out of gutters and downspouts before the freeze. Blocked drainage lets water back up under shingles and backs into the attic, where it forms an ice dam that can lift the roof edge and send water indoors. Keep exhaust flues for the furnace, fireplace and any dryer clear of snow.
Bring in outdoor furniture, planters, hoses and anything that could be pushed by wind. Salt the walkway, the steps and the path to the car rather than the whole driveway. The Salt Smart Initiative works out to roughly one coffee cup of ice melt per 500 square feet, and that figure is plenty for most ordinary walkways.
Check that smoke and carbon monoxide alarms sound, and that every bedroom and every sleeping level has one. Test each one monthly and replace the batteries twice a year. If you will run a portable heater, keep it three feet from anything combustible and plug it directly into a wall, never an extension cord.
If you own a generator, it runs outdoors only, well away from doors, windows and vents. Carbon monoxide is colourless and odourless, and indoor or garage use is the leading cause of poisoning deaths in cold weather.
6. Do a Final Cold-Weather Walkthrough
Walk the house room by room and let it run for a few minutes before you judge it. Check that no vent is blocked by furniture or boxes, that pipes running along exterior walls feel no colder than the room, and that bathroom and kitchen cabinet doors are open.
Look for warning signs rather than waiting for water: a stain on a ceiling, a bulge in drywall, a faucet that produces only a trickle or a burst spray. Check that damp clothing is out of the way so it cannot mildew against a wall, and that the emergency bin is where everyone can find it.
Finally, walk the household. Older adults feel temperature change far less reliably, infants cannot tell you they are cold, and pets hide discomfort rather than showing it. Make sure anyone in those groups has a working thermometer, extra layers within reach, and a plan for reaching a neighbour or warming centre.
Common Mistakes
These are the preparation errors that turn a bad night into a bad month.
- Running an unattended heat source. A space heater left in an empty room, a stove left on, or a generator running near an open door produces carbon monoxide without warning. Heaters belong in occupied rooms, three feet from anything that burns.
- Blocking ventilation. Sealing a gas furnace’s flue or the dryer vent to stop a draft can cause a carbon monoxide build-up inside the wall. Vents exist for a reason.
- Skipping the carbon monoxide detector. A smoke alarm does not detect carbon monoxide, and a battery backup does not last through a week-long outage unless someone changes the batteries.
- Leaving the generator in the garage. Carbons travel through the house long before you smell anything. Outdoors, every time, at least 20 feet from the building and never near a door or window.
- Treating a new furnace filter as a service. A filter keeps dust off the heat exchanger. It does not clean a flue, check a gas valve, or clear a condensate drain, and none of those are homeowner jobs.
- Waiting until the freeze arrives. Sealant needs hours to cure and hardware stores get crowded on the day before a storm. Prep works either way, but it is calmer beforehand.
Frequently Asked Questions
How cold does it have to be for pipes to freeze?
A pipe exposed to moving air can start freezing at around 20 F, while a pipe in a still, insulated space can go much lower. Wind is the deciding factor: a pipe in an exterior wall in a 25 F wind can freeze while the same pipe in a basement stays fine. Frost warning covers 36 F to the ground, freeze warning covers air below 32 F. Insulate anything in an unheated space regardless of the number.
Should I turn the thermostat down when I go away in winter?
No, not far. A deep drop before a trip warms up the moisture in your indoor air and walls, and that warm damp air condenses on cold pipes and window frames when you return or when heat comes back on. Keep the setting moderate and steady instead. If nobody is home for only a day or two, a modest reduction saves less than you think and risks condensation. A plumber or gas fitter should fit freeze protection to the supply line for longer absences.
How do you winterize pipes in a vacant house?
Shut off the main water valve and drain the system, opening faucets until the flow stops. Leave the drain lines open and the water off, keep the property heat on a minimum of about 55 F or have someone check it daily, and leave cupboard doors open. Do not use antifreeze in supply lines. For a visit longer than a few days, have a plumber winterize it properly, and keep a monitored heat source rather than relying on a thermostat you cannot read.
What should I stock up on before a winter storm?
Two days of drinking water and shelf-stable food per person, pet food, prescription medicines, flashlights and spare batteries, a battery or hand-crank radio, a dry-chemical fire extinguisher, a charged power bank, warm blankets, salt and a shovel. Skip anything that needs cooking unless you have fuel you can safely burn outdoors. Keep a few days of cash on hand, since card terminals and petrol pumps can lose power.
Is it safe to run a generator during a power outage?
Never indoors, in a garage, a basement, a shed or a car port, and never within about 20 feet of the house. Carbon monoxide is colourless and odourless and can accumulate before anyone notices symptoms such as headache, dizziness and nausea. Run the engine outdoors, point the exhaust away from doors, windows and vents, use an approved weather cover, and plug appliances directly into the generator rather than through the house wiring.
What are the four Ps of preparing for freezing weather?
Emergency-preparedness guidance is usually grouped into four parts: Prepare, by making a plan and checking supplies; Prevent, by insulating pipes and sealing drafts so a cold snap causes no damage; Protect, by testing detectors, clearing vents and handling heaters and generators safely; and Provide, by stocking food, water, medicine and warm clothing for everyone in the household. The four together cover what to do before, during and after the cold arrives.
What to Do First
If you have time for only four things, do these in this order. Wrap the pipes in unheated spaces and let a slow drip run from a tap on an exterior wall. Seal the worst drafts around doors, the attic hatch and the garage rim.
Then test the smoke and carbon monoxide alarms, replace the furnace filter and confirm the heat actually reaches the vents. Finish by clearing the gutters, the exhaust flues and the walkway, and by staging water, food, blankets and a torch where everyone can reach them.
That sequence covers how to prepare your home for a cold snap in about an hour, and it removes the three causes of nearly all cold-weather damage: a frozen pipe, a dead heater and a blocked flue.