
The fastest way to get a US passport is the official expedited service, which drops processing to roughly two to three weeks, and the fastest of all is an urgent-travel appointment at a passport agency, available only when you fly within 14 calendar days or need a foreign visa within 28 calendar days. Neither option compresses mailing time, and that is where most travel plans quietly break.
I have walked a lot of people through this exact problem, and the same three mistakes show up every time: applying at the last minute, treating processing time as the same thing as total time, and trusting a paid “rush” service that cannot promise anything the State Department has not promised. Fix those three and the rest of this guide is mostly detail.
Everything below reflects US passport rules as published on travel.state.gov and checked for this article in October 2026. Fees and timeframes change, so verify the numbers on the official pages before you book anything non-refundable. If you are outside the US, skip to the note at the end — the process belongs to your own country’s authority, and only the shape of the answer transfers.
Table of Contents
- What You Need to Get a Passport Faster
- Step-by-Step: How to Get a Passport Faster
- 1. Confirm How to Get a Passport Faster in Your Country
- 2. Check the Current Processing Time Before Applying
- 3. Prepare and Verify Every Document
- 4. Complete the Official Application Correctly
- 5. Choose the Right Official Expedited Option
- 6. Submit the Application and Keep Proof
- 7. Monitor the Application and Respond to Problems
- Common Mistakes
- Frequently Asked Questions
- Can I get a passport approved faster by paying an agent?
- What is the fastest official passport service for emergency travel?
- Does expedited passport processing include mailing and delivery time?
- Can I apply for a passport while I am abroad?
- Why was my passport application delayed or rejected?
- How early should I apply before an international trip?
- Start With the Official Processing Estimate
What You Need to Get a Passport Faster
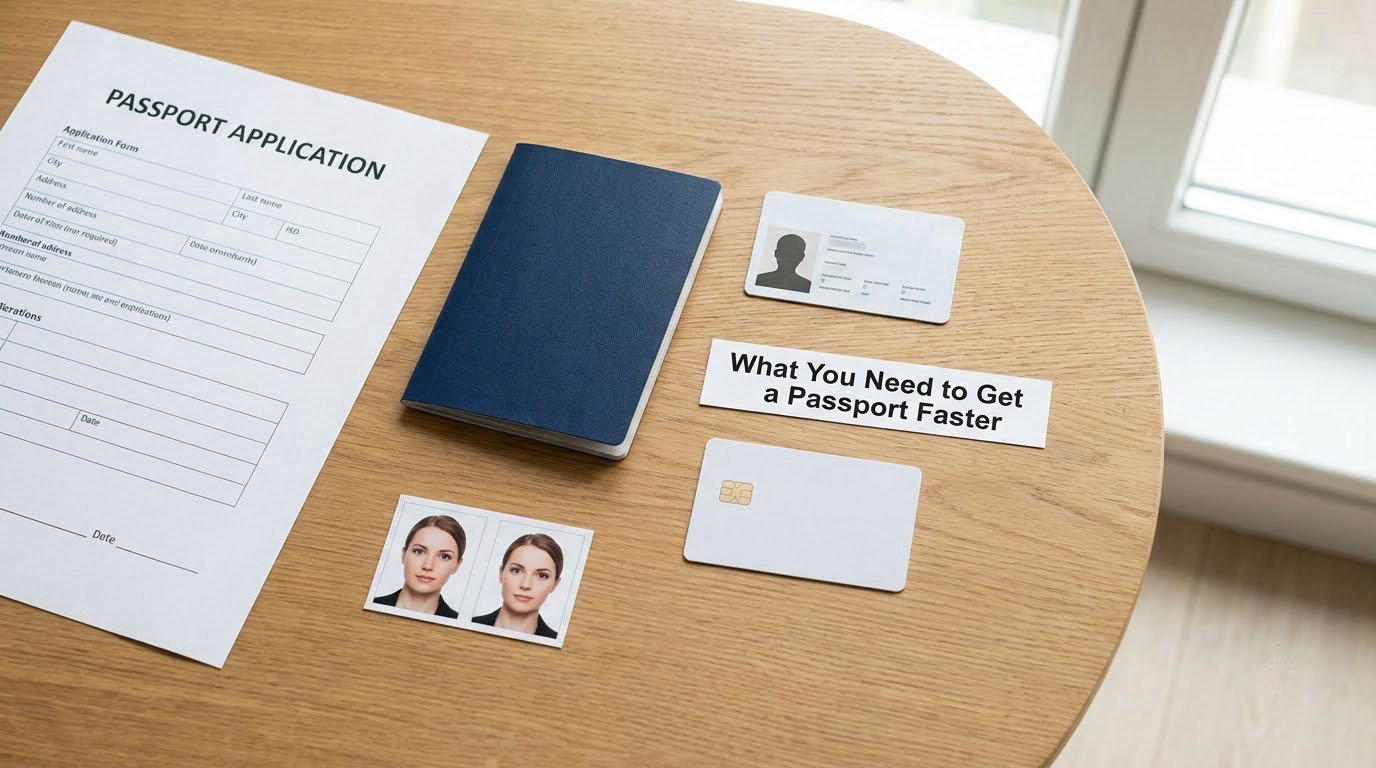
Speed comes down to three documents and one decision, not a magic shortcut. Before anything else, confirm that your country’s passport authority is the one handling your case — in the US that is the Department of State, and everything below assumes it.
- Proof of citizenship. A full-validity US passport, an undamaged birth certificate issued by a US city or county, a consular report of birth abroad, or a certificate of naturalization or citizenship.
- Valid photo ID. A driver’s license, state ID, or military ID. If you cannot present one, bring two alternative documents and expect extra scrutiny.
- A compliant passport photo. Two identical color photos taken within the last six months, 2×2 inches, taken against a white or off-white background, printed on photo-quality paper. Most rejections trace back to this one item.
- The correct form. Form DS-11 for a first passport, a child, a lost or stolen passport, or a name change. Form DS-82 for an eligible renewal. Never a photocopy of an old form found online.
- Payment. Two separate payments are often required: the federal application fee to the US Department of State, and an execution fee to the acceptance facility that takes your application.
- Proof of urgent travel, if you want an agency appointment. A booked international itinerary with a departure date inside 14 calendar days, or documentation that a foreign visa is required within 28 calendar days. Screenshots work; a vague note does not.
One more thing worth having ready: a tracking-capable mail address and a clear plan for the return leg. A passport can be finished and still take a further week to physically reach you.
Step-by-Step: How to Get a Passport Faster
Seven steps, roughly in the order that saves you time. The first three happen before you fill in a single box.
1. Confirm How to Get a Passport Faster in Your Country
Start by identifying the official passport authority for your nationality and your country of residence, then confirm which of the four service tiers they actually run. The order almost always runs the same: routine processing, expedited processing, an appointment-based urgent-travel service, and a separate life-or-death emergency service.
What differs by country is the fee structure, whether an in-person appointment is mandatory, whether processing starts at submission or at appointment, and how much of the timeline includes delivery. No third party can guarantee government approval or a delivery date, and any business that claims it can is selling something other than speed.
In the US specifically, verify these four things on travel.state.gov before you commit: eligibility for urgent travel, the published processing estimate, the current fee schedule, and whether your acceptance facility takes walk-ins or appointments only.
2. Check the Current Processing Time Before Applying
Count backwards from your departure date, then build in a margin. The published routine estimate has moved between roughly four and six weeks in calmer periods and up to eight to eleven weeks in heavier backlogs, while expedited processing is currently quoted at two to three weeks.
Neither figure includes mailing in either direction. The State Department itself warns that return delivery can add up to two weeks on standard mail, and the optional 1-3 day delivery upgrade removes most of that return leg but not the outbound one.
| Days until departure | Best realistic option |
|---|---|
| More than 90 | Routine processing, by mail or online renewal. Cheapest path, most slack. |
| 60 to 90 | Expedited processing plus the faster delivery option. Comfortable buffer. |
| 30 to 60 | Expedited, submitted at an acceptance facility you visit in person. |
| 14 to 30 | Book an urgent-travel agency appointment and keep calling until you get one. |
| 14 or fewer | Urgent-travel appointment only. Booked itinerary required. |
| Life-or-death emergency | Emergency service through the passport agency, with supporting documentation. |
Two caveats that break plans every single year. Federal holidays sit between the estimate and your flight, and government staffing disruptions can pause processing entirely, so add at least a week of slack for anything you cannot afford to lose.
3. Prepare and Verify Every Document
Slowed applications are almost always document problems, and they are free to prevent. Work through the list before you book anything, and resolve every mismatch while you still have time to fix it.
- Match names exactly. Your citizenship document, photo ID, and application must agree. If your legal name changed, that is Form DS-64 plus a name-change document, not a handwritten note.
- Check the birth certificate. It must be a full-validity certified copy, not a hospital souvenir certificate, and it must list parents.
- Re-take a bad photo. Retake rather than correct. Cropped, shadowed, filtered, and low-resolution selfies are rejected routinely.
- Include prior passports. The most recent one is required for renewals and DS-64 reports, even if it is expired or damaged.
- Assemble urgent-travel proof. A confirmed itinerary with the departure date is the cleanest evidence. A non-refundable ticket is stronger. A hotel booking is not proof of international travel.
If a name, date, or document number is inconsistent across your papers, resolve it with the issuing authority first. A correction mailed back to you costs more calendar days than the problem did.
4. Complete the Official Application Correctly
Download the form fresh from the official site every time you apply. Forms get revised, and an outdated version is one of the most common reasons an application bounces back.
Follow the date format the form specifies, sign exactly where the signature line sits, and print rather than scribble. If you make an error, the correct fix on most State Department forms is a single line through the mistake, the correct information next to it, and your initials and date beside that.
Never start over on a DS-11 with white-out or a correction fluid, and never sign DS-11 before the acceptance agent tells you to. Both invalidate the form. On DS-82 renewals, print and sign before you mail, and do not use an old photocopy of a previous application.
5. Choose the Right Official Expedited Option
Faster service costs more, carries eligibility rules, and still requires a complete application. Here is how the official tiers compare, and where a private service actually fits.
| Option | Who qualifies | Government processing time | Delivery | Best use case |
|---|---|---|---|---|
| Routine processing | Anyone eligible to apply | Several weeks, longer during backlogs | Standard mail, can add up to two weeks | Travel three months out or more |
| Expedited processing | Anyone, by request at submission | Roughly two to three weeks | Standard or optional faster delivery | Travel four to eight weeks out |
| Urgent travel appointment | Travel within 14 calendar days, or foreign visa within 28 days | Often same day, sometimes within days | Picked up in person at the agency | Flight already booked and imminent |
| Life-or-death emergency | Documented imminent death or critical illness | Fastest available, case by case | Agency discretion | Grave family emergency |
| Registered courier | Anyone, private company | Same official queue you already paid for | Company handles the hand-carry | Reducing handling gaps and mistakes |
On couriers, be blunt about what they are. A registered courier is a private company that submits and retrieves documents on your behalf using its own access. It cannot add staff to the government queue or skip a review step. Its real value is document pre-checking, hand-carry submission, and shorter handling gaps.
How to vet one: confirm it is a registered courier with the Department of State, check its Better Business Bureau record and complaint history, insist on a published total fee broken into government charges plus company charges, and treat any claim of government affiliation or guaranteed issuance as a red flag. Never hand over originals you cannot afford to lose for days at a time.
6. Submit the Application and Keep Proof
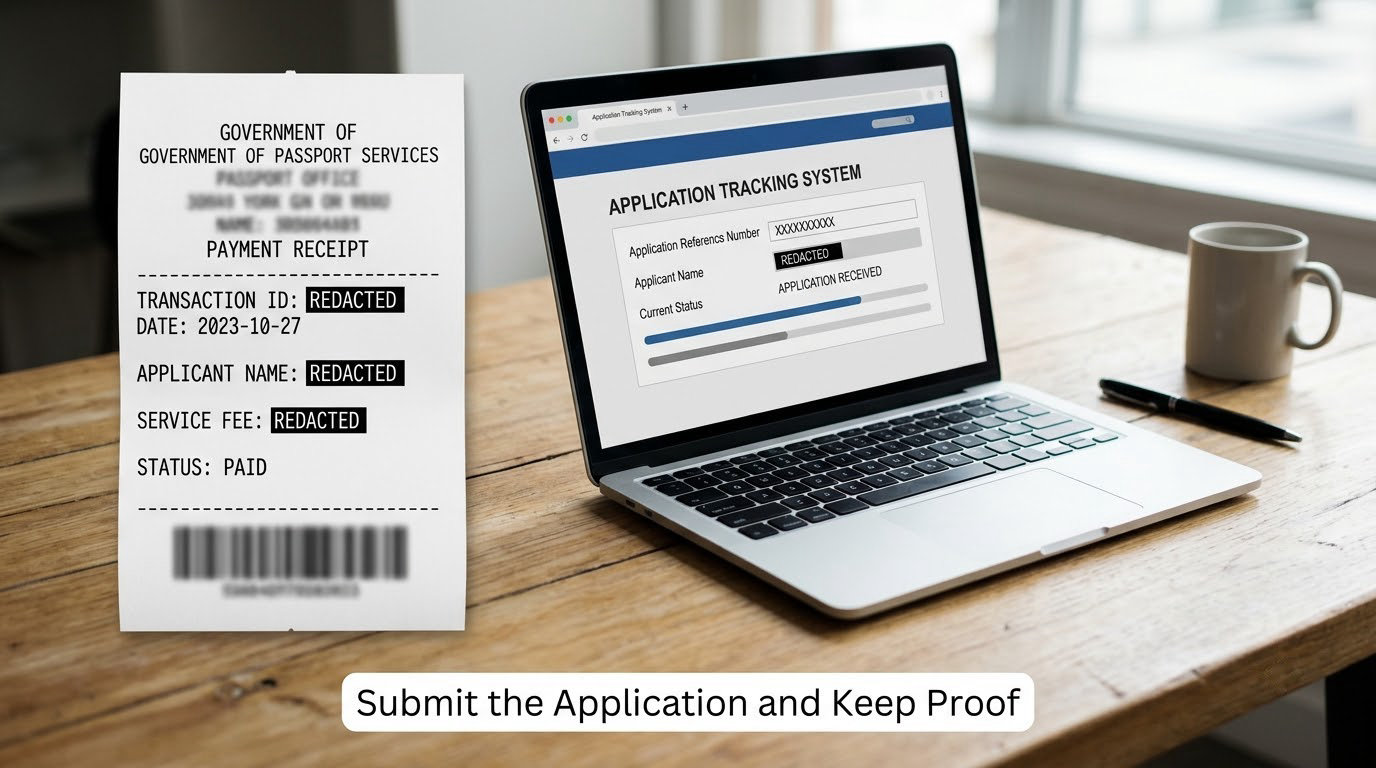
Submit the way your application type requires. A DS-11 must be submitted in person at an acceptance facility with an agent present; a DS-82 renewal can go by mail or online when eligible. At the facility, expect to pay the execution fee separately from the federal application fee, or to send the government payment separately if the facility tells you to.
Keep the proof you receive: a receipt with a date, a tracking number for anything mailed, or an appointment confirmation if you went in person. That receipt is what makes an upgrade or a status inquiry possible later, and losing it turns a one-call problem into a lost-weekend problem.
You will know submission worked when you have a dated receipt and a live tracking status that updates. If the agency system is down when you arrive, that is a known failure mode — keep the receipt and call back the same day rather than re-applying.
7. Monitor the Application and Respond to Problems
Check status using the receipt or application number you were given, through the official online status system or by calling the National Passport Information Center on 1-877-487-2778. The status wording tells you exactly where your file sits.
| Status | What it means | What to do |
|---|---|---|
| Not Available | The agency has not picked up your application yet | Confirm it was delivered and the payment cleared |
| In Process | Under review, including any file search | Wait; call only if the estimate has clearly passed |
| Approved | Cleared and being printed or prepared | Expect delivery on your chosen service |
| Passport Mailed | Physically in transit to you | Track the mail and escalate if it stalls |
| Returned | Problem found; application sent back | Read the cited reason and refile correctly |
If your application is already in and the deadline has moved up, you do not have to start again. Call the National Passport Information Center and ask to upgrade routine processing to expedited, and pay the expedited service fee on top of what you already paid. That upgrade is the single most useful step nobody mentions, and it only works while the file is still moving through the normal queue.
If a routine message arrives saying they need more information, respond quickly and exactly as written. Sloppy corrections are how an application that was days from approval becomes weeks away.
Set expectations for the phone line honestly. Travelers on public forums describe holding for hours and repeated failed attempts before reaching an agent, with the same advice repeating across threads: call early, call repeatedly, and try again the next day. Persistency is the workaround.
Common Mistakes
These are the errors that quietly add weeks, paired with the fix that prevents each one.
- Using the wrong jurisdiction. Applying through a country’s authority you are not subject to restarts the clock from zero. Fix: confirm the issuing authority before you fill anything in.
- Treating processing time as total time. Expedited means two to three weeks of review, not delivery. Fix: add mailing time in both directions to every estimate.
- Incomplete documentation. A missing parent document or a wrong ID costs a return trip. Fix: run the document list twice, the night before.
- Name and date mismatches. Small discrepancies trigger manual review. Fix: use the exact spelling on your citizenship document and explain any change properly.
- Outdated or unofficial forms. A downloaded PDF from a third-party site may be a revision that was retired. Fix: always pull the form from the official site the same day you apply.
- Applying for the wrong service tier. Paying for expedited and then needing urgent travel wastes both the fee and the days. Fix: work from the decision table before you submit.
- Not tracking the submission. A lost receipt means you cannot upgrade, inquire, or escalate. Fix: photograph the receipt and record the tracking number immediately.
One travel-deadline tip that overrides the rest: work backwards from the flight, not forwards from today. If your departure is inside six weeks, pay for expedited from day one, because the clock only starts when the agency receives a complete application, not when you mailed something half-finished.
Frequently Asked Questions
Can I get a passport approved faster by paying an agent?
No. An agent or courier submits your paperwork and moves it through the same government queue everyone else uses. It cannot add review capacity or skip a step, so approval speed depends on the authority’s workload, not on who carries the envelope. What a legitimate courier does offer is document pre-checking, hand-carry submission and shorter handling gaps, which reduce the chance of a rejection costing you weeks.
What is the fastest official passport service for emergency travel?
The fastest official route is an appointment at a passport agency or center for urgent travel, available when you have international travel within 14 calendar days or need a foreign visa within 28 calendar days. You must call the National Passport Information Center to book, and travelers report same-afternoon pickup for morning appointments and next-day handling for afternoon slots. A separate service exists for documented life-or-death emergencies.
Does expedited passport processing include mailing and delivery time?
No. The expedited timeframe covers agency processing only, and official guidance states that mailing can add up to two weeks on top of it. Adding the optional faster return delivery shortens the return leg but does not speed up the outbound trip. That gap between processing and delivery is the most common reason an expedited application still misses its flight.
Can I apply for a passport while I am abroad?
It depends on your citizenship and where you are. US citizens at a US embassy or consulate abroad can request an emergency passport, and full first-time applications abroad follow that same consular route with its own limits on document types and validity. Most other countries run a similar consular service with its own rules. Contact the nearest embassy or consulate first, because consular processing times and fees differ from domestic ones.
Why was my passport application delayed or rejected?
The usual causes are document problems rather than volume: a non-compliant photo, a name or date mismatch between your application and your citizenship document, an outdated form, a missing parent document for a minor, or an unclear signature. A routine file search also adds time when records have to be pulled from archives. Any returned application comes with a cited reason, and fixing exactly that reason is the fastest way back on track.
How early should I apply before an international trip?
Apply three to six months before travel for the most comfortable margin, because routine processing estimates have stretched during heavier backlogs. Inside eight weeks, use expedited processing from the start rather than paying to upgrade later. Remember that many destinations require six months of passport validity beyond your travel date, which shortens your real planning window, and buffer for federal holidays and mailing time.
Start With the Official Processing Estimate
To get a passport faster, do these five things in order: confirm the authority that handles your case, read the current processing estimate rather than an old blog post, count back from your departure date with mailing time included, verify every document tonight, and submit only through the official channel. If you have already applied and the deadline moved, call the passport information center and upgrade to expedited instead of filing again.
Treat urgent-travel appointments and life-or-death emergency service seriously. Both have real eligibility rules, and both depend on a slot being available. Anyone charging you a guarantee is selling something no authority offers.