Changing a flat tire takes 20 to 40 minutes with the tools your car already carries, and the whole job comes down to eight stages: park safely, chock a wheel, loosen the lug nuts, jack the car at the reinforced point, swap the wheel, then lower and tighten in a star pattern. If this is your first one, take it slowly and the sequence will hold.
Nobody enjoys finding out about a flat tire by hearing it. Most drivers who change one themselves are surprised that the hard part was locating the jack, not lifting anything. That is worth repeating: the physical work is simple, and the entire procedure fits in the owner’s manual that came with the car.
What matters most is that you read the manual for your specific vehicle before starting. Jacking points, torque specifications and spare tire speed limits differ from one car to the next, and the numbers printed on your door jamb beat any generic guide, including this one.
Table of Contents
- What You Need
- How to Change a Flat Tire Step by Step
- How to Change a Flat Tire Step by Step: Before and After the Replacement
- Common Mistakes
- Frequently Asked Questions
- Can I drive on a spare tire and for how long?
- How long does it take to change a flat tire?
- Should I fully tighten the lug nuts while the car is still raised?
- What should I do if the wheel will not come off?
- When should I call roadside assistance instead of changing the tire myself?
What You Need
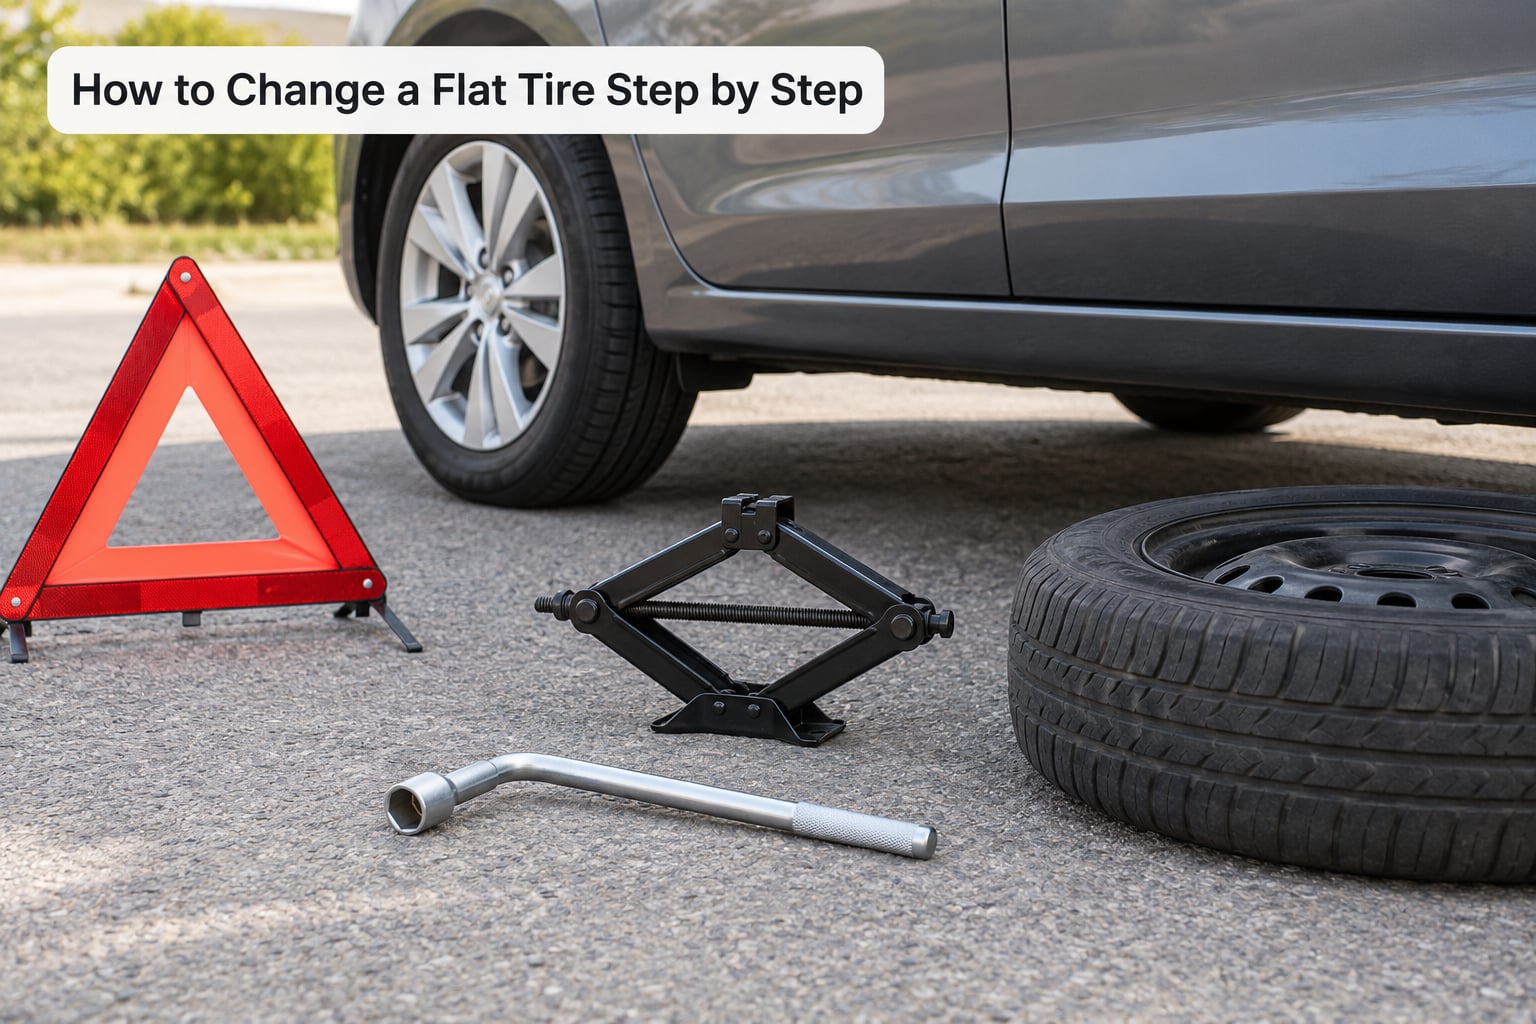
Nearly every car since the 1980s ships with a jack, a lug wrench and a spare, usually grouped together in one compartment so you can grab everything at once. Open the trunk or hatch, lift the carpeted panel or cargo floor, and look before you assume anything.
- The spare tire. On sedans it is often under the trunk floor or in a well beneath it. On SUVs and trucks check under the cargo floor panels, and on many trucks it sits in the bed or on a carrier under the vehicle.
- The jack. Usually a scissor jack in a foam-lined well next to the spare. Many owners have never seen it.
- The lug wrench or wheel wrench. Sometimes it is loose in the compartment, sometimes it is clipped to the jack or the wrench itself doubles as a jack handle.
- The wheel-lock key. Luxury wheels and trucks often have locking lug nuts, and the small keyed socket lives with the tools or in the glove box. Without it, the wheel does not come off.
- Wheel chocks or two solid wedges. A piece of wood, a heavy block or a folded piece of lumber works. A spare brick does not.
- A warning triangle or four hazard flashers. Place it behind the vehicle on a public road.
- A flashlight and gloves. The wheel studs are sharp, and the lug socket is often buried in shadow.
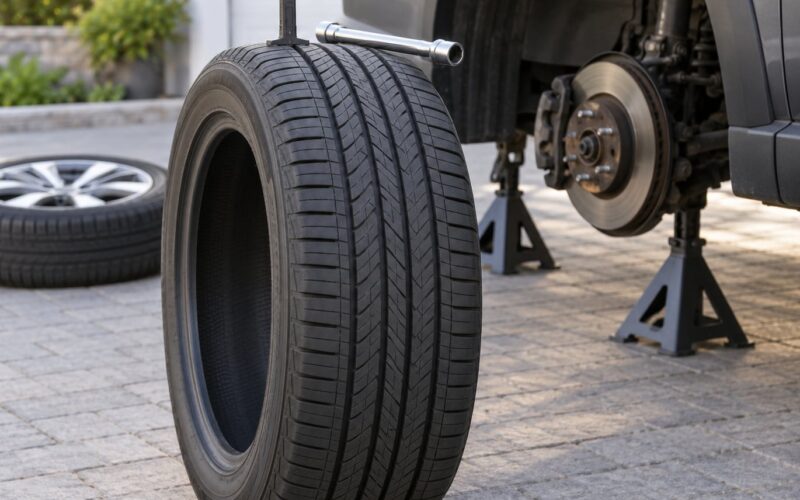
- Jack stands, if you own them. See the safety note inside step 4. This is the one item that changes how the whole job is done.
Before touching anything, confirm two things: that the spare is inflated, and that the jack point on your car matches what the manual shows. Cars built in the last few decades have a reinforced section of frame designed to take the jack load, usually a pinch weld with a flat or welded plate about a foot behind the front wheel or just ahead of the rear wheel. If you cannot find that spot, do not guess.
How to Change a Flat Tire Step by Step
-
Pull over, switch off and secure the car. Drive as far off the road as you can, onto level, firm ground. Gravel, mud and slopes are the wrong place to work. Engine off, transmission in Park or in reverse for a manual, and the parking brake hard on. Hazard lights on any road where traffic passes close by.
The sign it worked: the vehicle is stationary, silent, and the brake holds even if you push on the body. Keep your foot clear of the throttle.
-
Chock the wheel diagonally opposite the flat. Slide a chock behind the tire on the far side of the car from the flat one. Front flat means chock the rear wheel on the opposite side, and vice versa.
The sign it worked: the chock stays put when you push the car forward with your hip. It blocks the car rolling toward the side you are jacking.
-
Loosen the lug nuts before lifting. Fit the socket to each lug nut on the flat wheel and turn counterclockwise. Break them loose by hand until they sit one turn or two proud of the stud, then leave them. Do not remove them yet.
The sign it worked: each nut spins freely with a quarter turn of the wrench. This ordering matters because a wheel with studs under load is nearly impossible to pull off, and the studs help guide the wheel on afterward. Caution: brake dust on your knuckles, and never stand in front of the wheel while loosening.
-
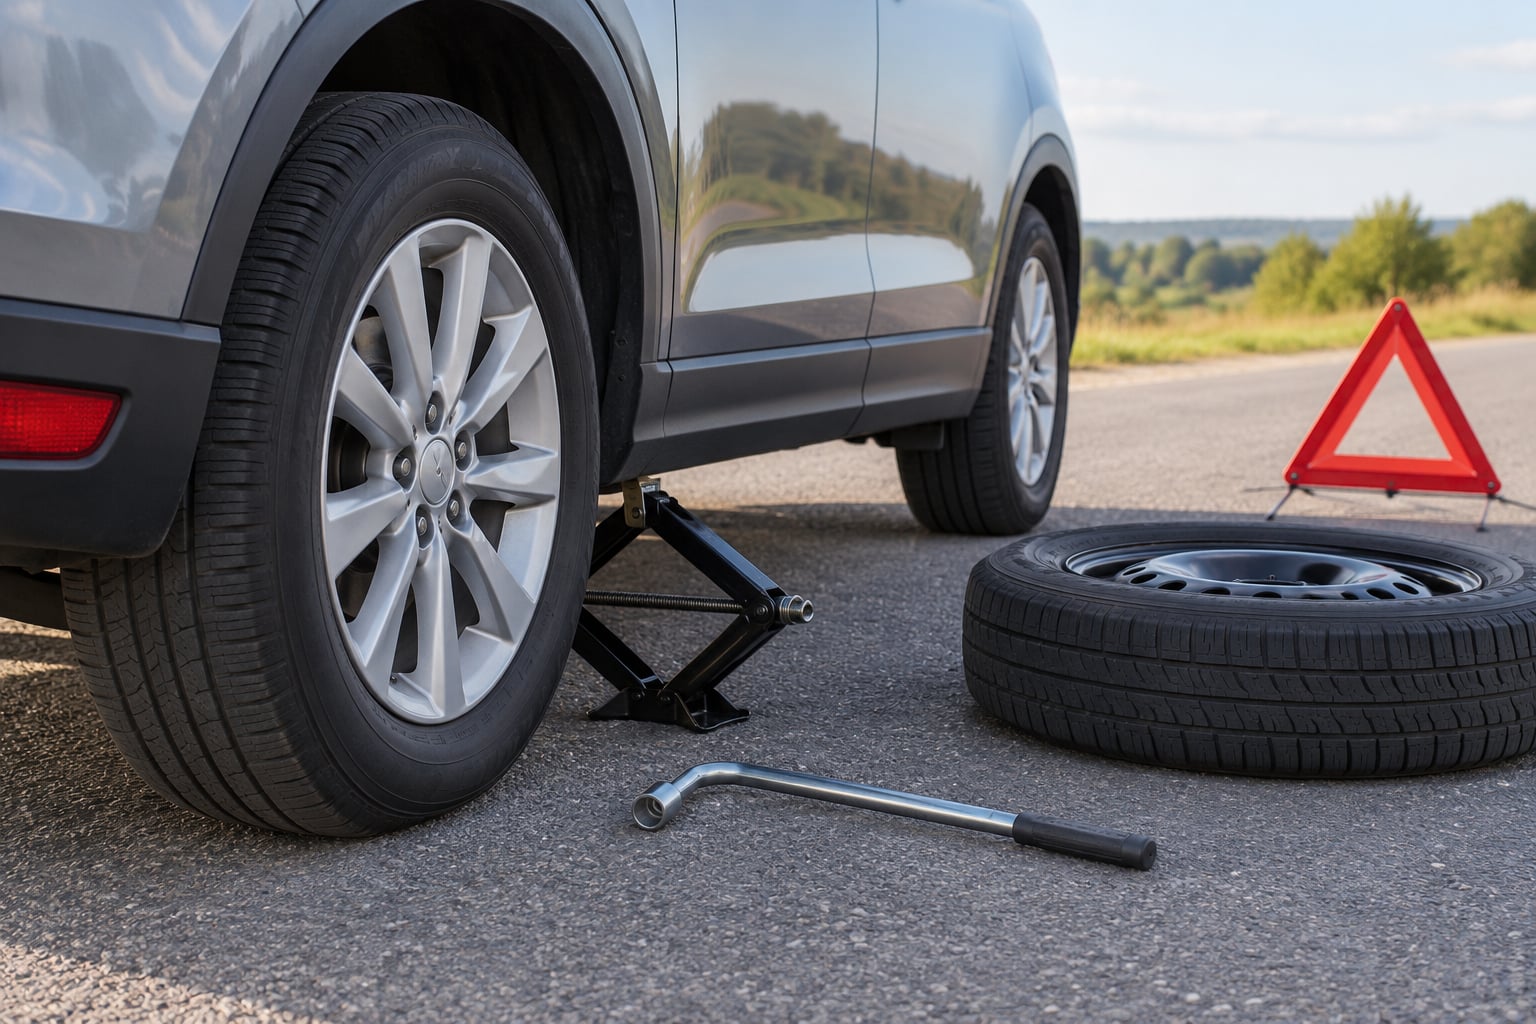
Set the jack on the jacking point and raise the vehicle. Find the reinforced pinch weld described in your manual, place the jack head squarely against it, and crank until the tire clears the ground by roughly six inches. That clearance is enough to remove and mount a wheel and no more.
The sign it worked: you can slide your hand between the tire and the pavement. Safety first here. A factory scissor jack is designed to raise a car briefly, not to hold your weight while you work. If you own jack stands, back the vehicle down onto two stands rated above your car’s weight and chock the stands. If you do not have stands and the car will be off the ground for more than a moment, roadside assistance is the sensible call. Never get under a vehicle resting on a scissor jack alone.
-
Remove the wheel and inspect what you find. Take the lug nuts off and set them in a tray or on the ground away from the road. Pull the wheel straight off the studs and lay it flat.
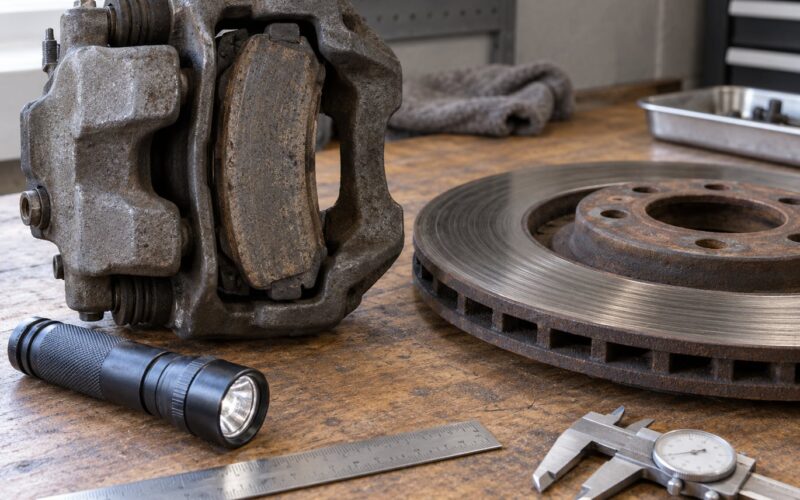
The sign it worked: the wheel clears the studs with a short straight pull, no rocking needed. Now look at the tire and the rim. A sidewall cut, a bulge, or a shredded bead means replace it, not repair it. A shredded or cord-showing tread means the same. Rims scuffed to bare metal have lost their shape and cannot hold air. A clean hole in the tread with no sidewall damage is usually repairable, so keep the tire for the shop. Also check the spare before you fit it: a space-saver sits noticeably lower than the road tire, and if it looks soft, inflate it first.
-
Fit the spare and hand-tighten the lug nuts. Slide the spare wheel onto the studs. It may resist because the studs are slightly tapered, which is normal. Thread each nut on by hand, turning clockwise, until every nut is snug against the wheel.
The sign it worked: the wheel sits flat and centered, and all five nuts are on. Never use the wrench to pull the wheel into place, and never tighten fully while the tire is off the ground. You would be torquing the wheel studs against thin sheet metal rather than against the hub.
-
Lower the vehicle and tighten in a star pattern. Lower until the tire touches the pavement, then take the jack out. Now tighten the lug nuts properly, working across the circle in a star pattern rather than going clockwise around the wheel. If you have five nuts, go 1-3-5-2-4. With four, go 1-3-2-4.
The sign it worked: each nut tightens to the same feel, and the wheel sits flat with no visible gap at the top. The star pattern matters because it pulls the wheel evenly onto the hub instead of seating one side first. Tightening snugly matters too. Over-tightening stretches studs and can warp an alloy wheel, and the damage shows up weeks later as a vibration or a wheel that will not come off again. If you have a torque wrench, use the figure stamped on the door jamb placard for that wheel. That number is the right one for your car; no universal value applies to every vehicle.
-
Check the spare pressure, stow the tools and drive slowly. Compare the spare’s cold pressure against the door jamb placard and inflate if it is low. Collect every lug nut, the jack, the wrench, the chocks and the wheel-lock key. Put the flat tire in the trunk so you can inspect it at the shop.
The sign it worked: nothing left on the roadside, and the pressure reads at or above the placard figure. Take it easy on the way to the repair shop. A full-size spare can carry normal speed, but a space-saver is usually limited to about 40 to 50 mph and roughly 40 to 70 miles of driving, and the limit is printed right on its sidewall. Stay well under both, and avoid highway speeds until the tire is repaired or replaced.
How to Change a Flat Tire Step by Step: Before and After the Replacement
Run through this list once. If every line checks out, the car is safe to drive away in.
- Engine off, transmission in Park or reverse, parking brake set.
- Chock in place diagonally opposite the flat, hazards on, wheel fully back from traffic.
- Vehicle supported by jack stands rather than a scissor jack alone, or the change finished quickly with the scissor jack only.
- Wheel fully seated and every lug nut tight in the star pattern to the door jamb torque figure.
- Car lowered fully off the jack, with nothing left under the vehicle.
- Spare pressure checked against the door jamb placard, and all tools removed.
If a tire pressure light comes on after the change, it usually clears on its own once the car has driven a short distance. On many vehicles the system reads the sensor in the spare and simply reports the lower space-saver pressure. A light that stays on after a drive or two means a tire is genuinely low, or a sensor was damaged during the swap.
Common Mistakes
Almost every roadside tire change goes wrong in one of a handful of predictable ways. These are the ones worth rehearsing.
Jacking on soft ground. The jack sinks, the car tilts, and the wheel can come off crooked. Fix: choose firm, level ground before you start, and place the jack head flat on a hard surface. If the only spot is gravel or a slope, move the car.
Working in traffic. The most dangerous error is the one with the highest consequence. Fix: get as far from the lane as possible, hazards on, triangle placed behind the car. At night, stand on the side away from passing traffic and wear something reflective.
Loosening the lug nuts after jacking. Once the weight is off the wheel, the nuts hold themselves tight and the wheel fights you. Fix: break the nuts loose with the car still on the ground, then jack. This is the single most common piece of advice drivers get right only after learning it the hard way.
Guessing the jack point. Jacking against a rocker panel or a suspension arm bends metal you will never see until the bill arrives. Fix: find the reinforced pinch weld shown in the manual. Owners on car forums repeat the same advice, because the reinforced section is easy to miss.
Over-tightening. Cranking hard on a scissor jack handle feels productive and damages studs and wheels. Fix: snug, then firm, then check the pattern. A torque wrench is better still, using the door jamb number.
Skipping the chock. The car can roll as you lift it. Fix: wedge the diagonally opposite wheel and test the wedge before cranking.
Ignoring the spare’s limits. A space-saver shredded at highway speed is a serious crash waiting to happen. Fix: read the speed and distance figures molded into the sidewall and treat them as hard limits, not suggestions.
Leaving the wheel-lock key behind. One wheel comes off, the next one does not, and you are roadside anyway. Fix: put the key in your pocket before you start, not back in the glove box.
Two more cases end the DIY session early. If the tire has been driven on flat and the sidewall is scuffed, bulged or frayed, replace it rather than patch it. If your vehicle has no spare at all, your options are a plug kit for a small tread puncture, sealant pumped through the valve for a temporary fix at low speed, a mobile tire service, or roadside assistance.
Frequently Asked Questions
Can I drive on a spare tire and for how long?
It depends which spare you have. A full-size spare matches the road tire and handles normal speeds. A space-saver, sometimes called a donut, is limited to about 40 to 50 mph and roughly 40 to 70 miles, and its exact limits are molded into its sidewall. Run-flats carry their own distance and speed limits too. Stay well under every limit, avoid highways, and get the tire repaired or replaced as soon as you can.
How long does it take to change a flat tire?
Plan on 20 to 40 minutes for a first change on firm, level ground with the tools already in hand. Finding the jack and spare often takes longer than the swap itself. Allow more time in the rain, in the dark, on a highway shoulder, or if the wheel will not come off straight away.
Should I fully tighten the lug nuts while the car is still raised?
No. Tighten them snugly by hand, then lower the vehicle until the tire touches the ground, remove the jack, and finish tightening with the wheel loaded. Tightening fully while the wheel hangs free pulls the wheel against thin sheet metal instead of the hub. Finish in a star pattern and follow the torque figure on your door jamb placard.
What should I do if the wheel will not come off?
Confirm the car is off the ground and supported, then try pulling the wheel straight off with your hands. Make sure every lug nut is actually removed, including any locking nuts that need the wheel key. If it still will not budge, stop forcing it, because leverage against a stuck wheel bends the rim. Rock the vehicle forward and back gently, or call roadside assistance.
When should I call roadside assistance instead of changing the tire myself?
Call for help if the vehicle rests only on a factory scissor jack and you have no jack stands, if the ground is unsafe or sloped, if the wheel is stuck, if a locking key is missing, if there is no usable spare, if the tire was driven flat and the rim or sidewall is damaged, or if you are in traffic and feel unsafe. Waiting for help beats a car dropping on someone.
When a tire goes down, the order is what matters: get the car off the road, secure it, chock a wheel, loosen the lug nuts, jack at the reinforced point, swap the wheel, then lower and tighten in a star pattern. Read your owner’s manual first, check the spare pressure before you set off, and keep the flat tire for the shop so they can tell you whether it was repairable.